
Desktop Application Scraping Using TestComplete Desktop Scraper
This article explains how to scrape desktop applications using the Desktop Scraper extension in TestComplete. The scraper allows users to capture application controls and generate CSV files that can later be used in algoQA for scenario creation, test case generation, and test script generation.
Prerequisites
Create a New TestComplete Project
- Launch TestComplete.
- Navigate to File > New > New Project.
- Enter the required project details: Project Name, Project Location, Scripting Language.
- Click Finish.
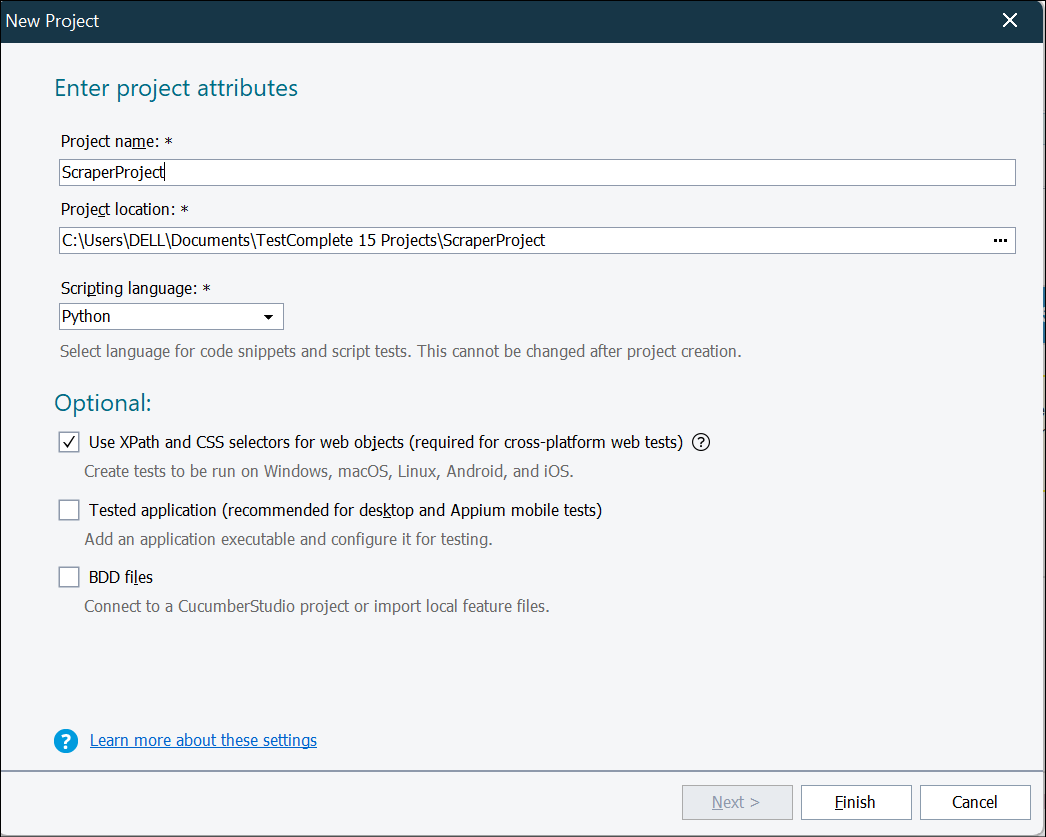
The project will be created and saved in the specified location.
Add the Scraper Code
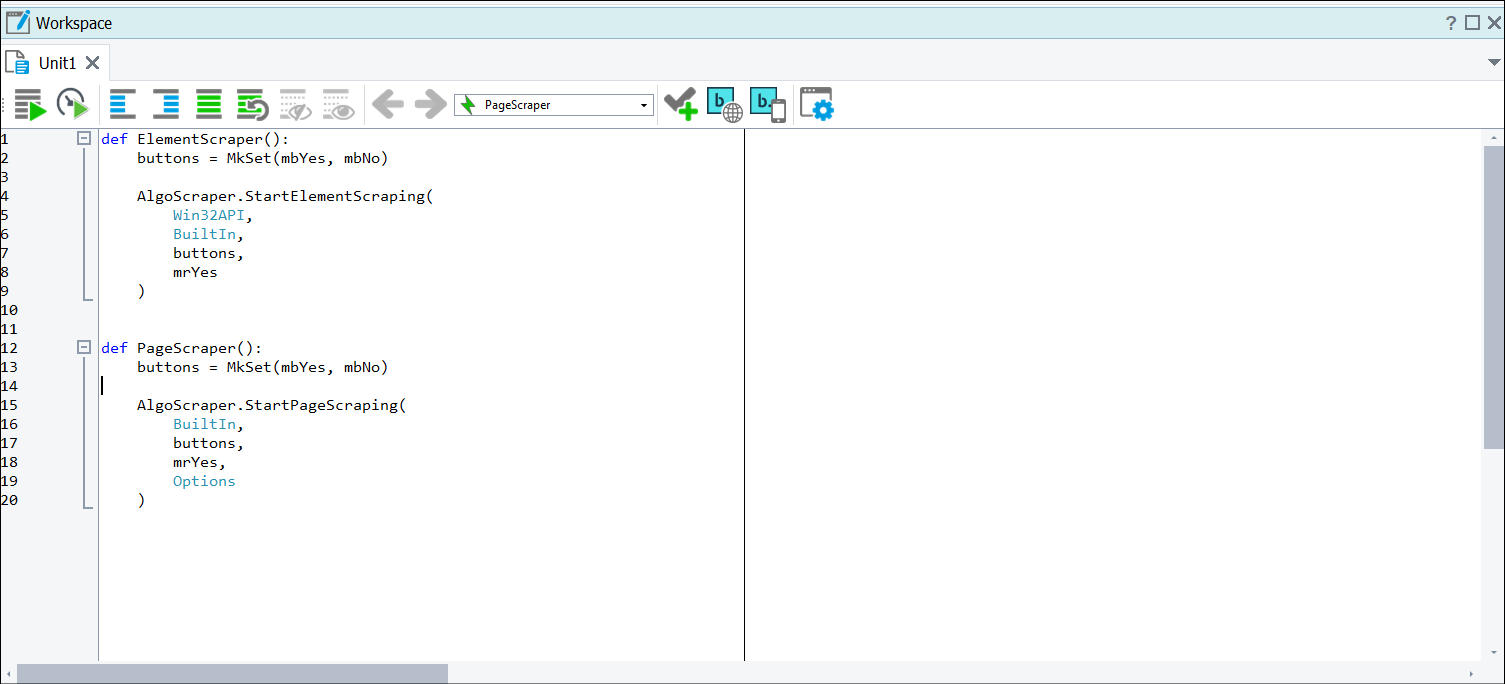
Open the newly created project and add the following code to the workspace:
def ElementScraper():
buttons = MkSet(mbYes, mbNo)
AlgoScraper.StartElementScraping( Win32API, BuiltIn, buttons, mrYes )
def PageScraper():
buttons = MkSet(mbYes, mbNo)
AlgoScraper.StartPageScraping( BuiltIn, buttons, mrYes, Options )
Installing the Scraper Extension
Download TestComplete algoScraper V1.4 from algoQA downloads, the algoScraper.tcx file will be available in same folder.
- Copy the file to the TestComplete Script Extensions folder.
Example location: C:\Program Files (x86)\SmartBear\TestComplete 15\Bin\Extensions\ScriptExtensions
The installation path may vary depending on the TestComplete installation on each system. However, the folder structure remains the same.
- Restart TestComplete.
Verify Installation
To verify that the extension has been installed successfully:
- Open TestComplete.
- Navigate to File > Install Script Extensions.
- Confirm that Scraper Extensions is listed.
Scraping Methods
The Desktop Scraper supports two types of scraping:
- Element-by-Element Scraping
- Page Scraping
Element-by-Element Scraping
Element-by-Element Scraping: Use this method when you want to capture individual controls from an application.
Perform the following:
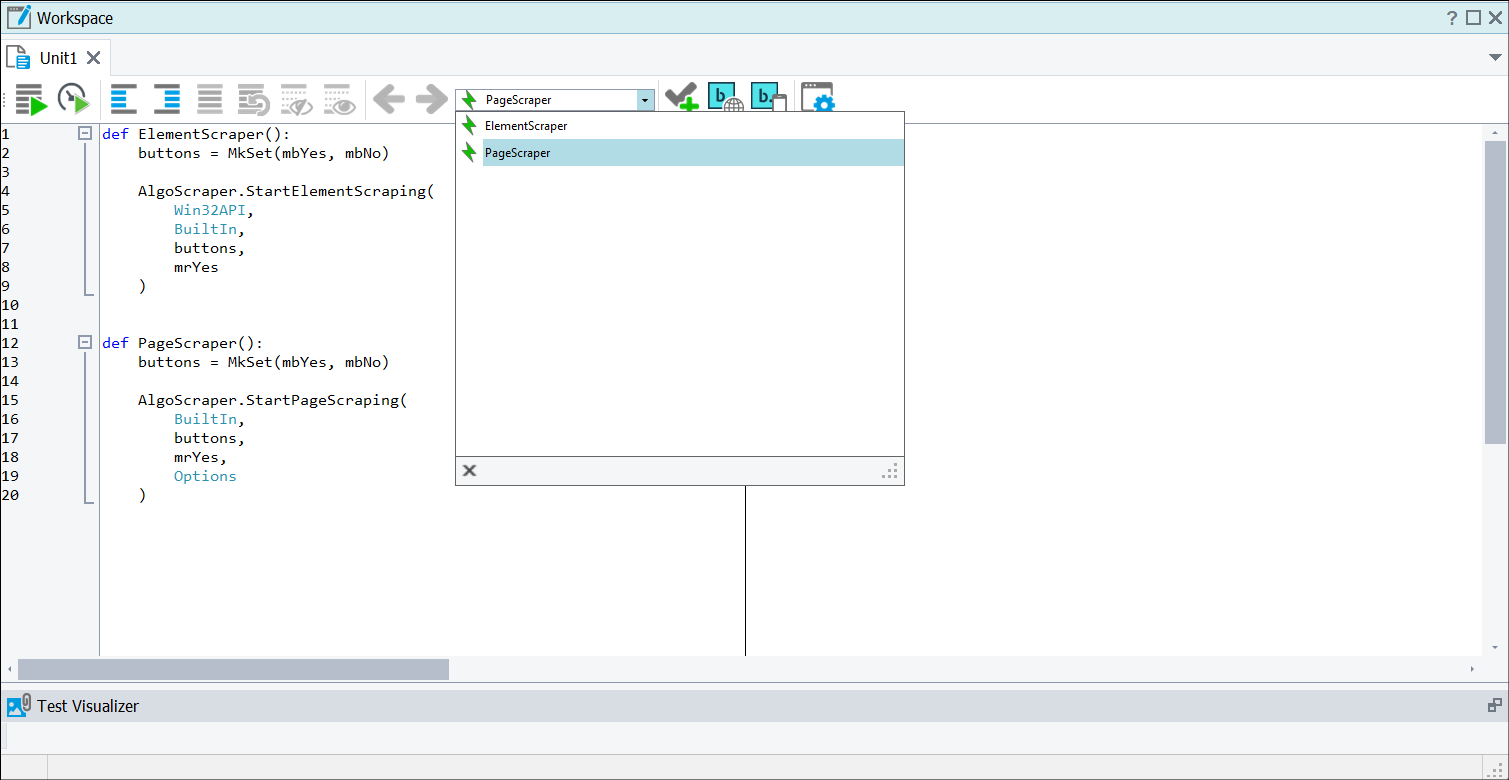
- Select Element Scraper from the available options.
- Click Run.
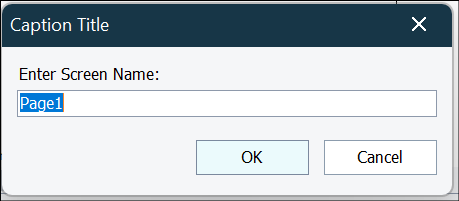
- Enter a screen name when prompted.
- Open the target application (for example, Calculator).
- Move the cursor over the required control.
- Press the Ctrl key.
The selected control will be highlighted in red and captured by the scraper.
Stopping or Continuing Scraping
- Press the Esc key.
- A confirmation dialog appears: Do you want to stop scraper?
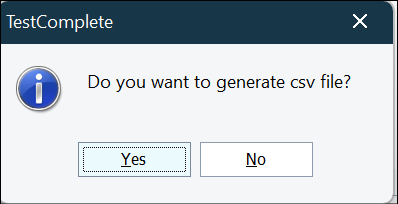
To Continue Scraping Another Screen
- Click No.
- Enter a new screen name. (Example: Weather)
- Open the new application.
- Continue scraping controls using the Ctrl key.
To Stop Scraping
- Click Yes in the confirmation dialog.
- Scraping will stop.
- A success message will display the generated CSV location.
Generated Output: A file named Scraped_Elements.csv is generated in the project folder.
The CSV contains information such as:
- Control Type
- Control Name
- XPath
- Page Name
- Feature Name
- Node Name
Do not open the CSV file while scraping is in progress.
Page Scraping
Use this method when you want to scrape an entire application page at once.
Ensure the target application is already open before starting page scraping.
Perform the following:
- Select Page Scraper.
- Click Run.
- Enter a screen name. (Example: Calculator)
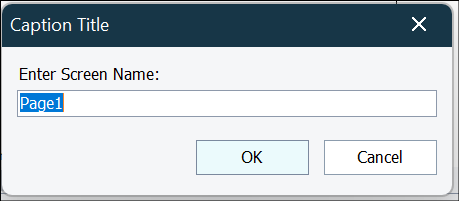
- Click OK.
- Within 5 seconds, navigate to the target application window.
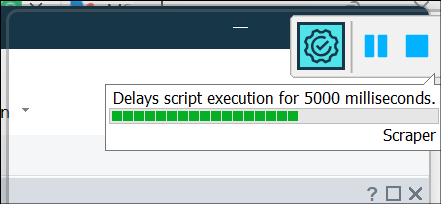
The scraper automatically captures the currently active window.
Parent Name Confirmation
After capturing the page, a dialog appears: Please confirm or edit the parent name.
- Verify the parent name.
- Modify it if required.
- Click OK.
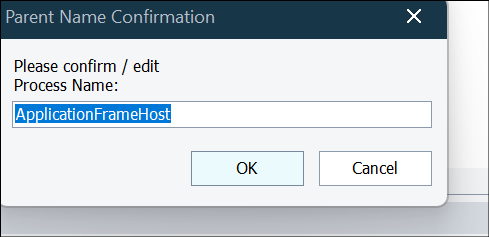
Continue or Stop Scraping
After the page is captured, a dialog appears: Do you want to stop scraper?
To Continue
- Click No.
- Enter a new screen name. (Example: Weather)
- Navigate to the next application.
- Repeat the process.
To Stop
- Click Yes.
- The scraper generates the output CSV and displays the file location.
Generated Output: A file named Scraped_Page.csv is generated in the project folder.
The CSV contains:
- Control Type
- Control Name
- XPath
- Page Name
- Feature Name
- Node Name
Finding the Correct Parent Name
In some applications, the parent name may not be correct.
When prompted for the parent name confirmation:
- Open Object Browser in TestComplete.
- Locate the target application in the object tree. (Example: Microsoft.WindowsCalculator)
- Copy the correct parent name from the object hierarchy.
- Paste it into the Parent Name Confirmation dialog.
Parent name confirmation is required only for applications where the process name is not identified correctly.
Using the Scraped Data in algoQA
After the CSV file is generated:
- Create a new project in algoQA.
- Upload the generated scraped CSV file.
- Continue with:
- Scenario Recording
- Scenario Generation
- Test Case Generation
- Test Script Generation
The uploaded scraped data will be used to create the application model and accelerate test automation activities.