
Adding Custom action from algoScraper
This article provides detailed instructions on how to add a custom action through algoScraper and have it reflected in algoQA.
How to Add Custom Action Through algoScraper for a New Project
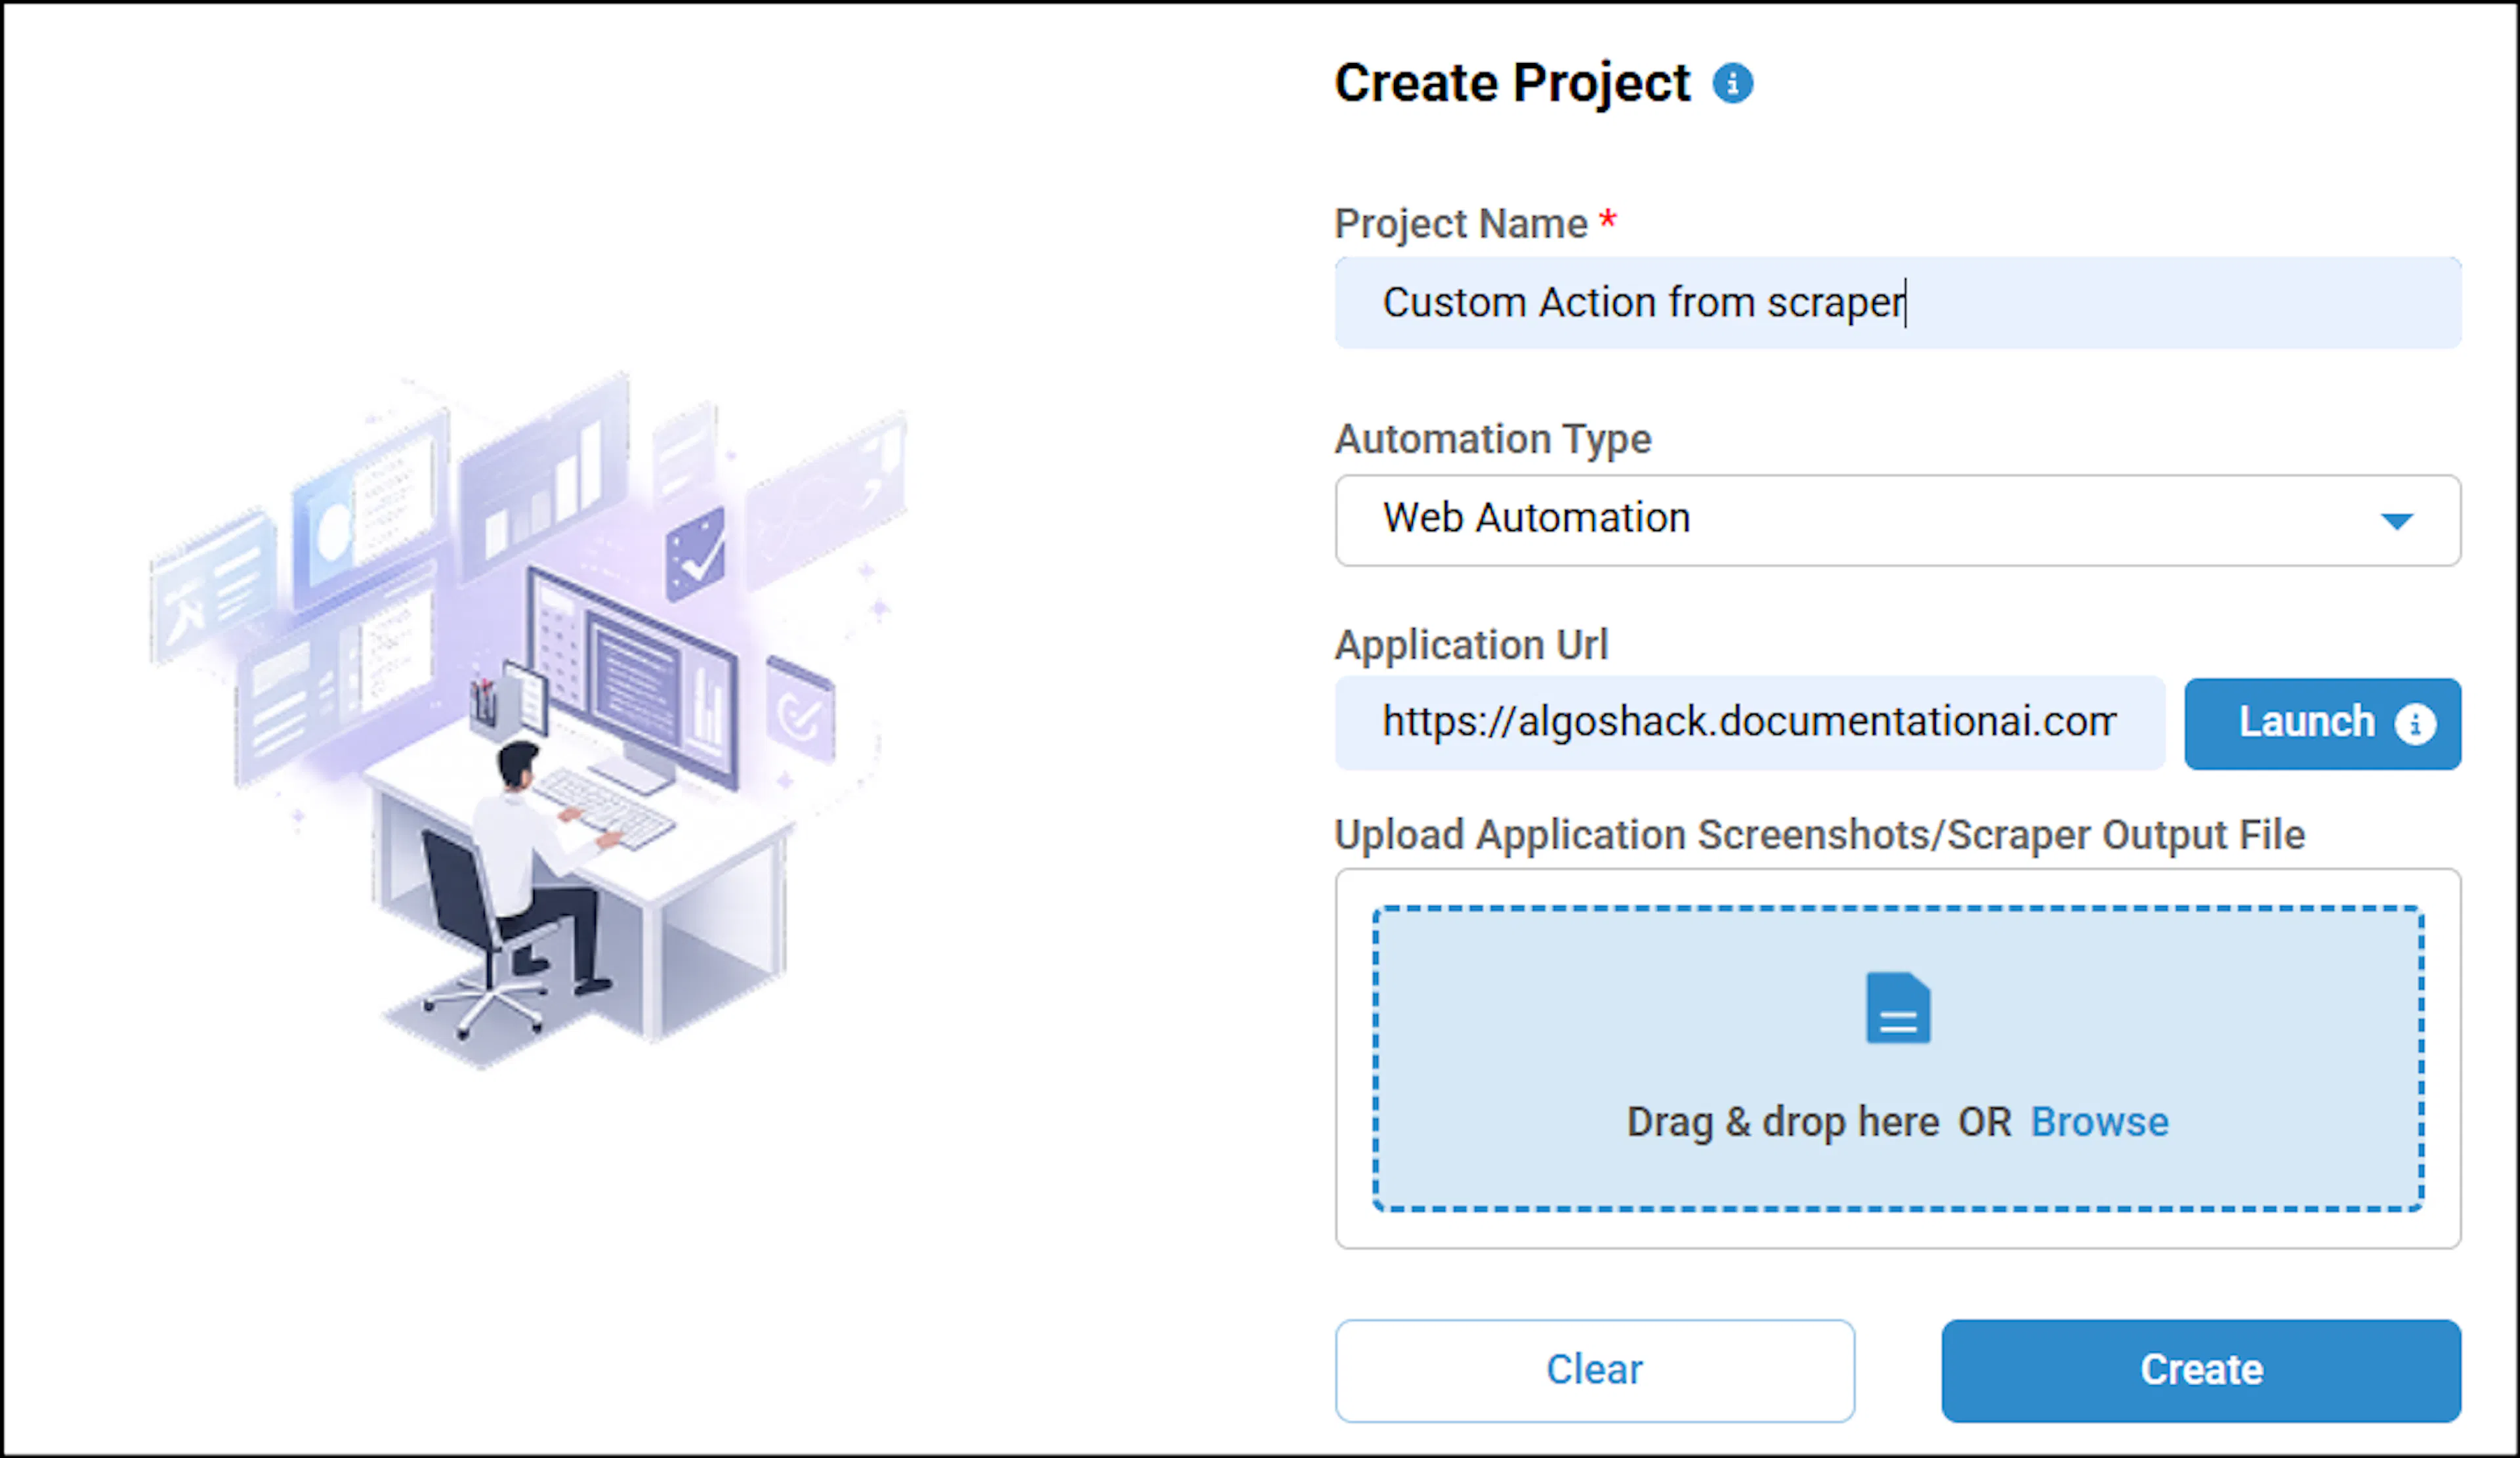
Go to the Projects page and click the '+' icon to create a new project.
Choose Web Automation as the automation type, enter the target URL in the Application URL field, and click Launch. To know more on how to launch scraper through Create Project, click here.
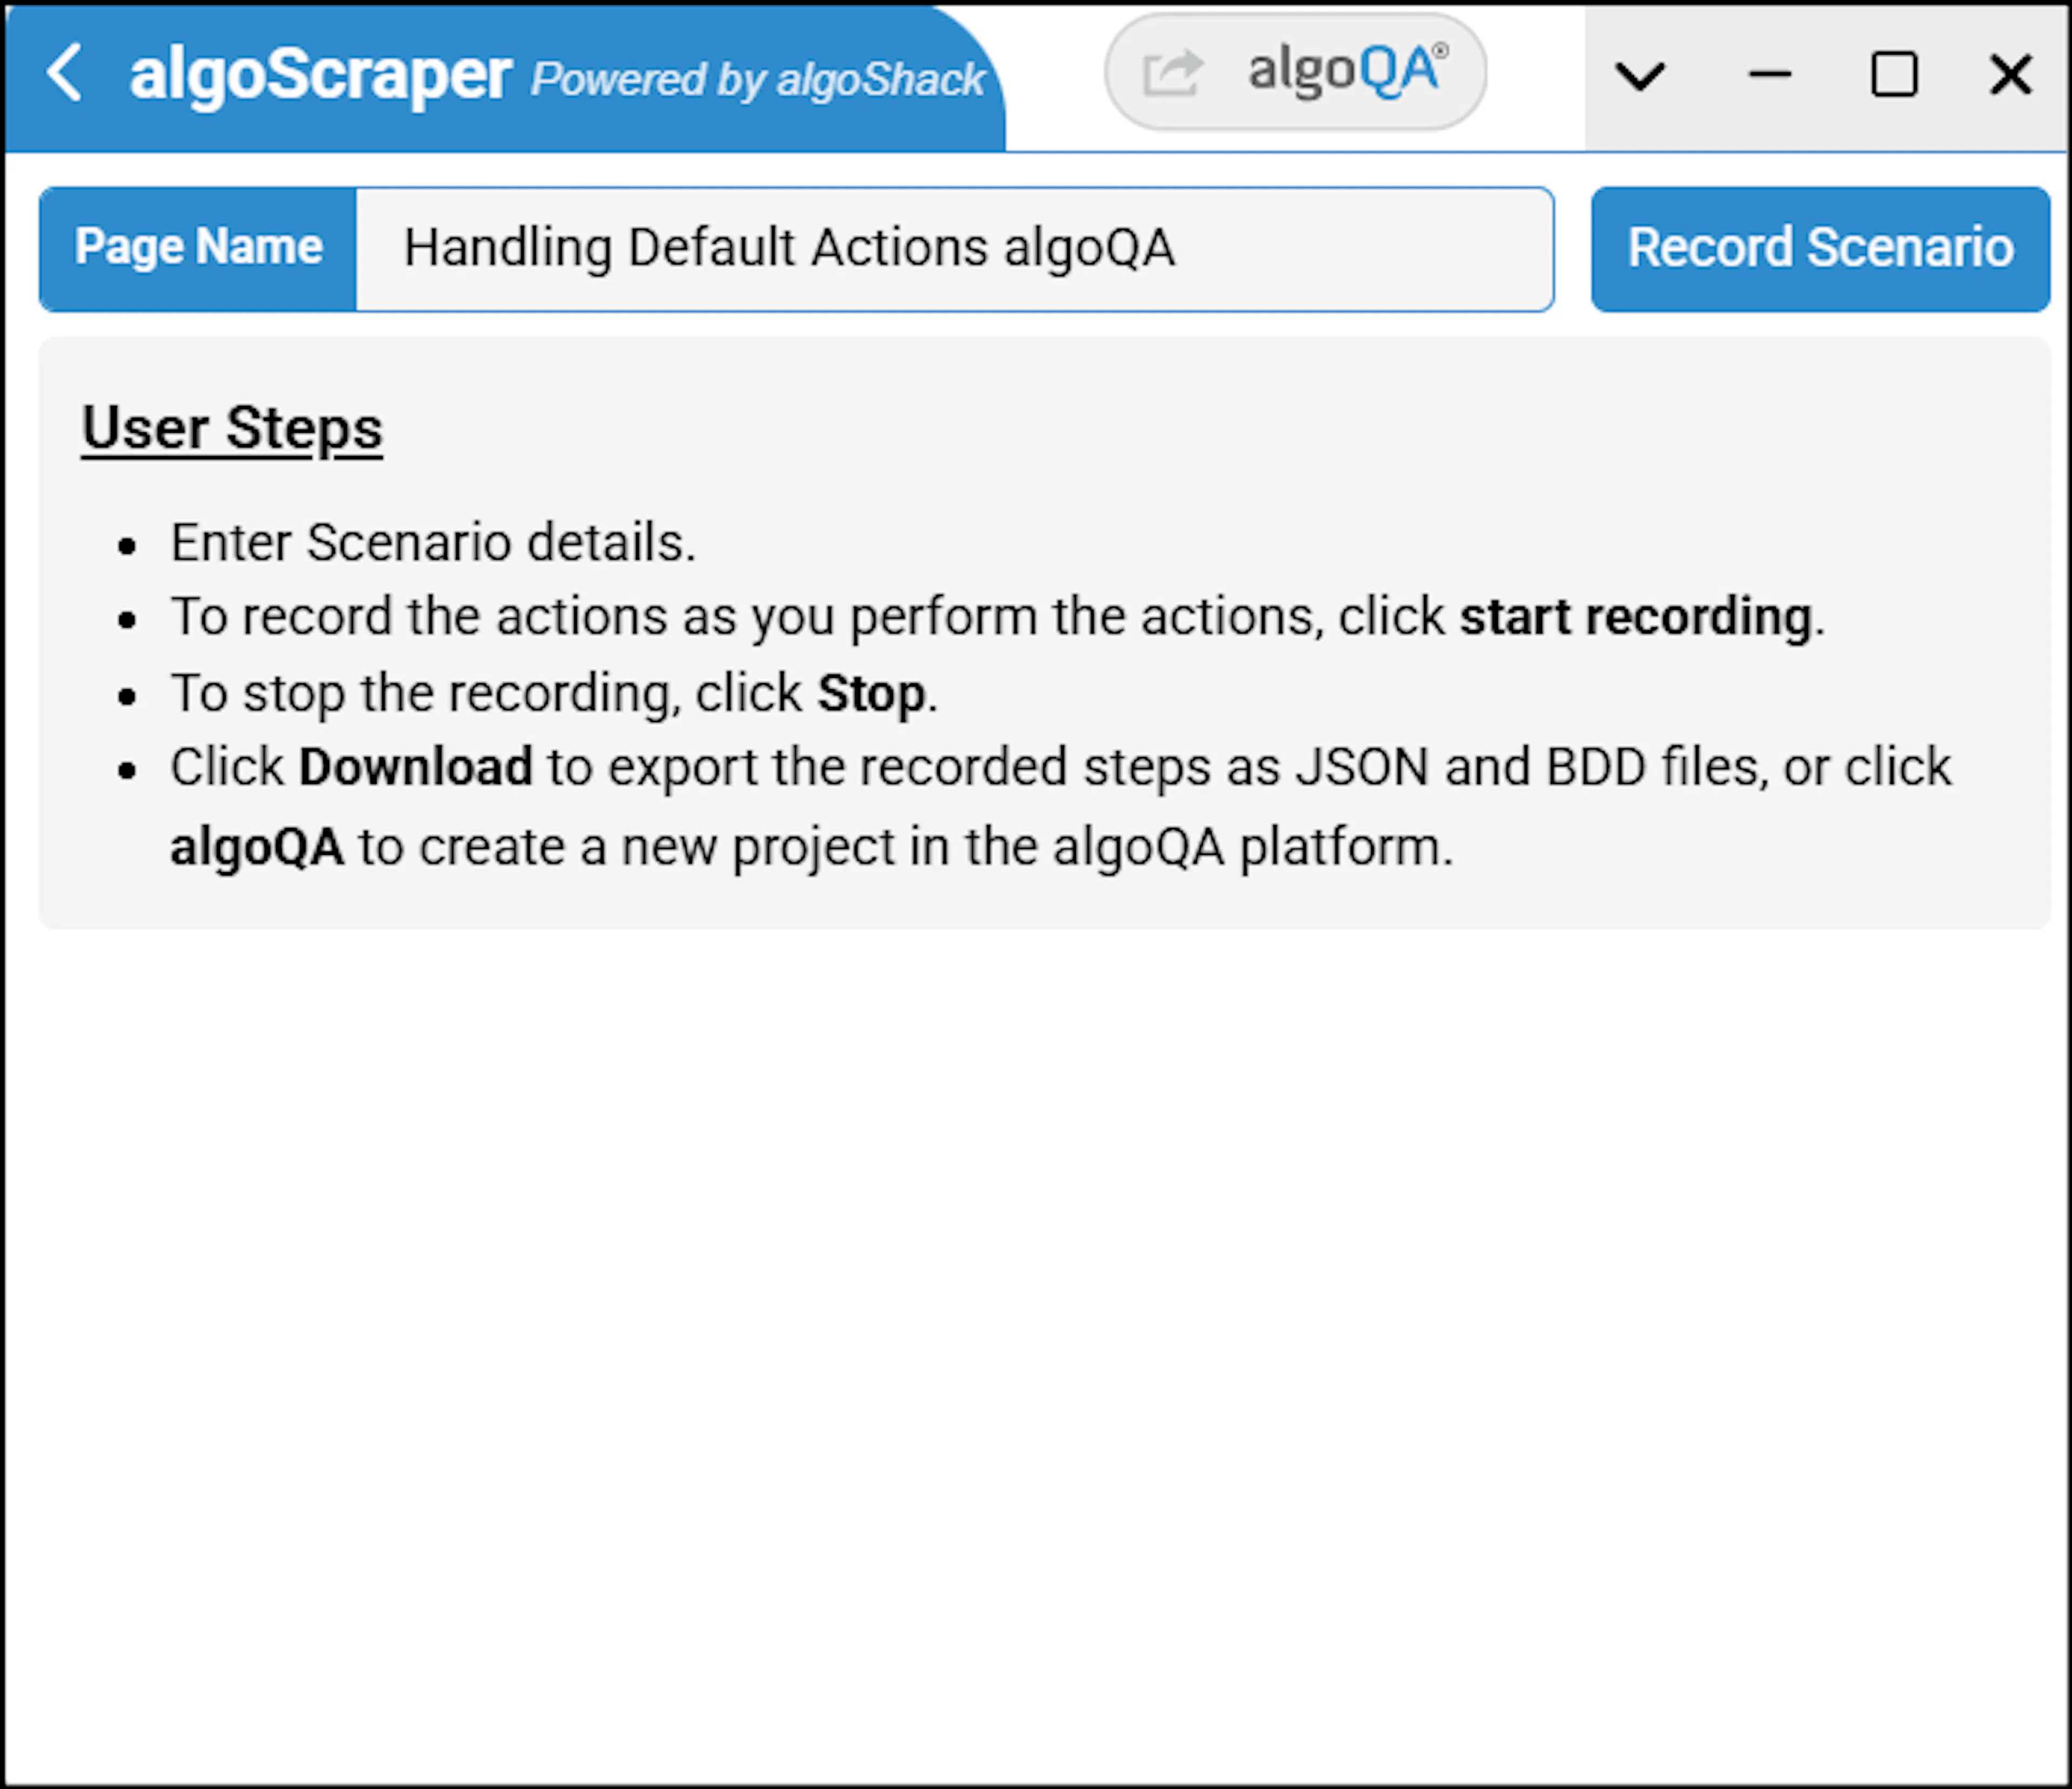
The page name is filled in automatically.
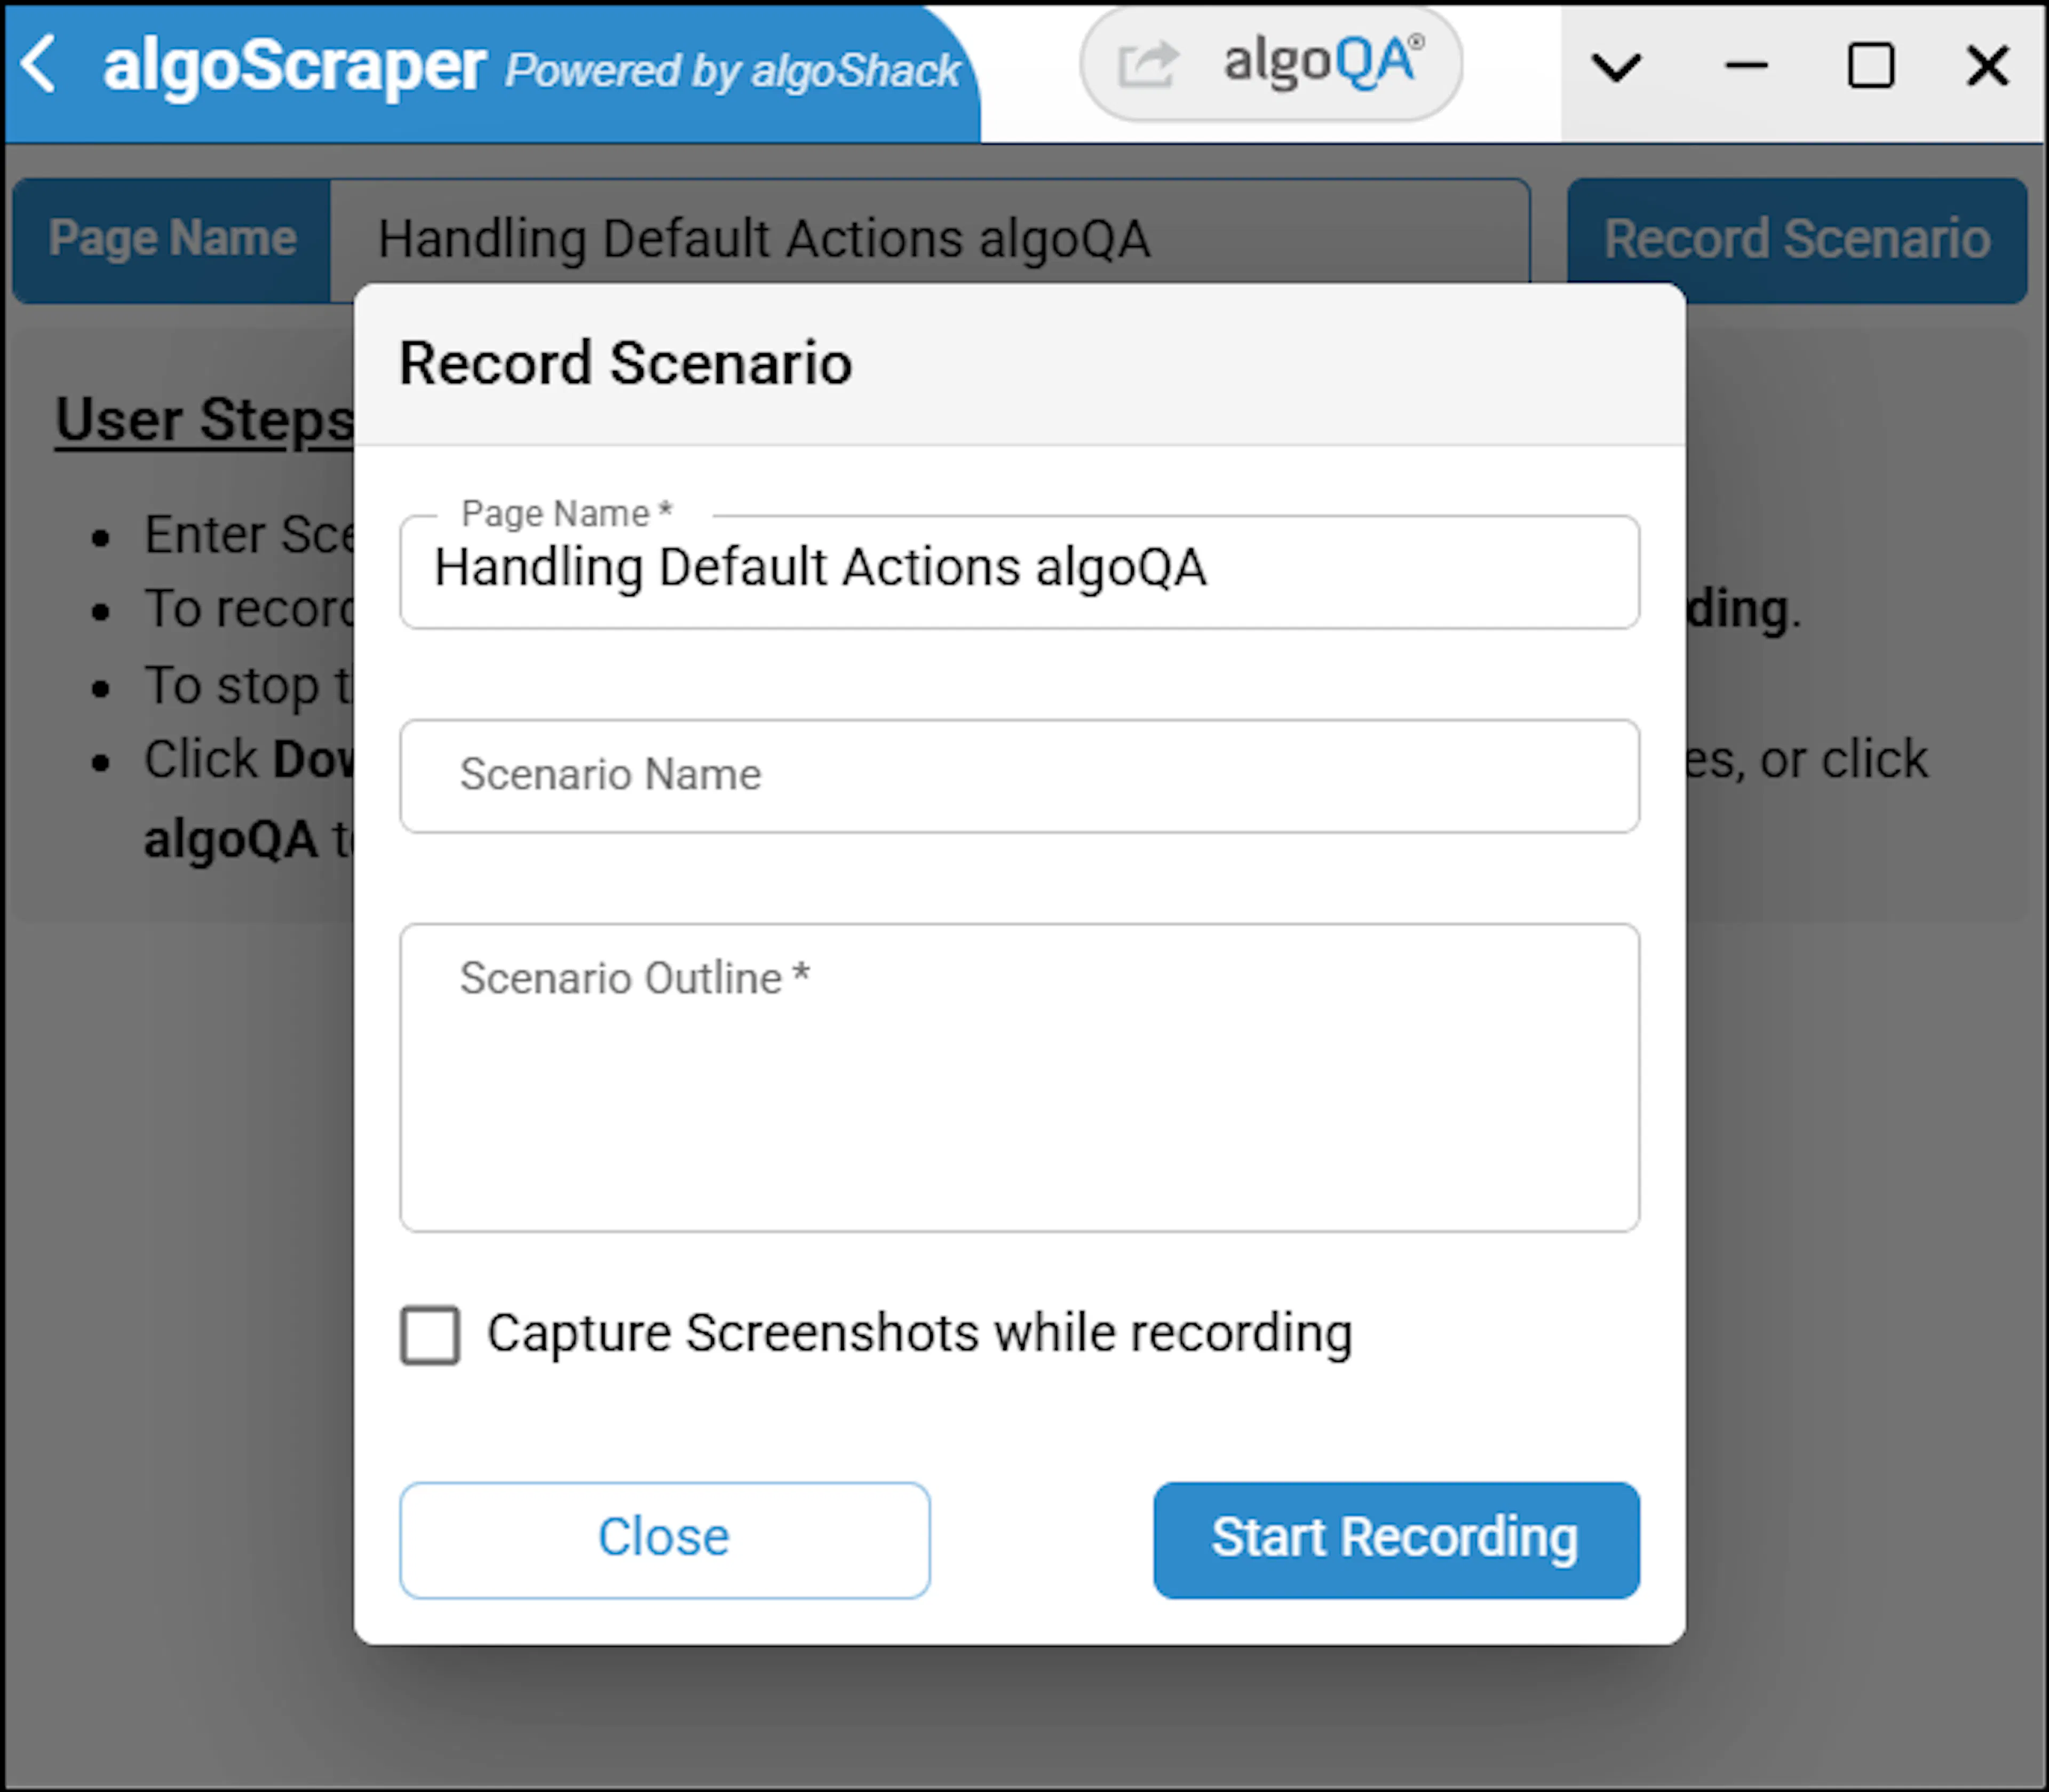
Click on Record Scenario and Record Scenario screen appears, Enter the Scenario Name and Scenario Outline, then click Start Recording. For more details on Online Recorder, click here.
Perform the actions in your application that need to be recorded as a scenario.
The captured steps will appear in a tabular format. If you want to add a custom action for a specific control, open the dropdown under the Action column next to the desired control name and click "+ Add New Action".
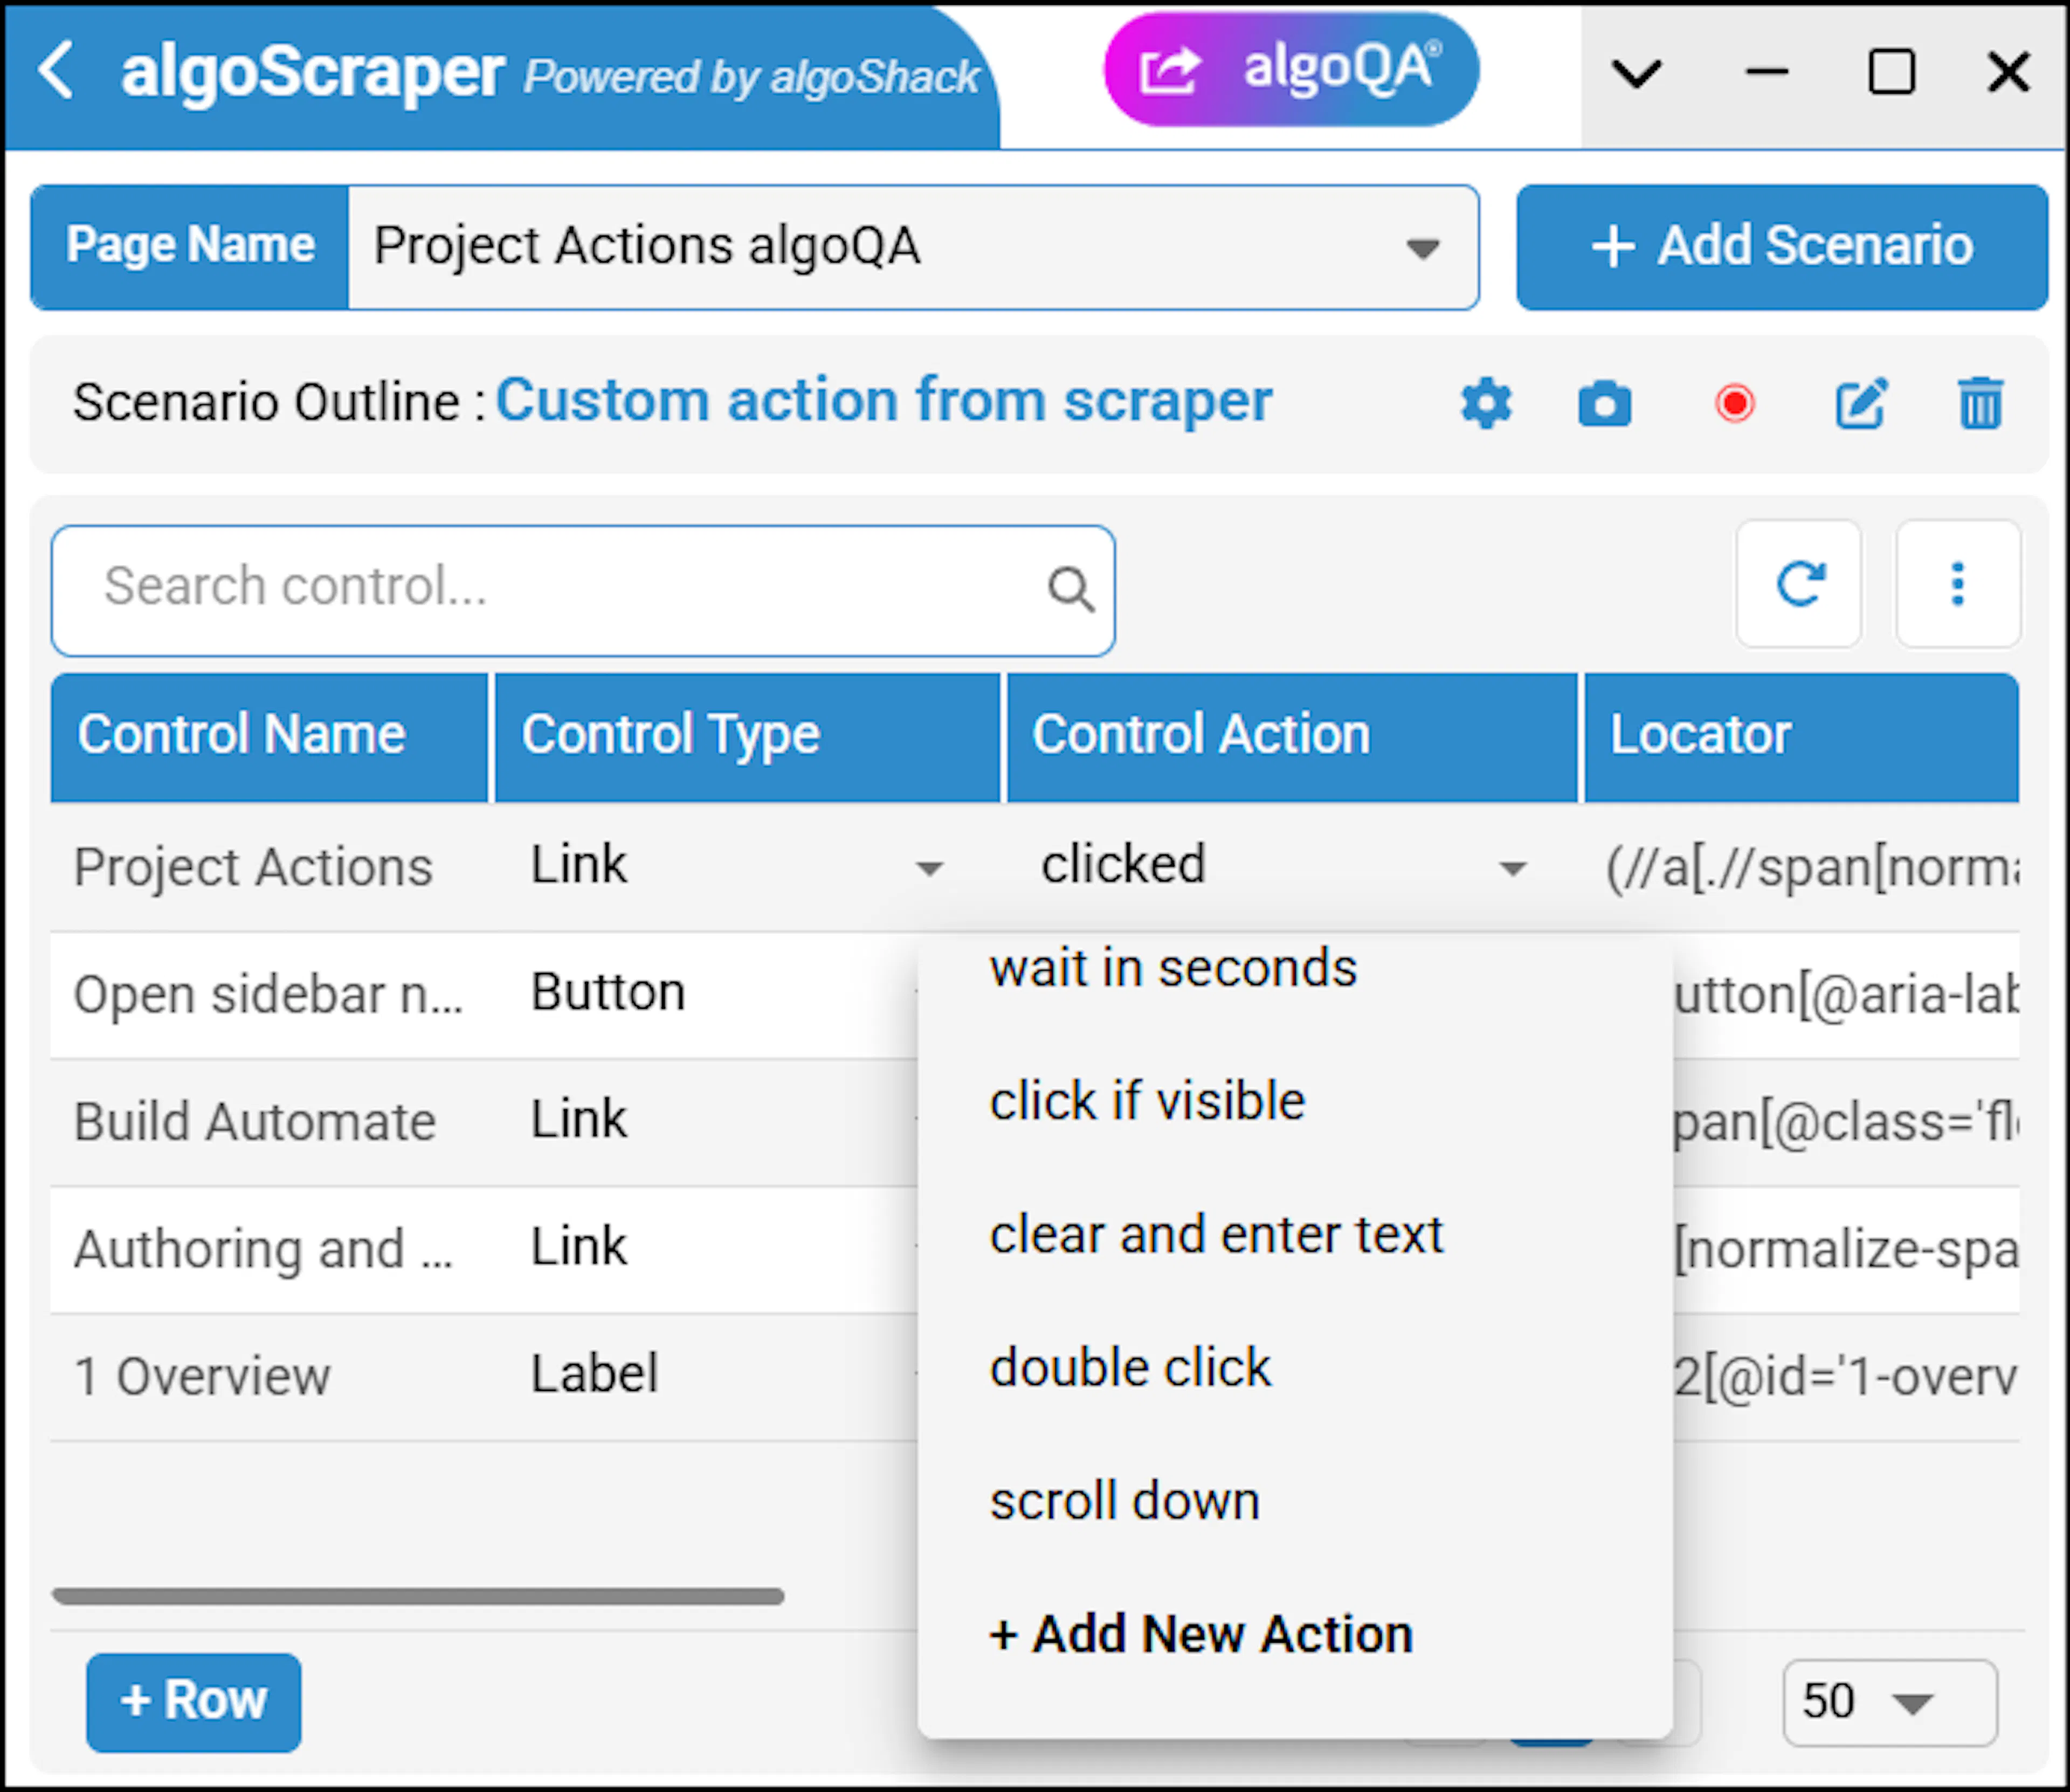
Enter the custom action name in the Add Control Action field and click Save.
The action name will be updated in the Action field.
Once you finish recording, click the Stop Recording button. Then click "Create Project in algoQA", which will navigate back to the Create Project page with the scraped file attached.
Click Create for the project to be created.
The file name will be created automatically under Utility.
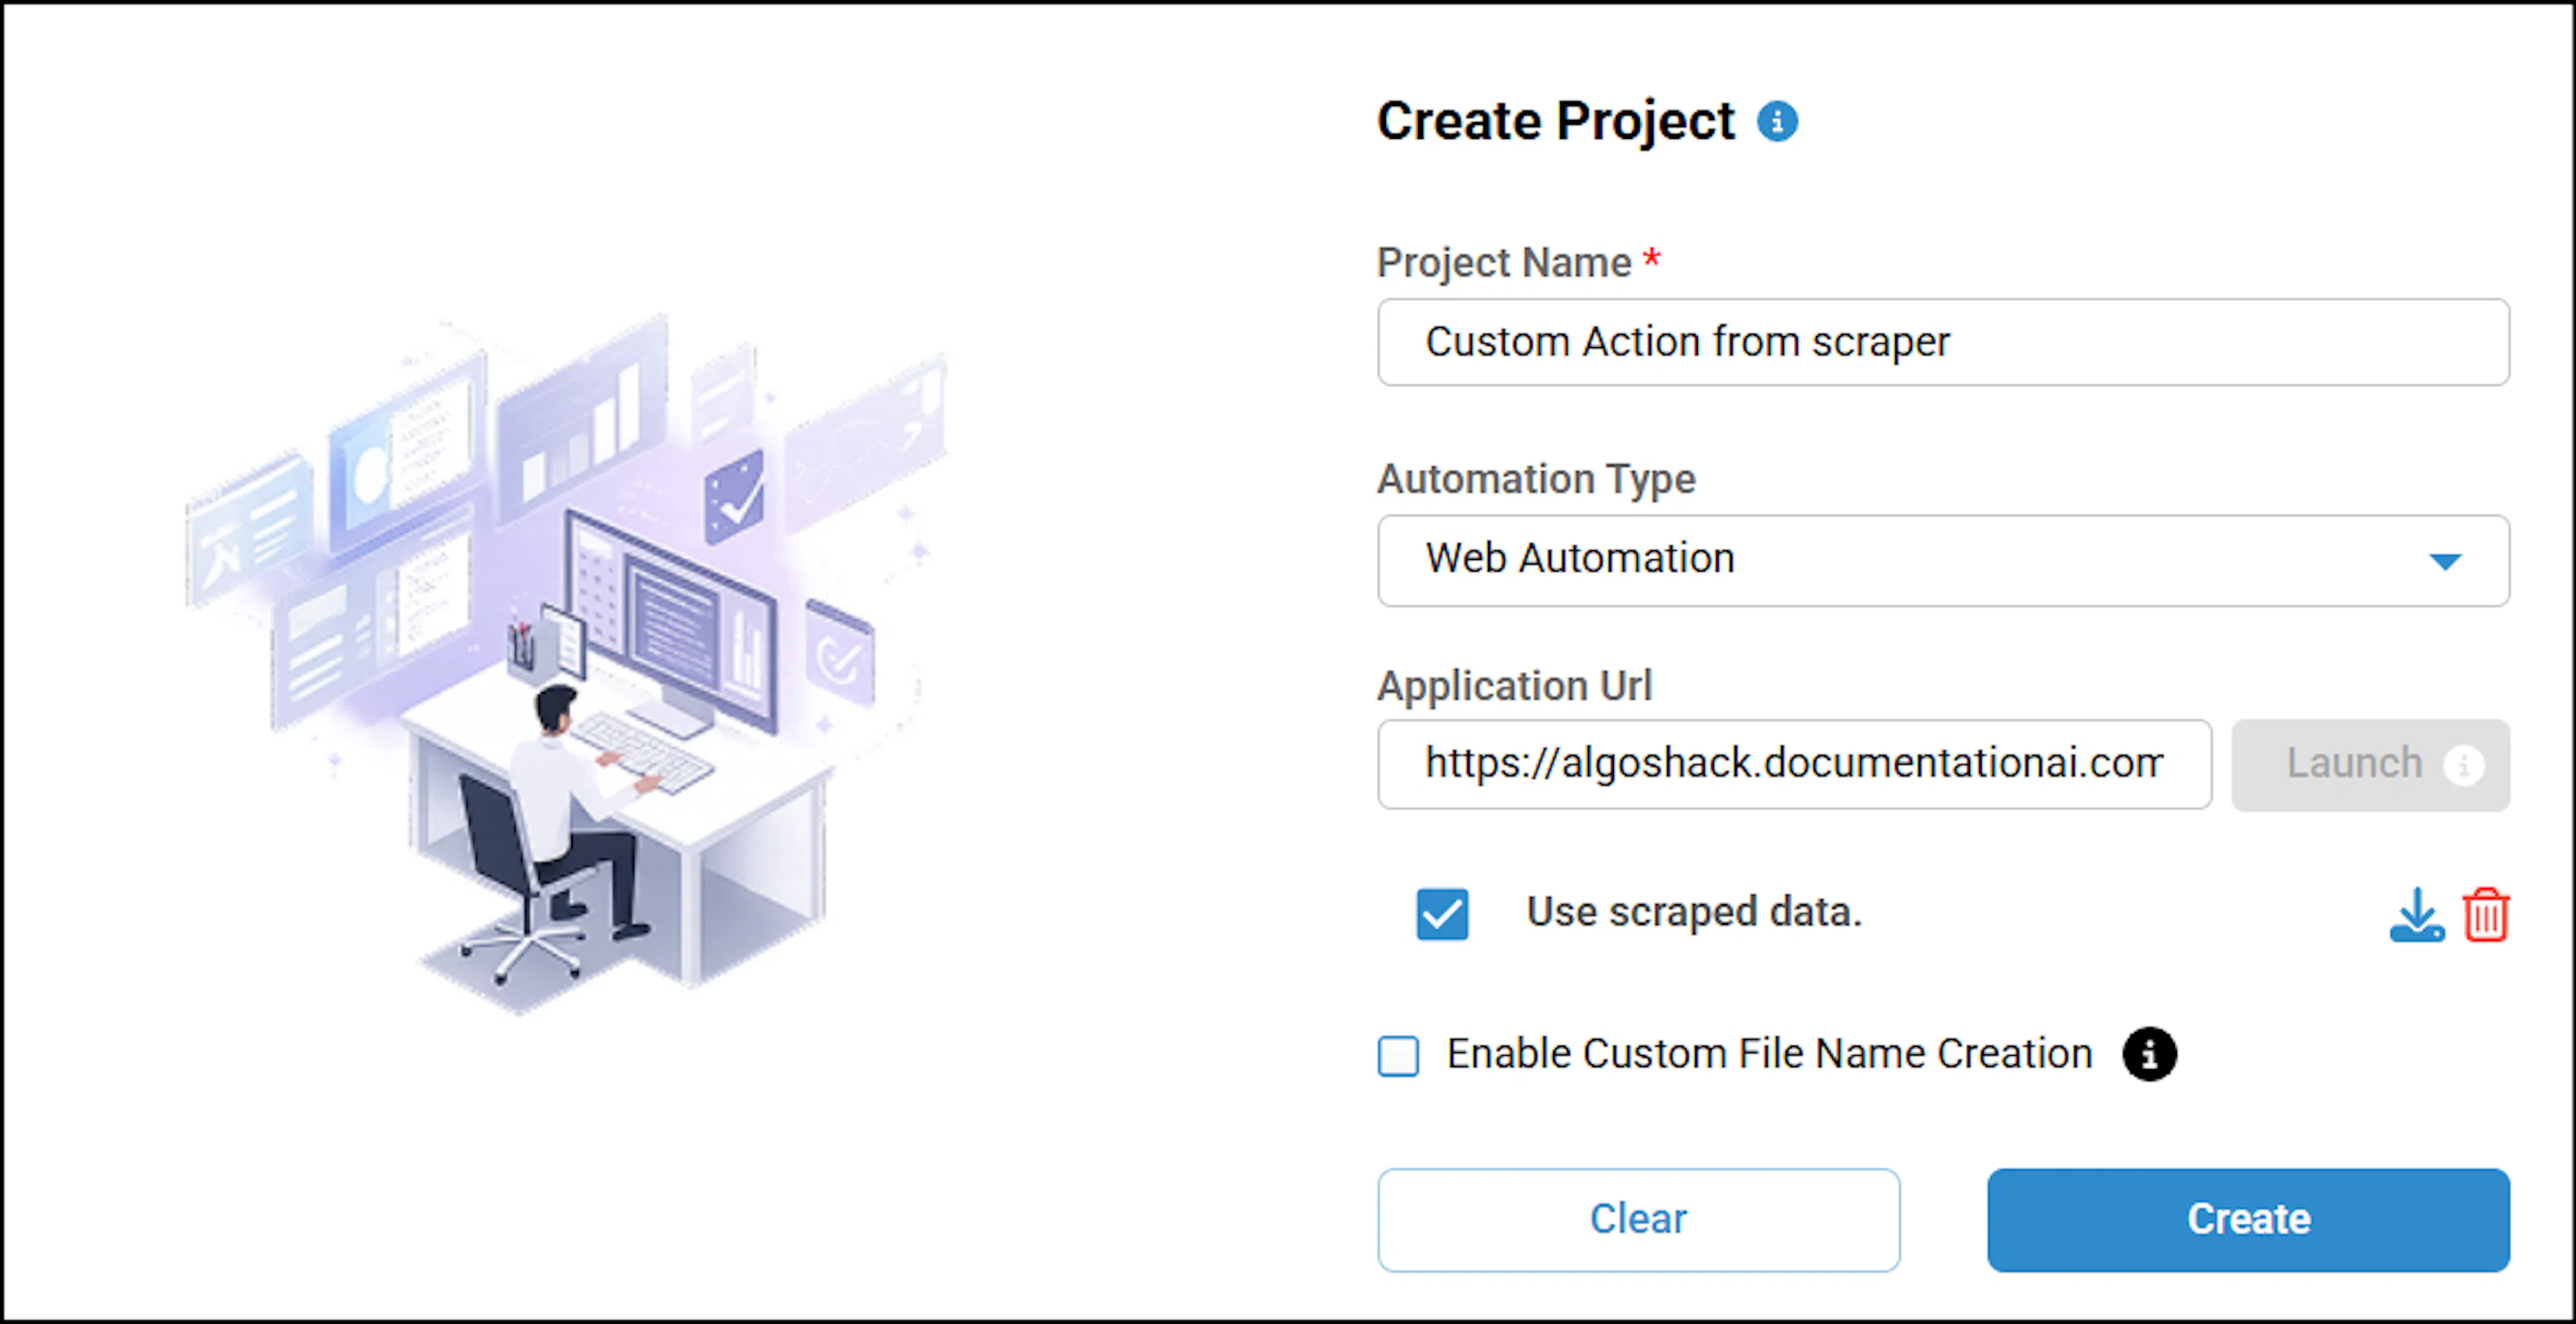
If you want to create a new file name, select the Enable Custom File Name Creation checkbox .
Then choose or enter a file name in the File Name field and click Create to generate the project. The file will be created under Utility, and the action will also be added to the custom action list.

How to Add Custom Action Through algoScraper while Re-Scraping
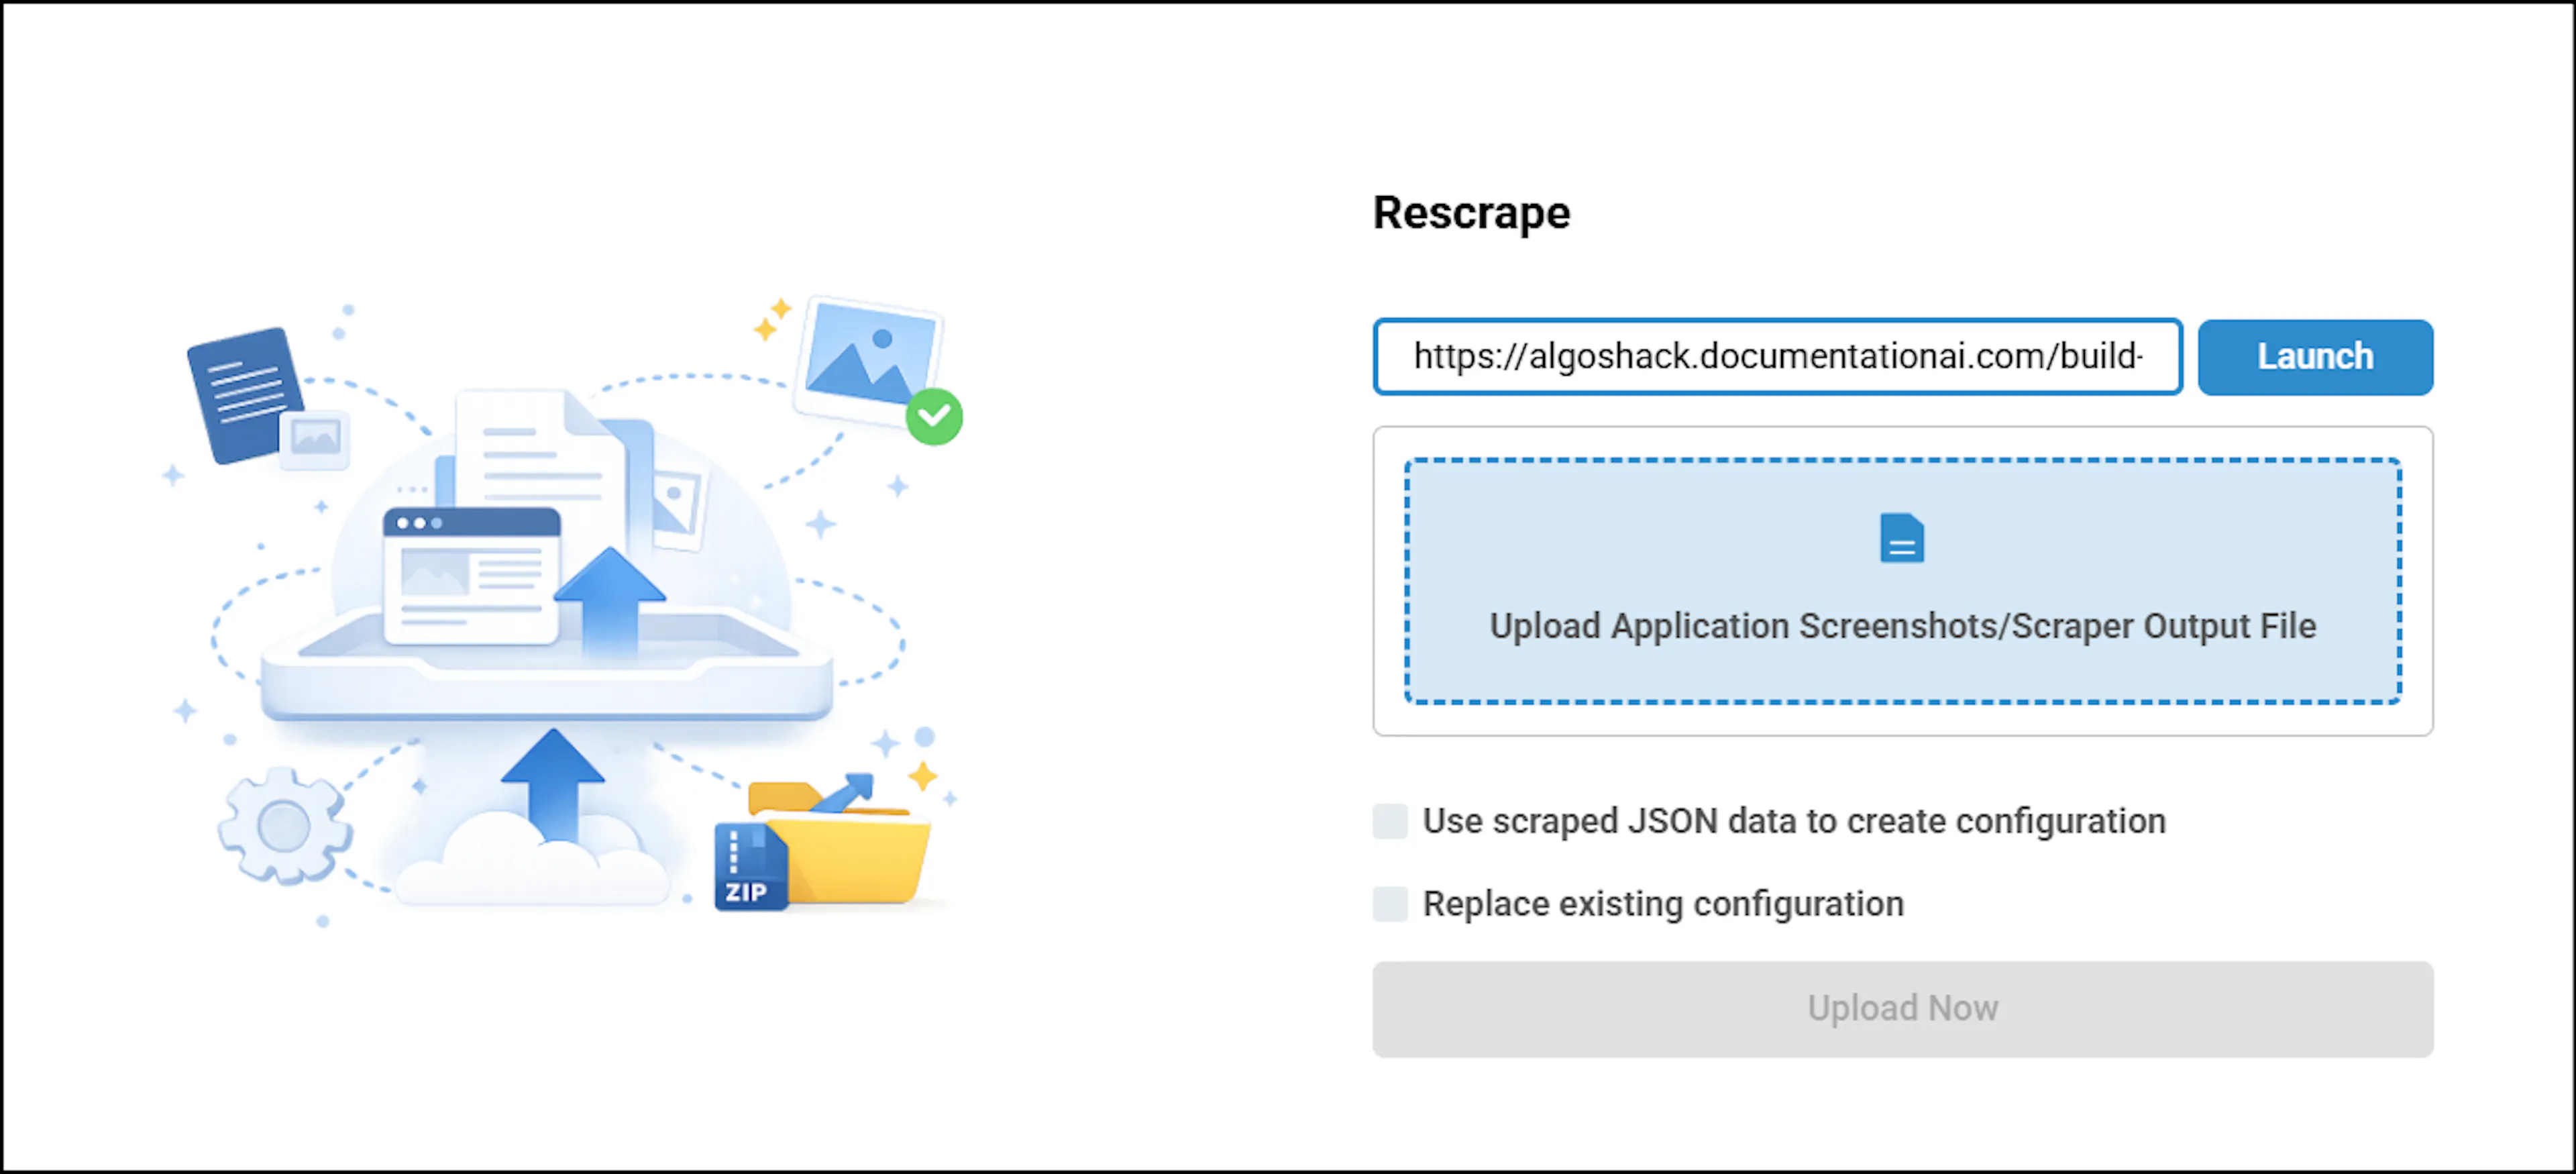
To re-scrape, open the More dropdown in the canvas and select Upload Scraped Data .
Enter the target URL in the Application URL field and click Launch. For more information on launching the scraper through the Upload Scraped Data page, click here.
Follow steps 3, 4, and 5 from the previous section.
The action name will be updated in the Action field.
Once you finish recording, click the Stop Recording button. Then click "Create Project in algoQA", which will navigate back to the Upload Scraped Data page with the scraped file attached.
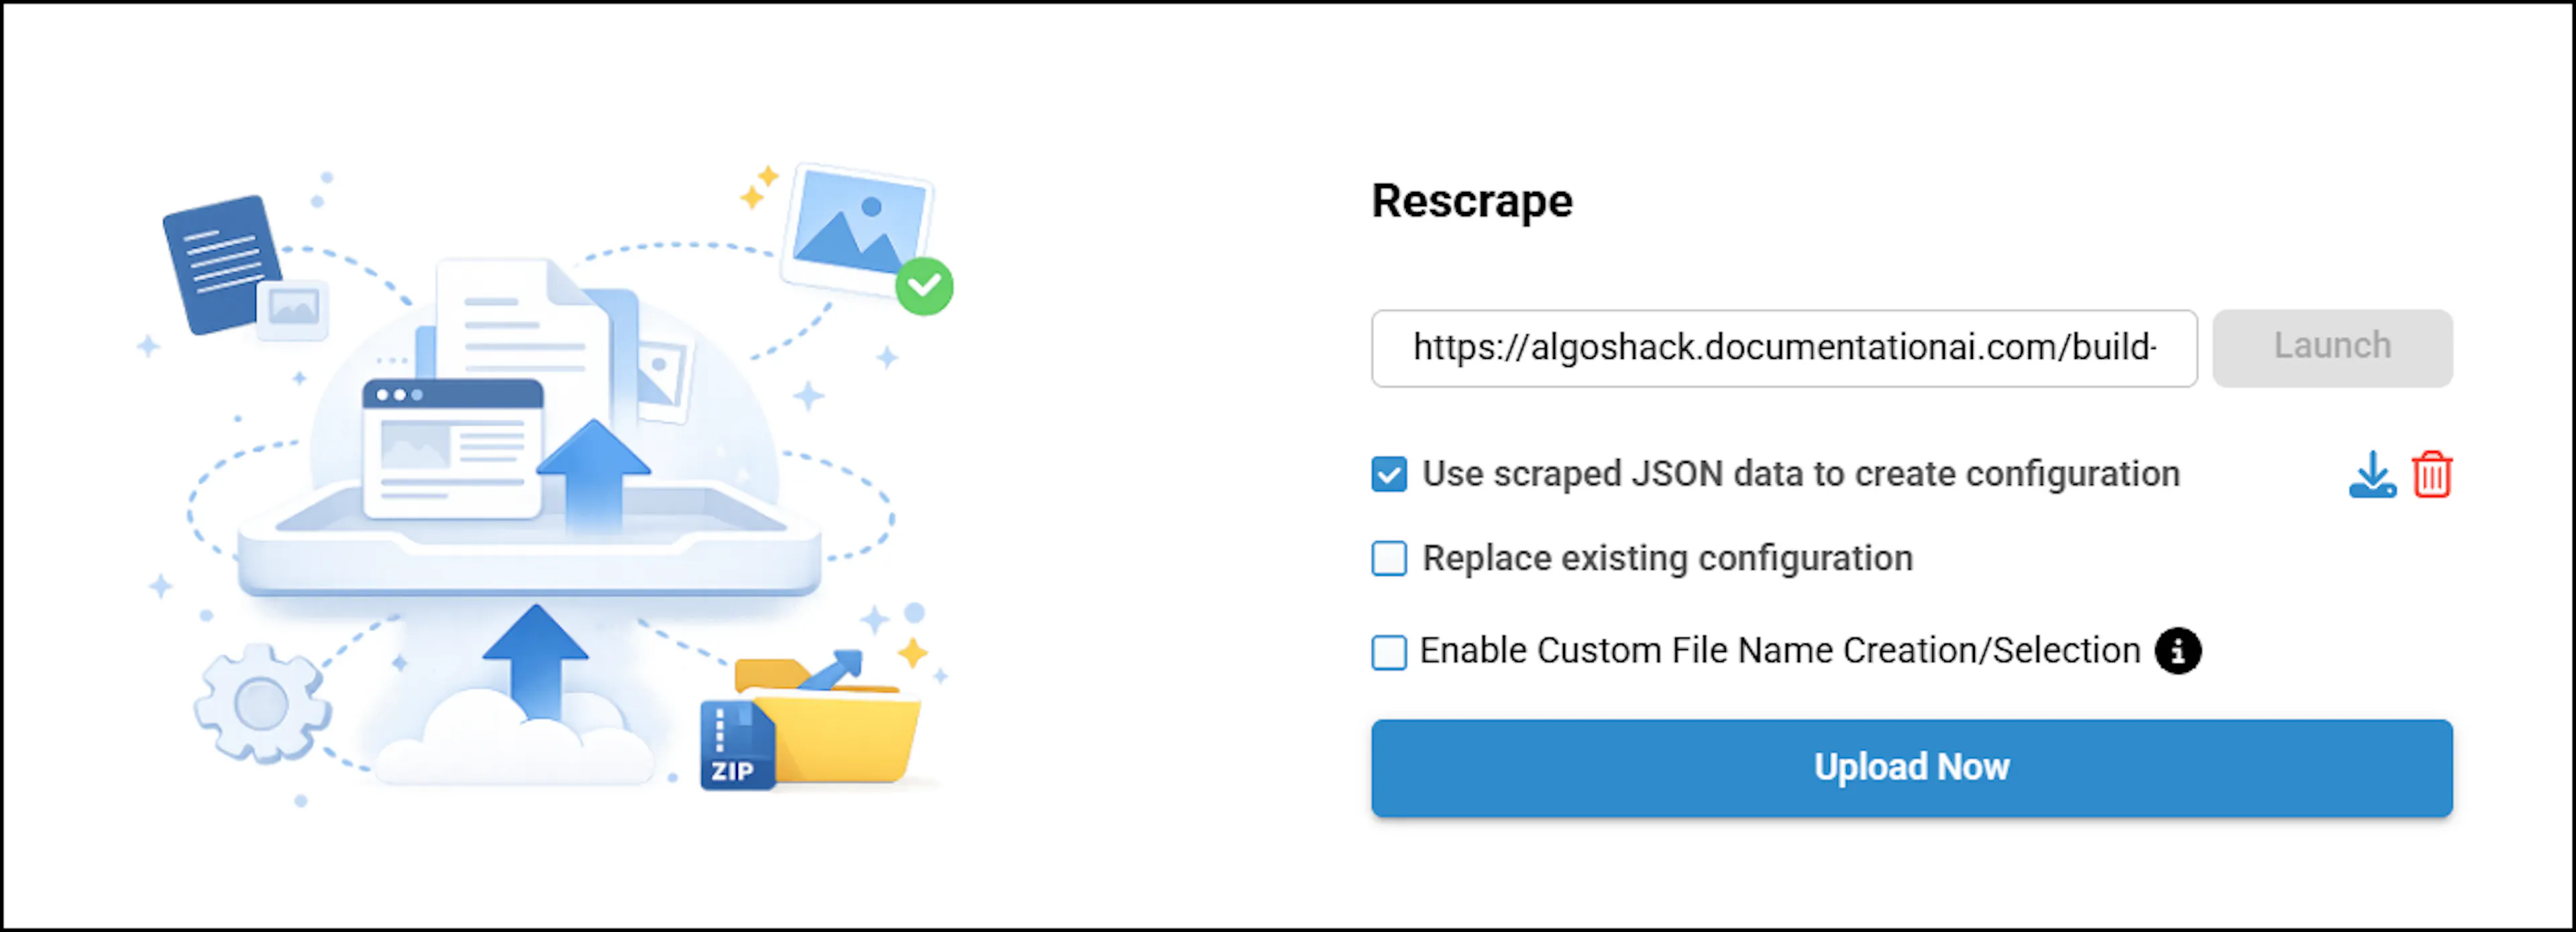
Click 'Upload Now' to upload the scraped file.
The file name will be automatically generated under Utility.
If you want to create a new file name, select the Enable Custom File Name Creation/Selection checkbox .
Then choose or enter a file name in the File Name field and click Create to generate the project. The file will be created under Utility, and the action will also be added to the custom action list.