Toolbars and Views within the algoQA Platform
A tour of the Main Page: dashboard, project list, filters, downloads, and Copilot.
algoQA Platform Main Page Overview
Upon logging in successfully with your credentials, you will see the Main Page. The Main Page contains:
- Dashboard
- Projects
- Downloads
- Wiki
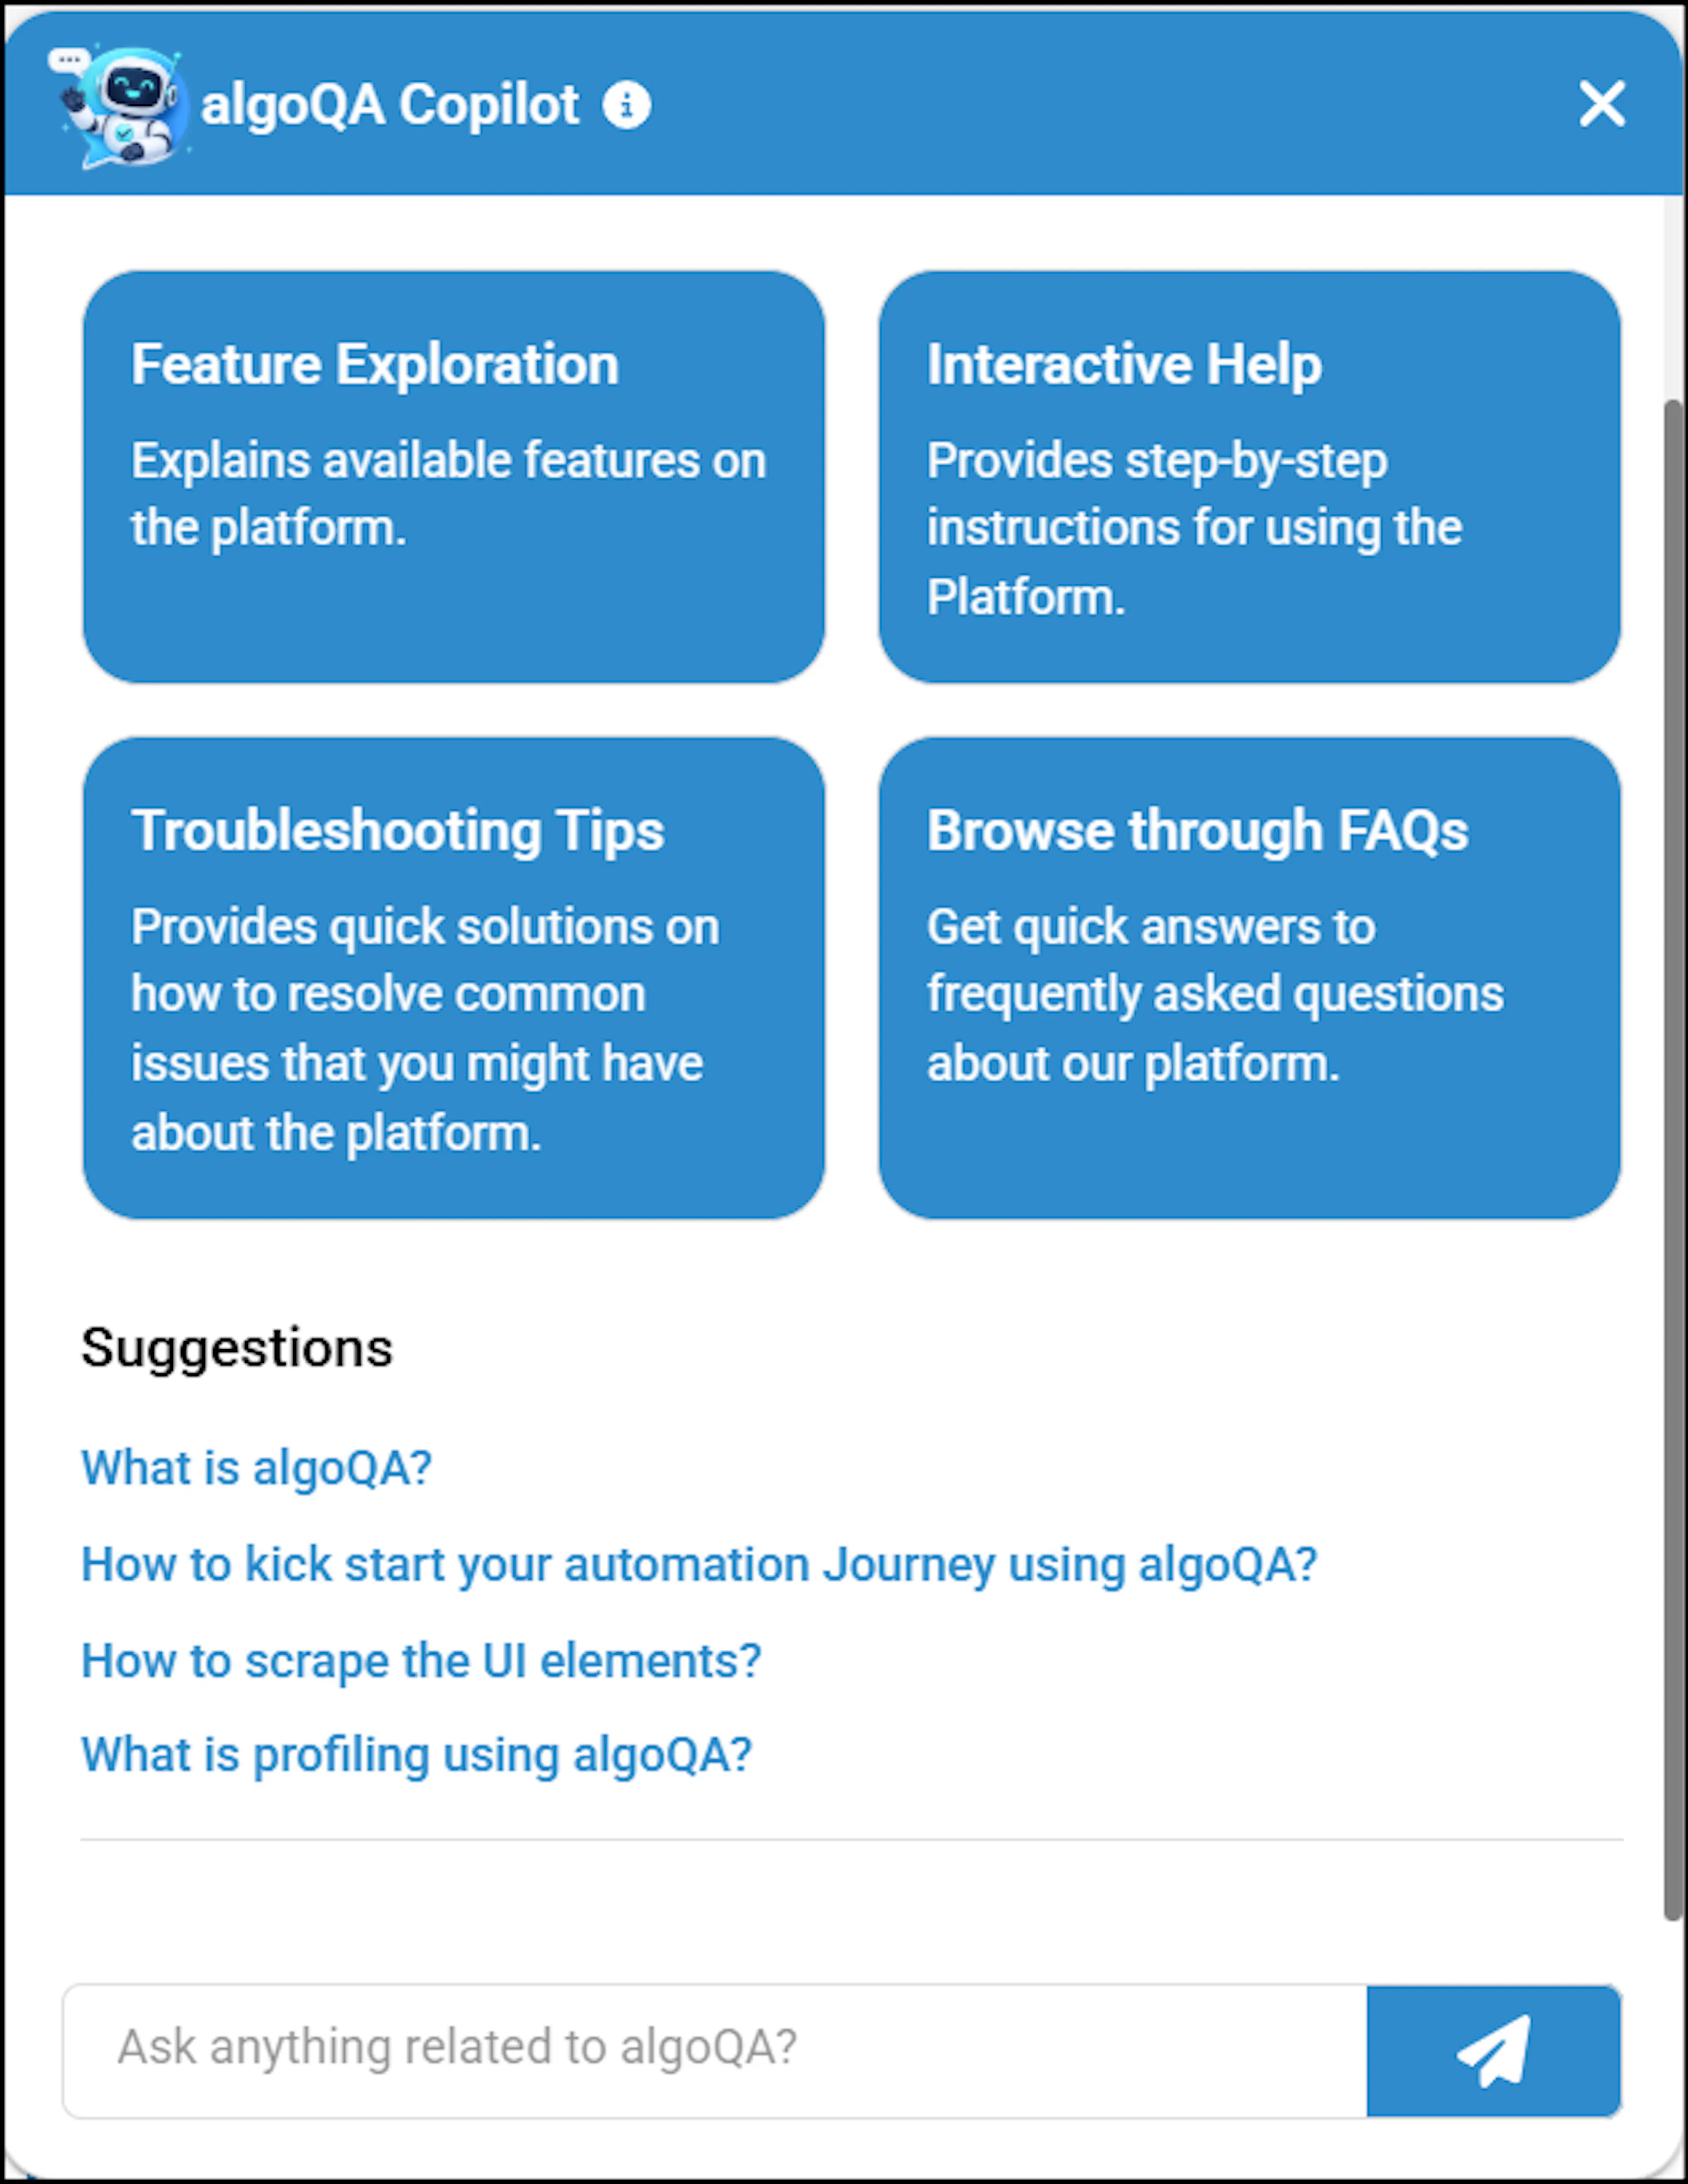
- algoQA Copilot
Dashboard
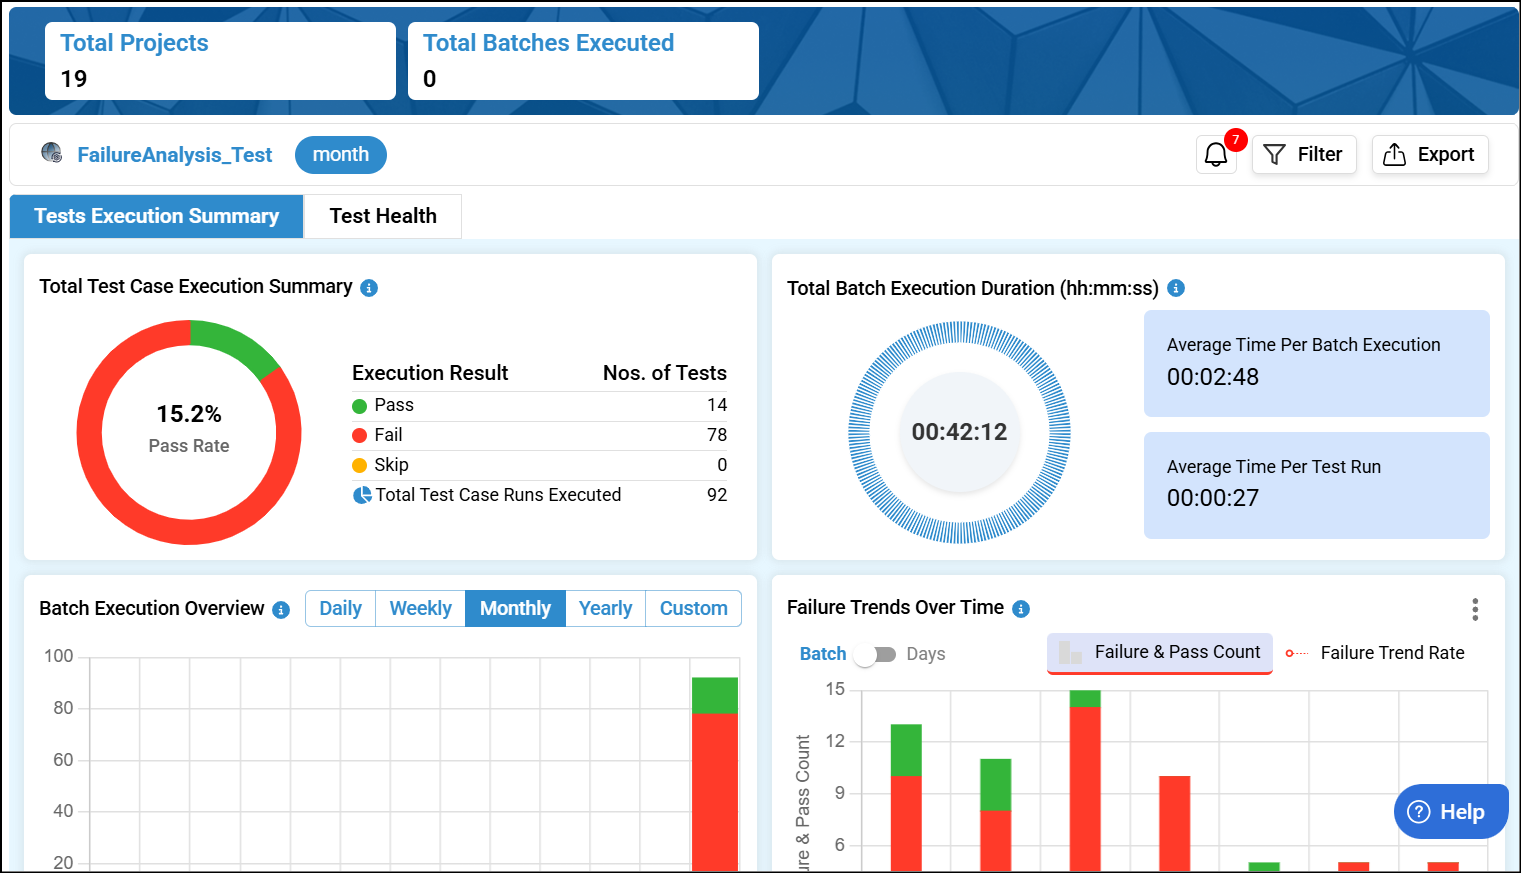
The Dashboard provides a structured view of the execution summary. You can filter by timeframe and export the report. To learn more, refer to Dashboard.
Dashboard includes:
- Test Execution Summary
- Test Health
- Smart Ordering
- Failure Analysis
Projects
The Projects section helps you create and manage your projects with ease. You can quickly find a project by entering its name in the search bar. Additionally, you can refine your results using the Filter option next to the search bar.
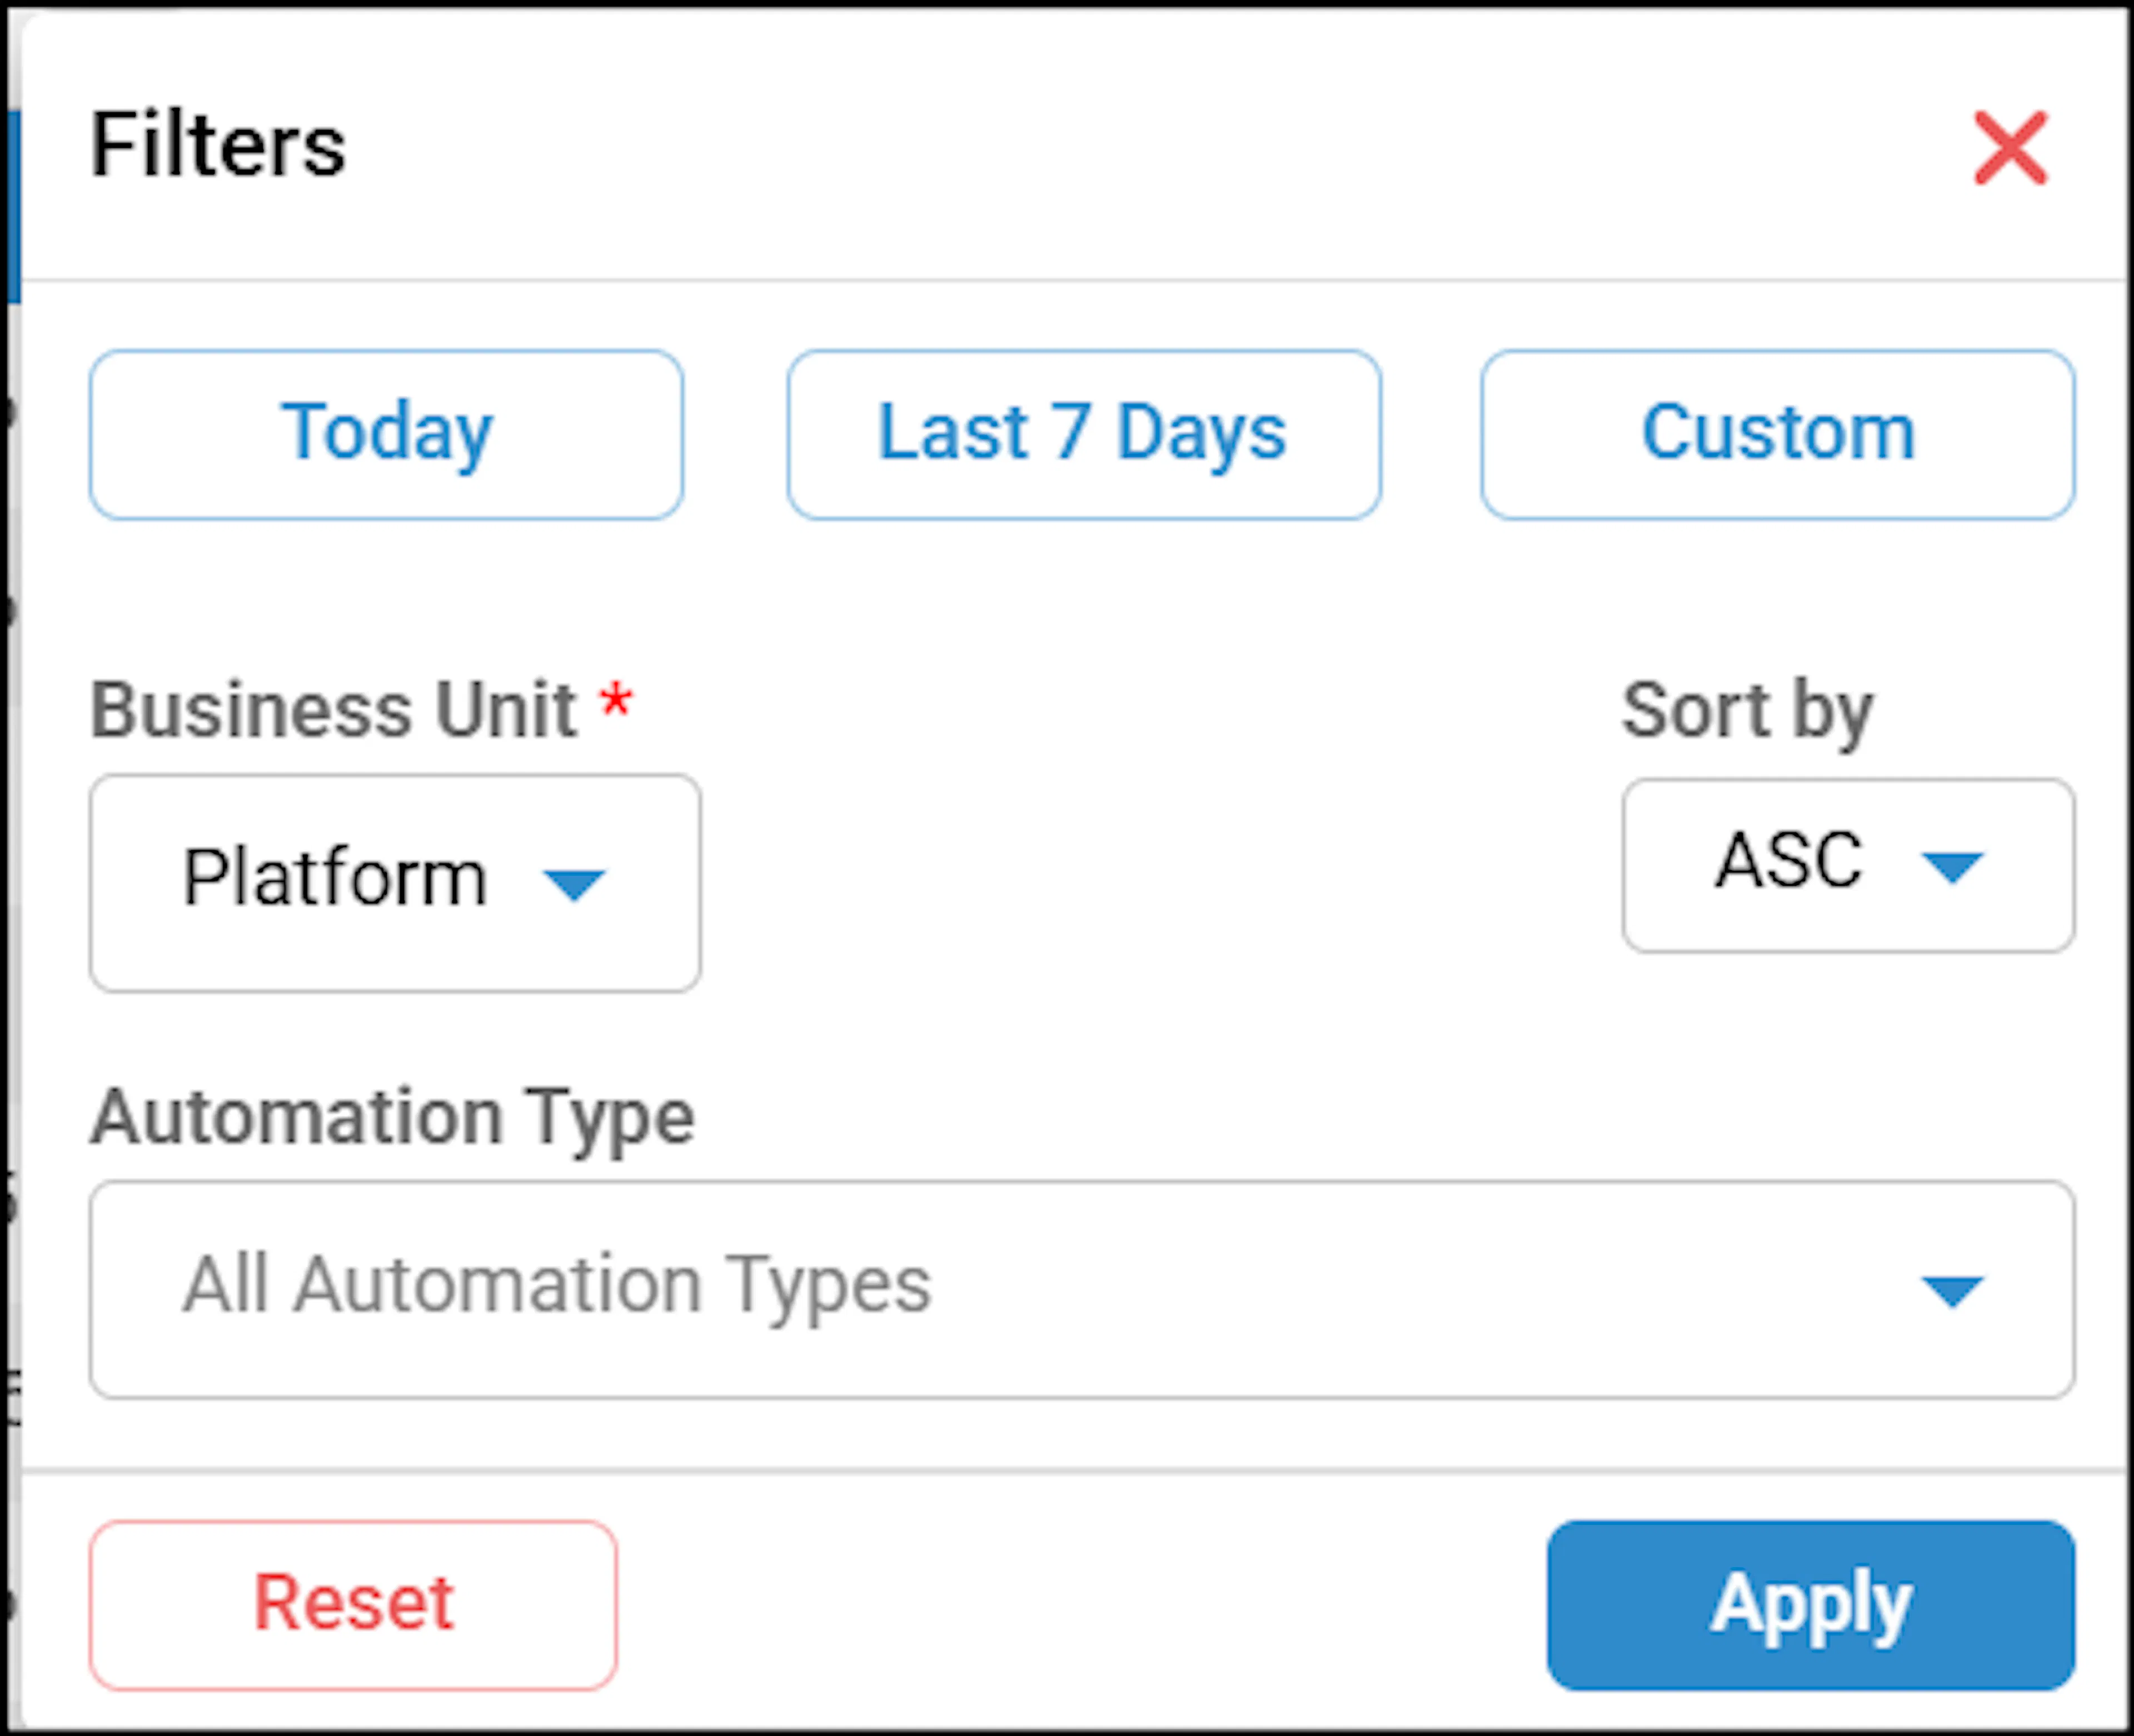
Available filters include Today, Last 7 Days, or a custom date range, along with Business Unit, Automation Type, and sorting options in ascending or descending order.
Projects include:
- Create Project
- Search bar
- Filter
- Import
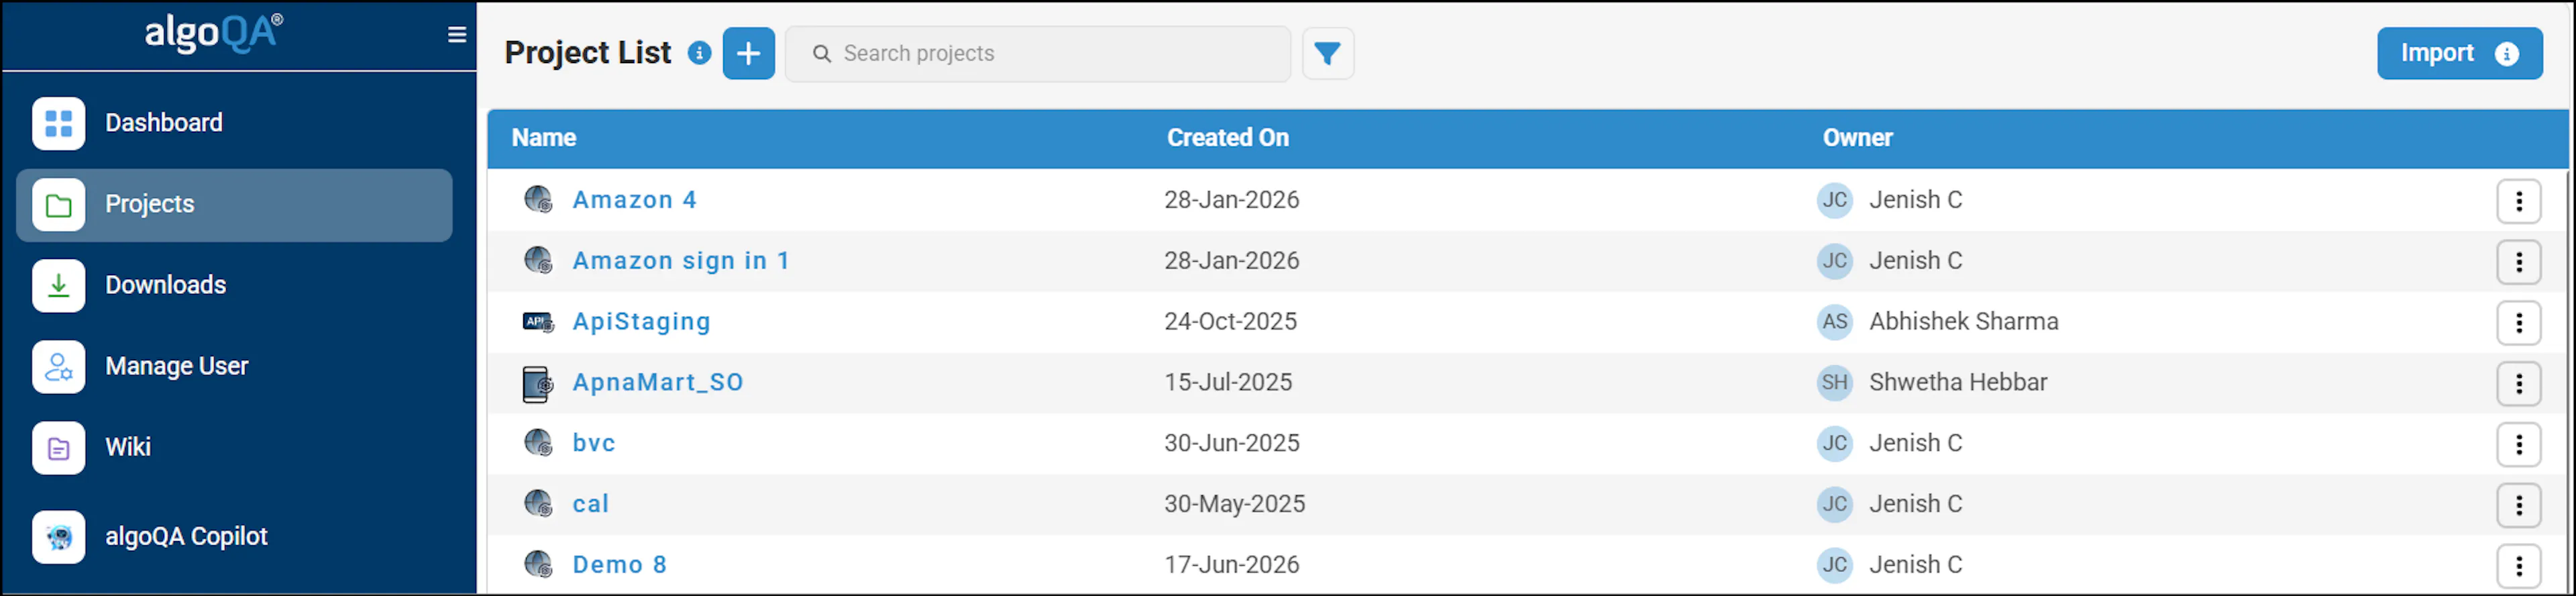
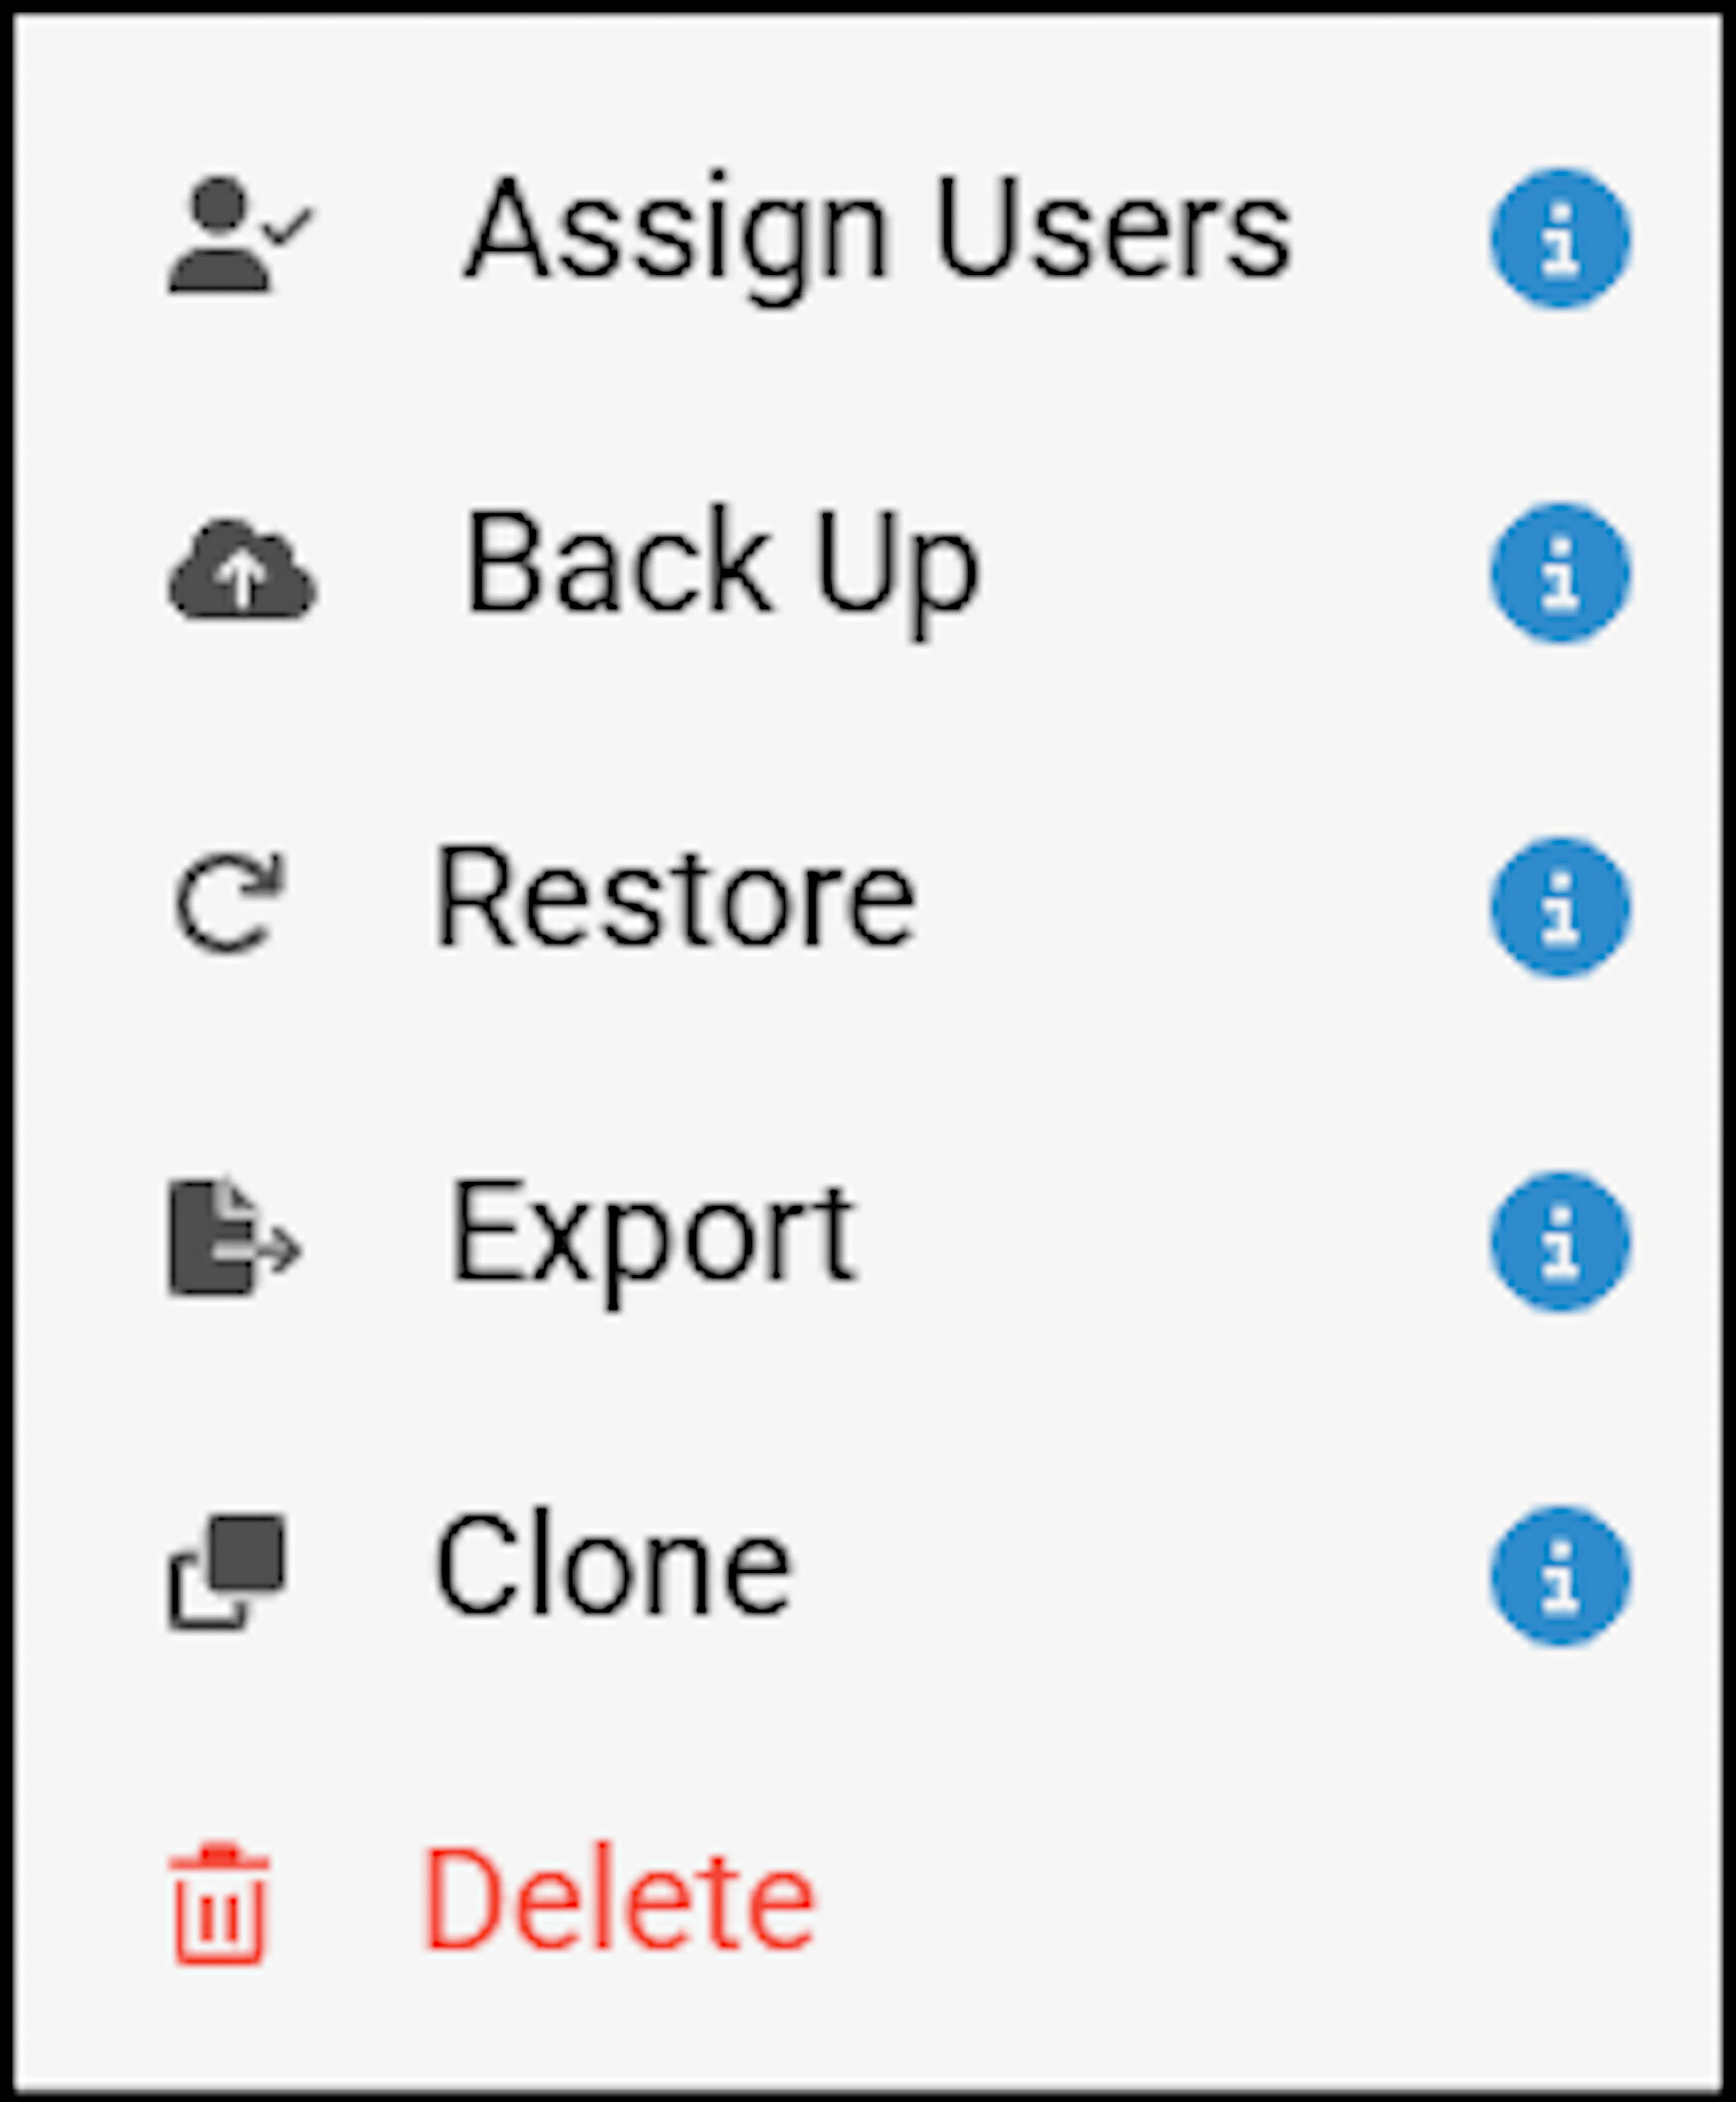
From the More Options (⋮) menu next to the project, you can assign the project to a teammate, back up, restore, export, clone, or delete the project.
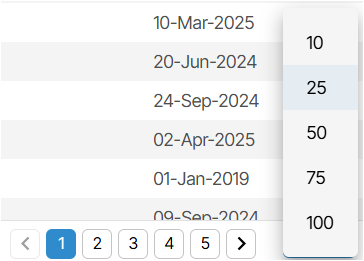
You can navigate to different projects by clicking the arrows next to the page numbers. Pagination is available at the end of the Project pane, and you can also select the number of projects to display on a page.
Create a Project Using the Plus Icon Button
To create a new project, click the plus icon.
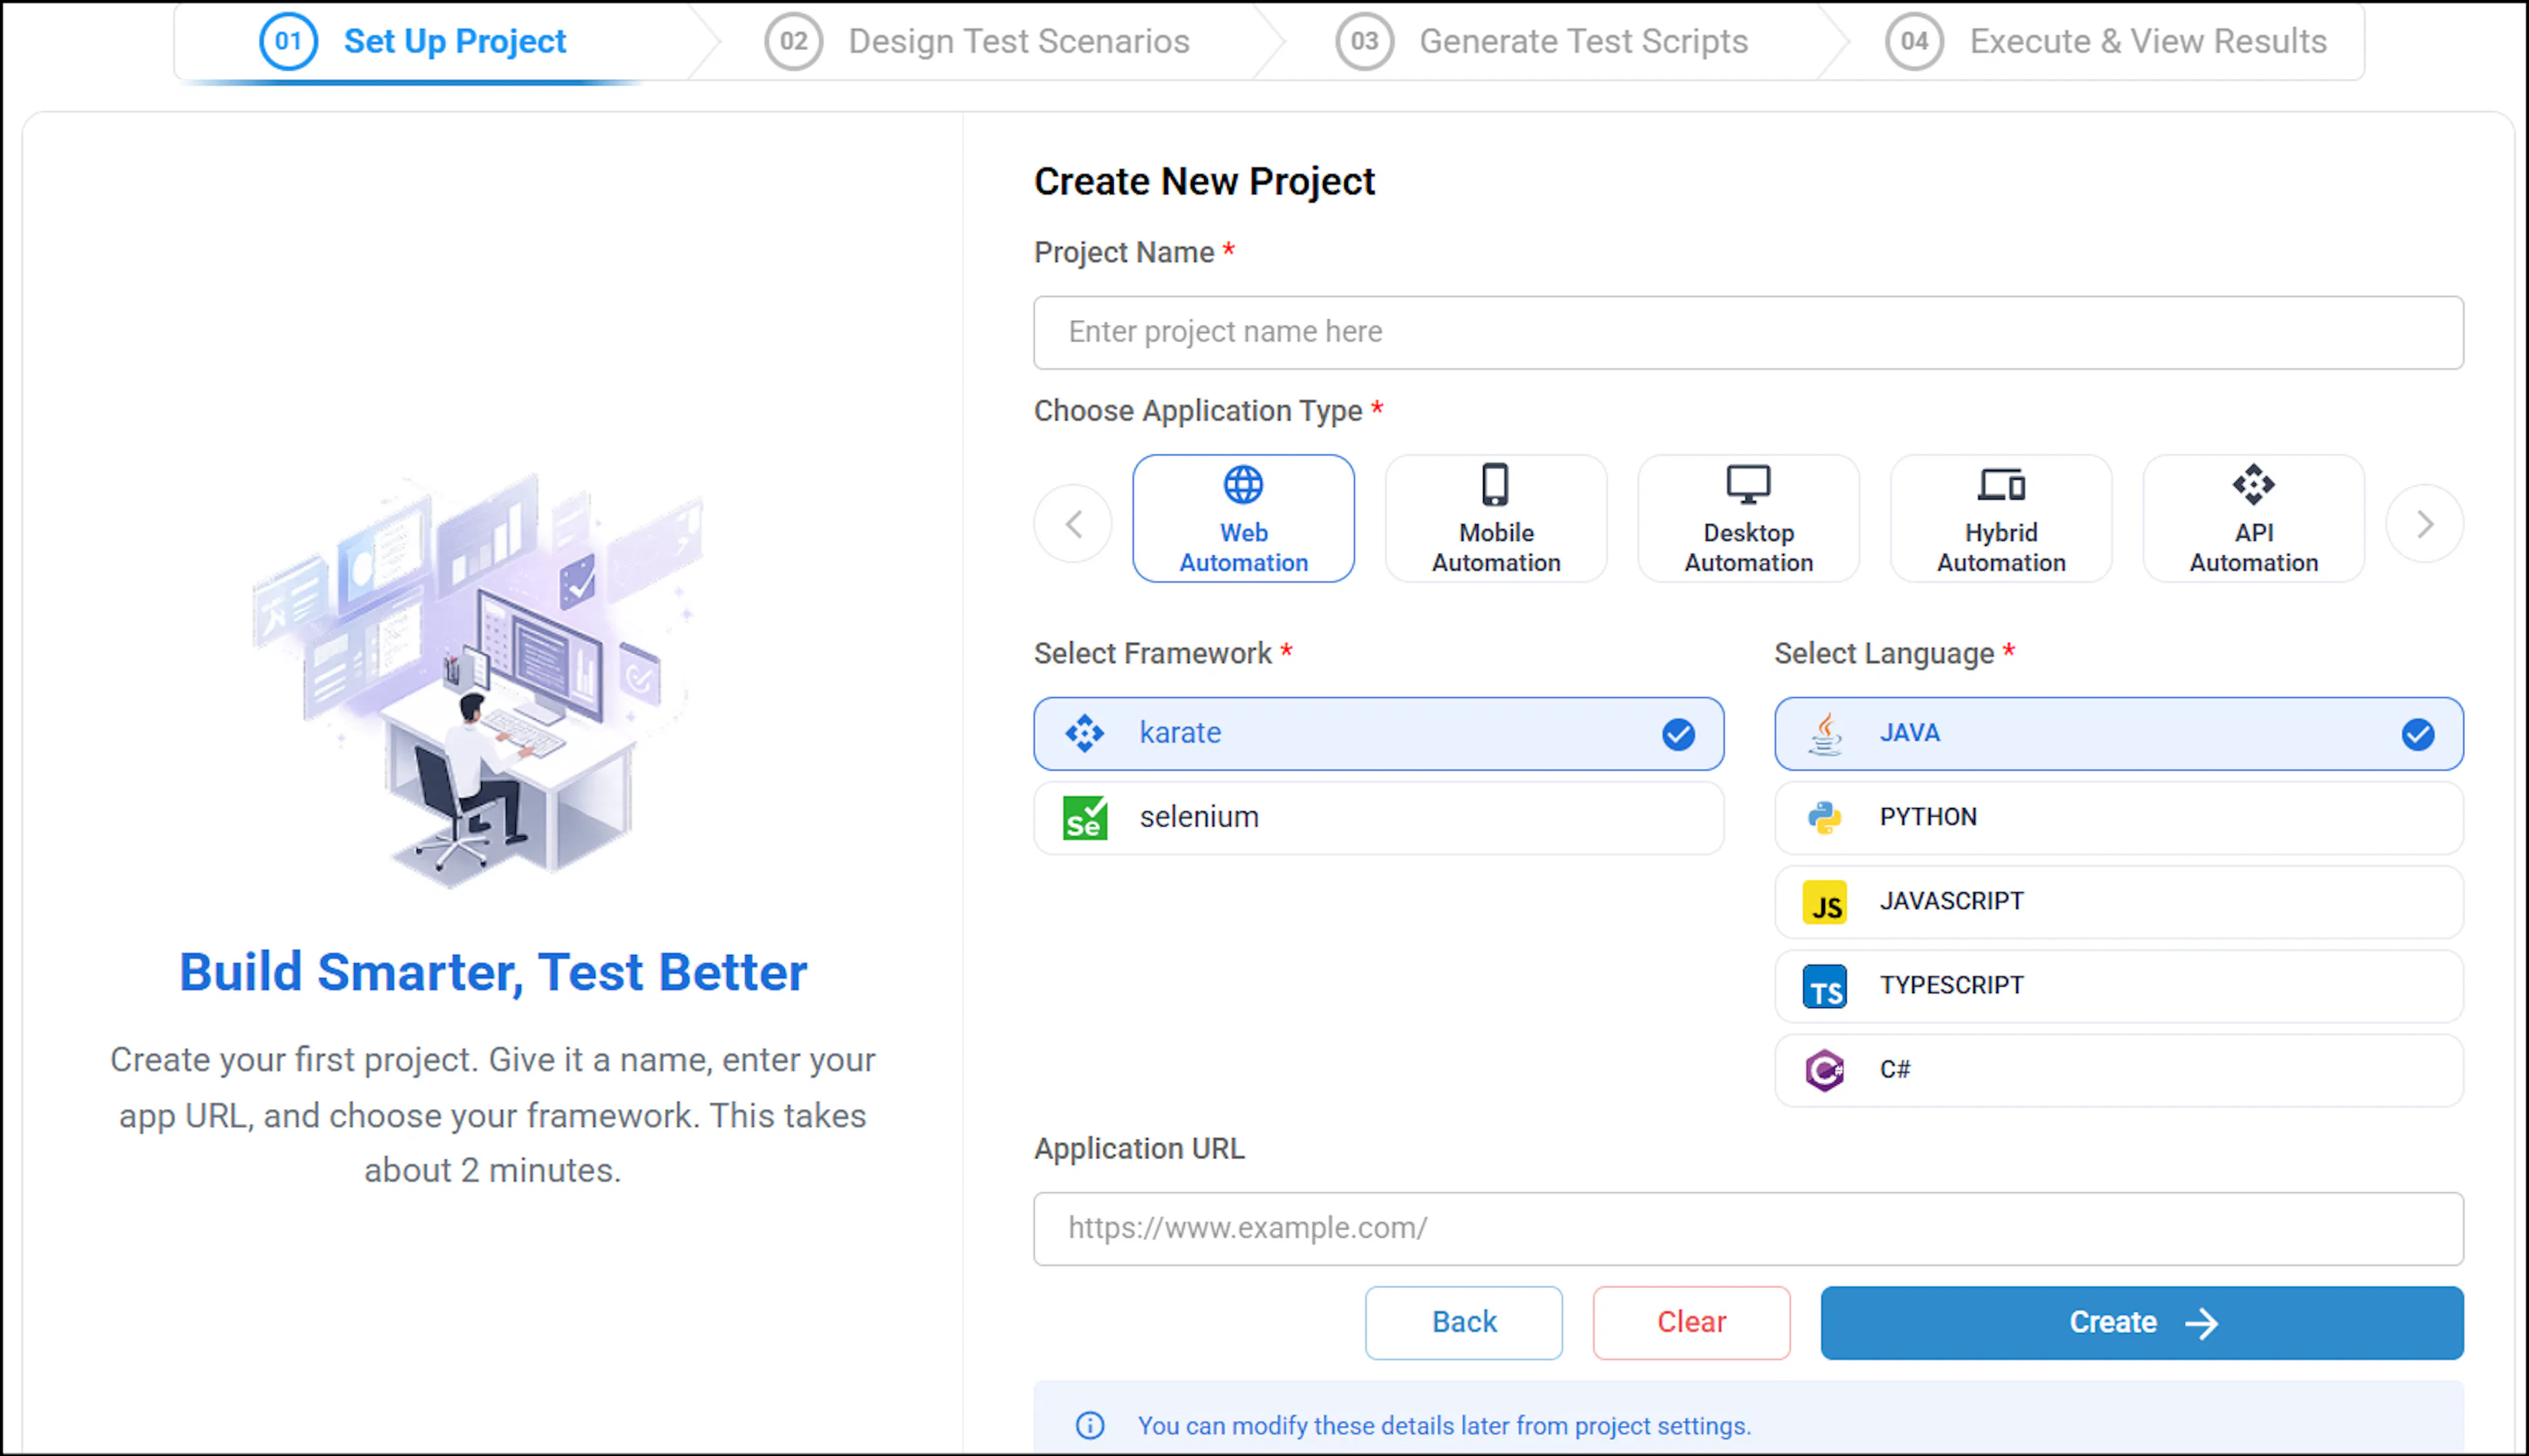
The Create Project page appears.

In the Create Project window, enter the project name, select the application type, Select Framework and language and click Create Project.
Ensure that the Project Name contains at least 2 characters. Enter the application URL in the Application URL field to launch the scraper on the specified web page, then click Create.
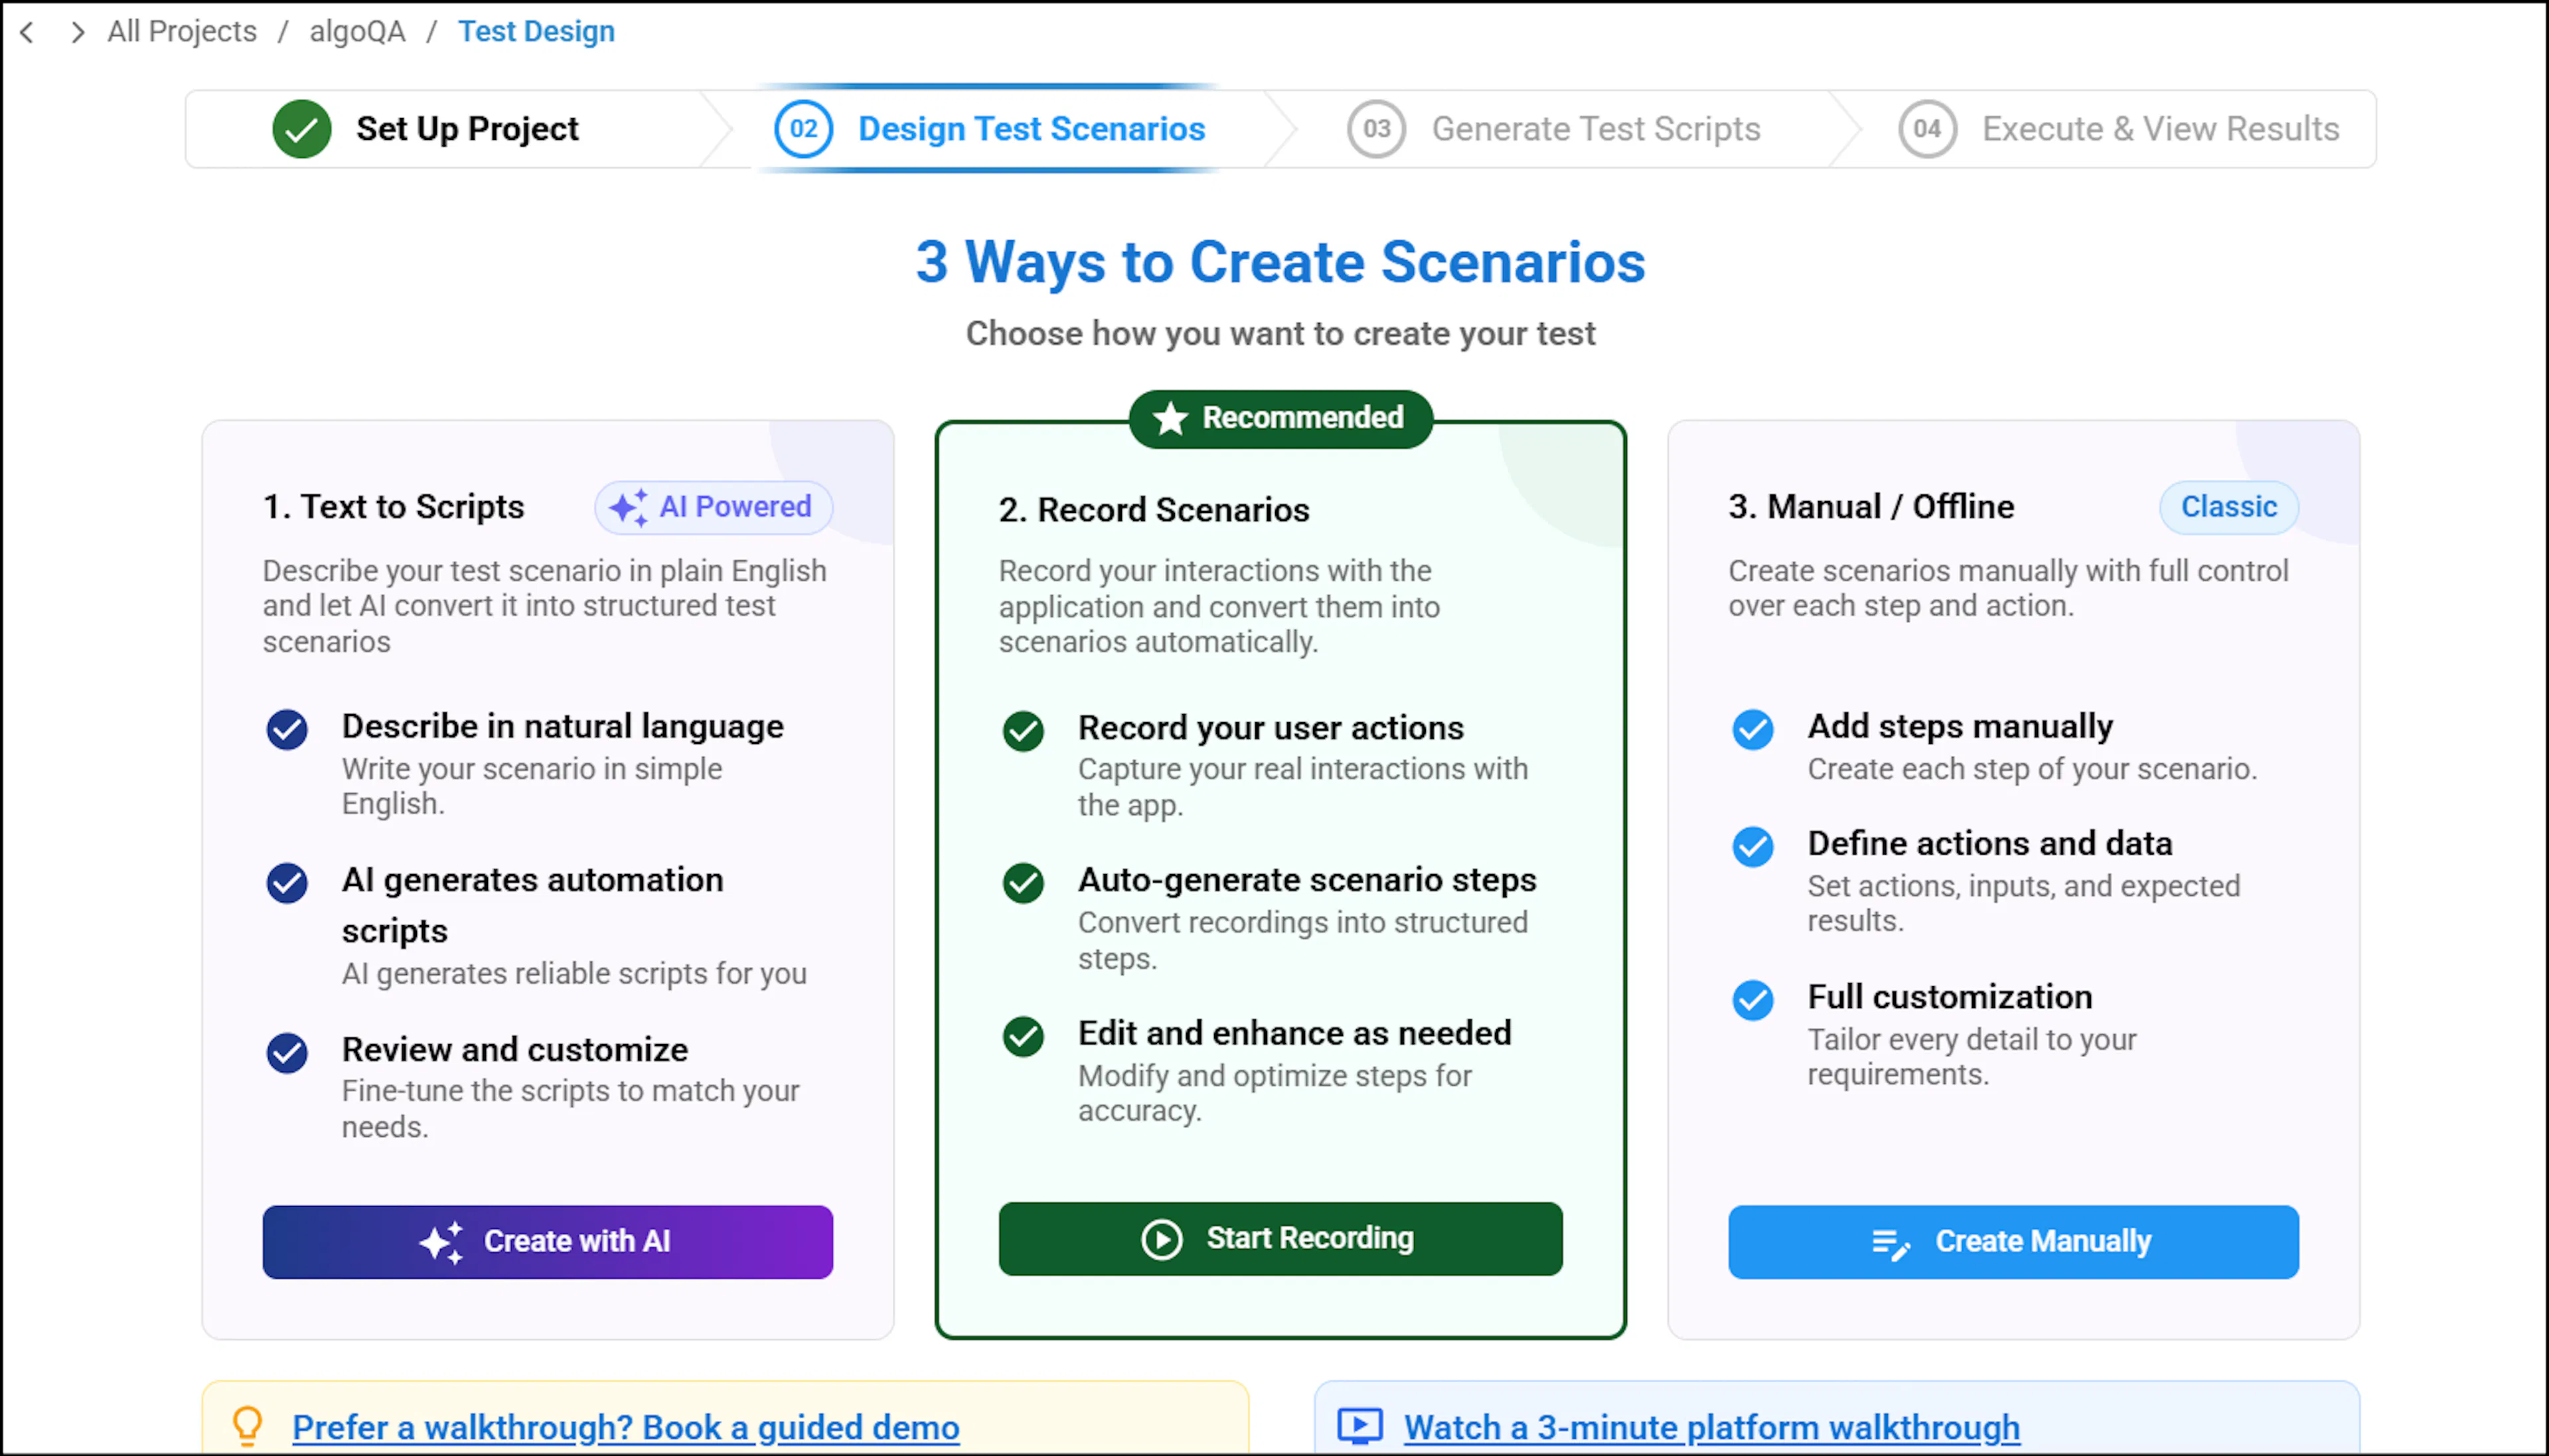
After clicking Create, the Ways to Create Scenario screen appears.
Here, you can create scenarios using any of the following methods:
- Online Recorder: Record the scenario directly using the online recorder.
- Offline Recorder: Create scenarios using the offline recorder.
- AI Prompting: Create scenarios from plain text using prompting.
Filter Icon
You can filter projects by clicking the Filter icon. Use Custom Filter to apply specific filtering criteria. The Custom Filter pop-up window displays the following options:
| Field | Description |
|---|---|
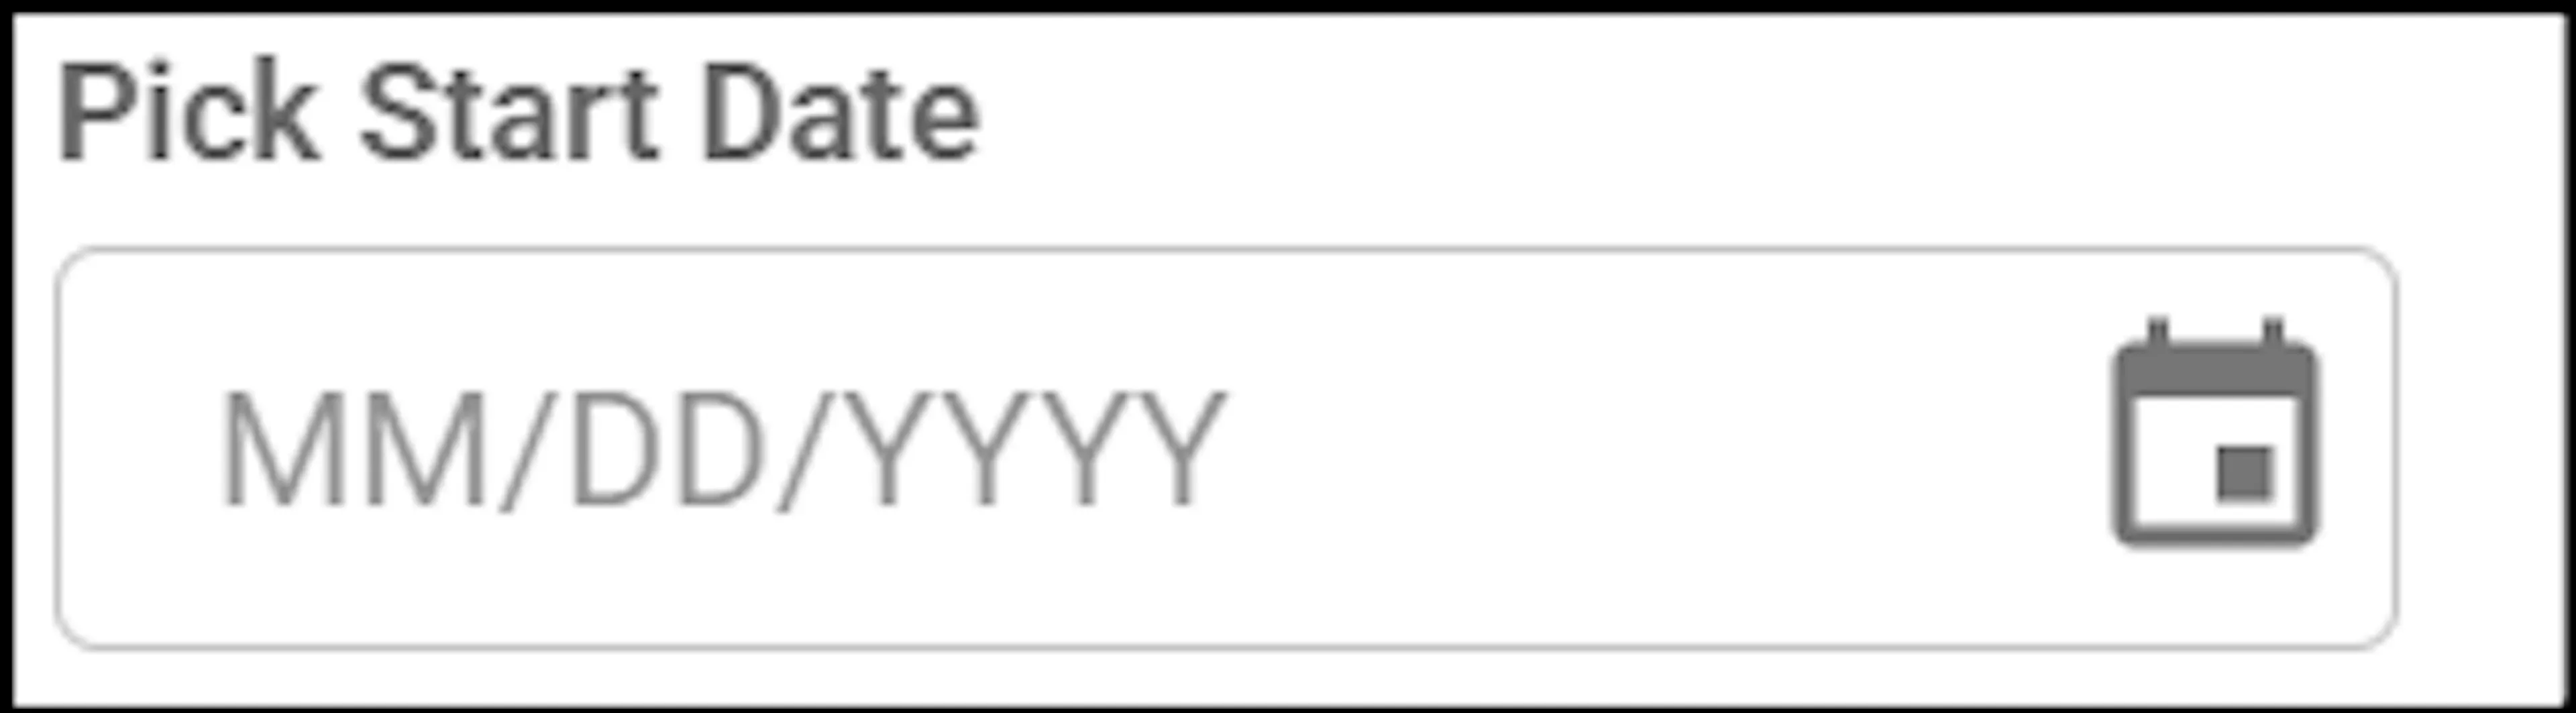 | Set this field to specify the start date by clicking the Calendar icon. |
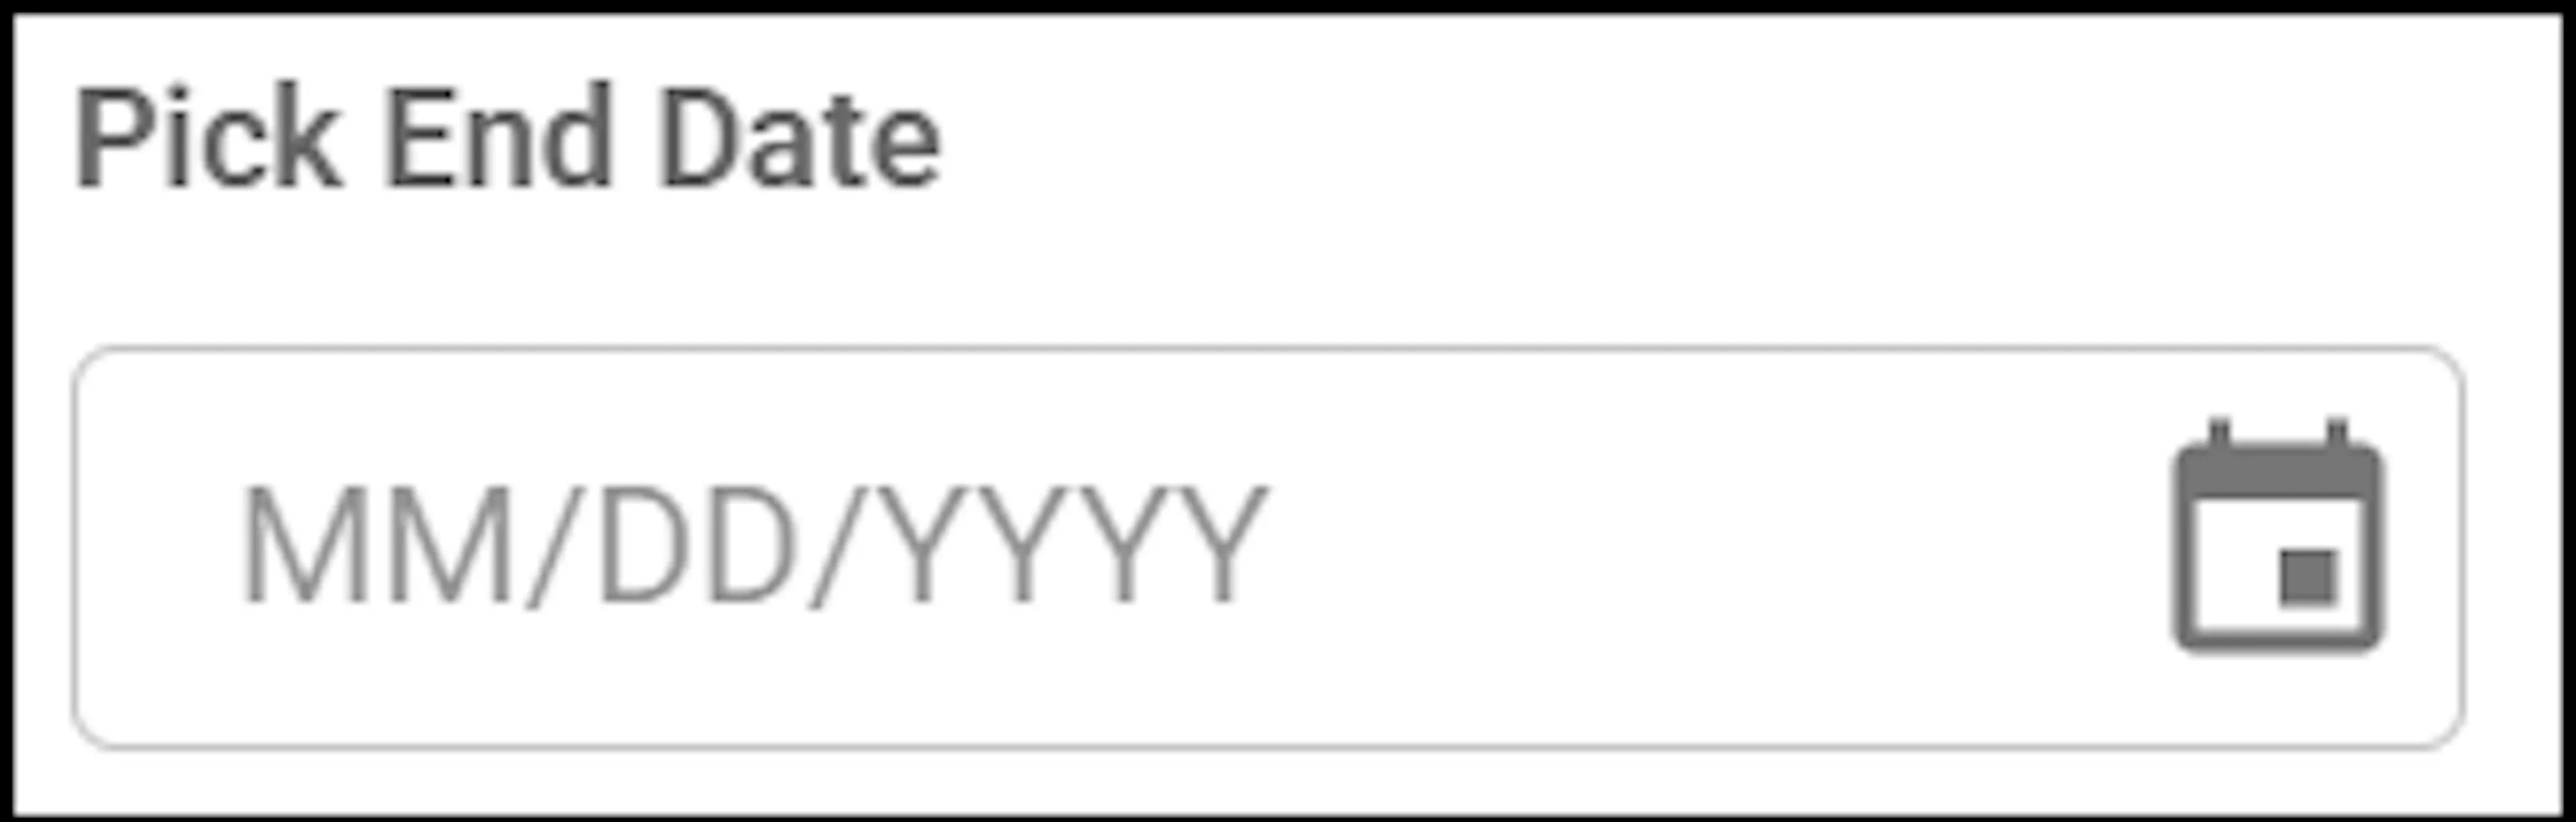 | Set this field to specify the end date by clicking the Calendar icon. Note that From and To date ranges must be specified to filter the projects based on selected date range. |
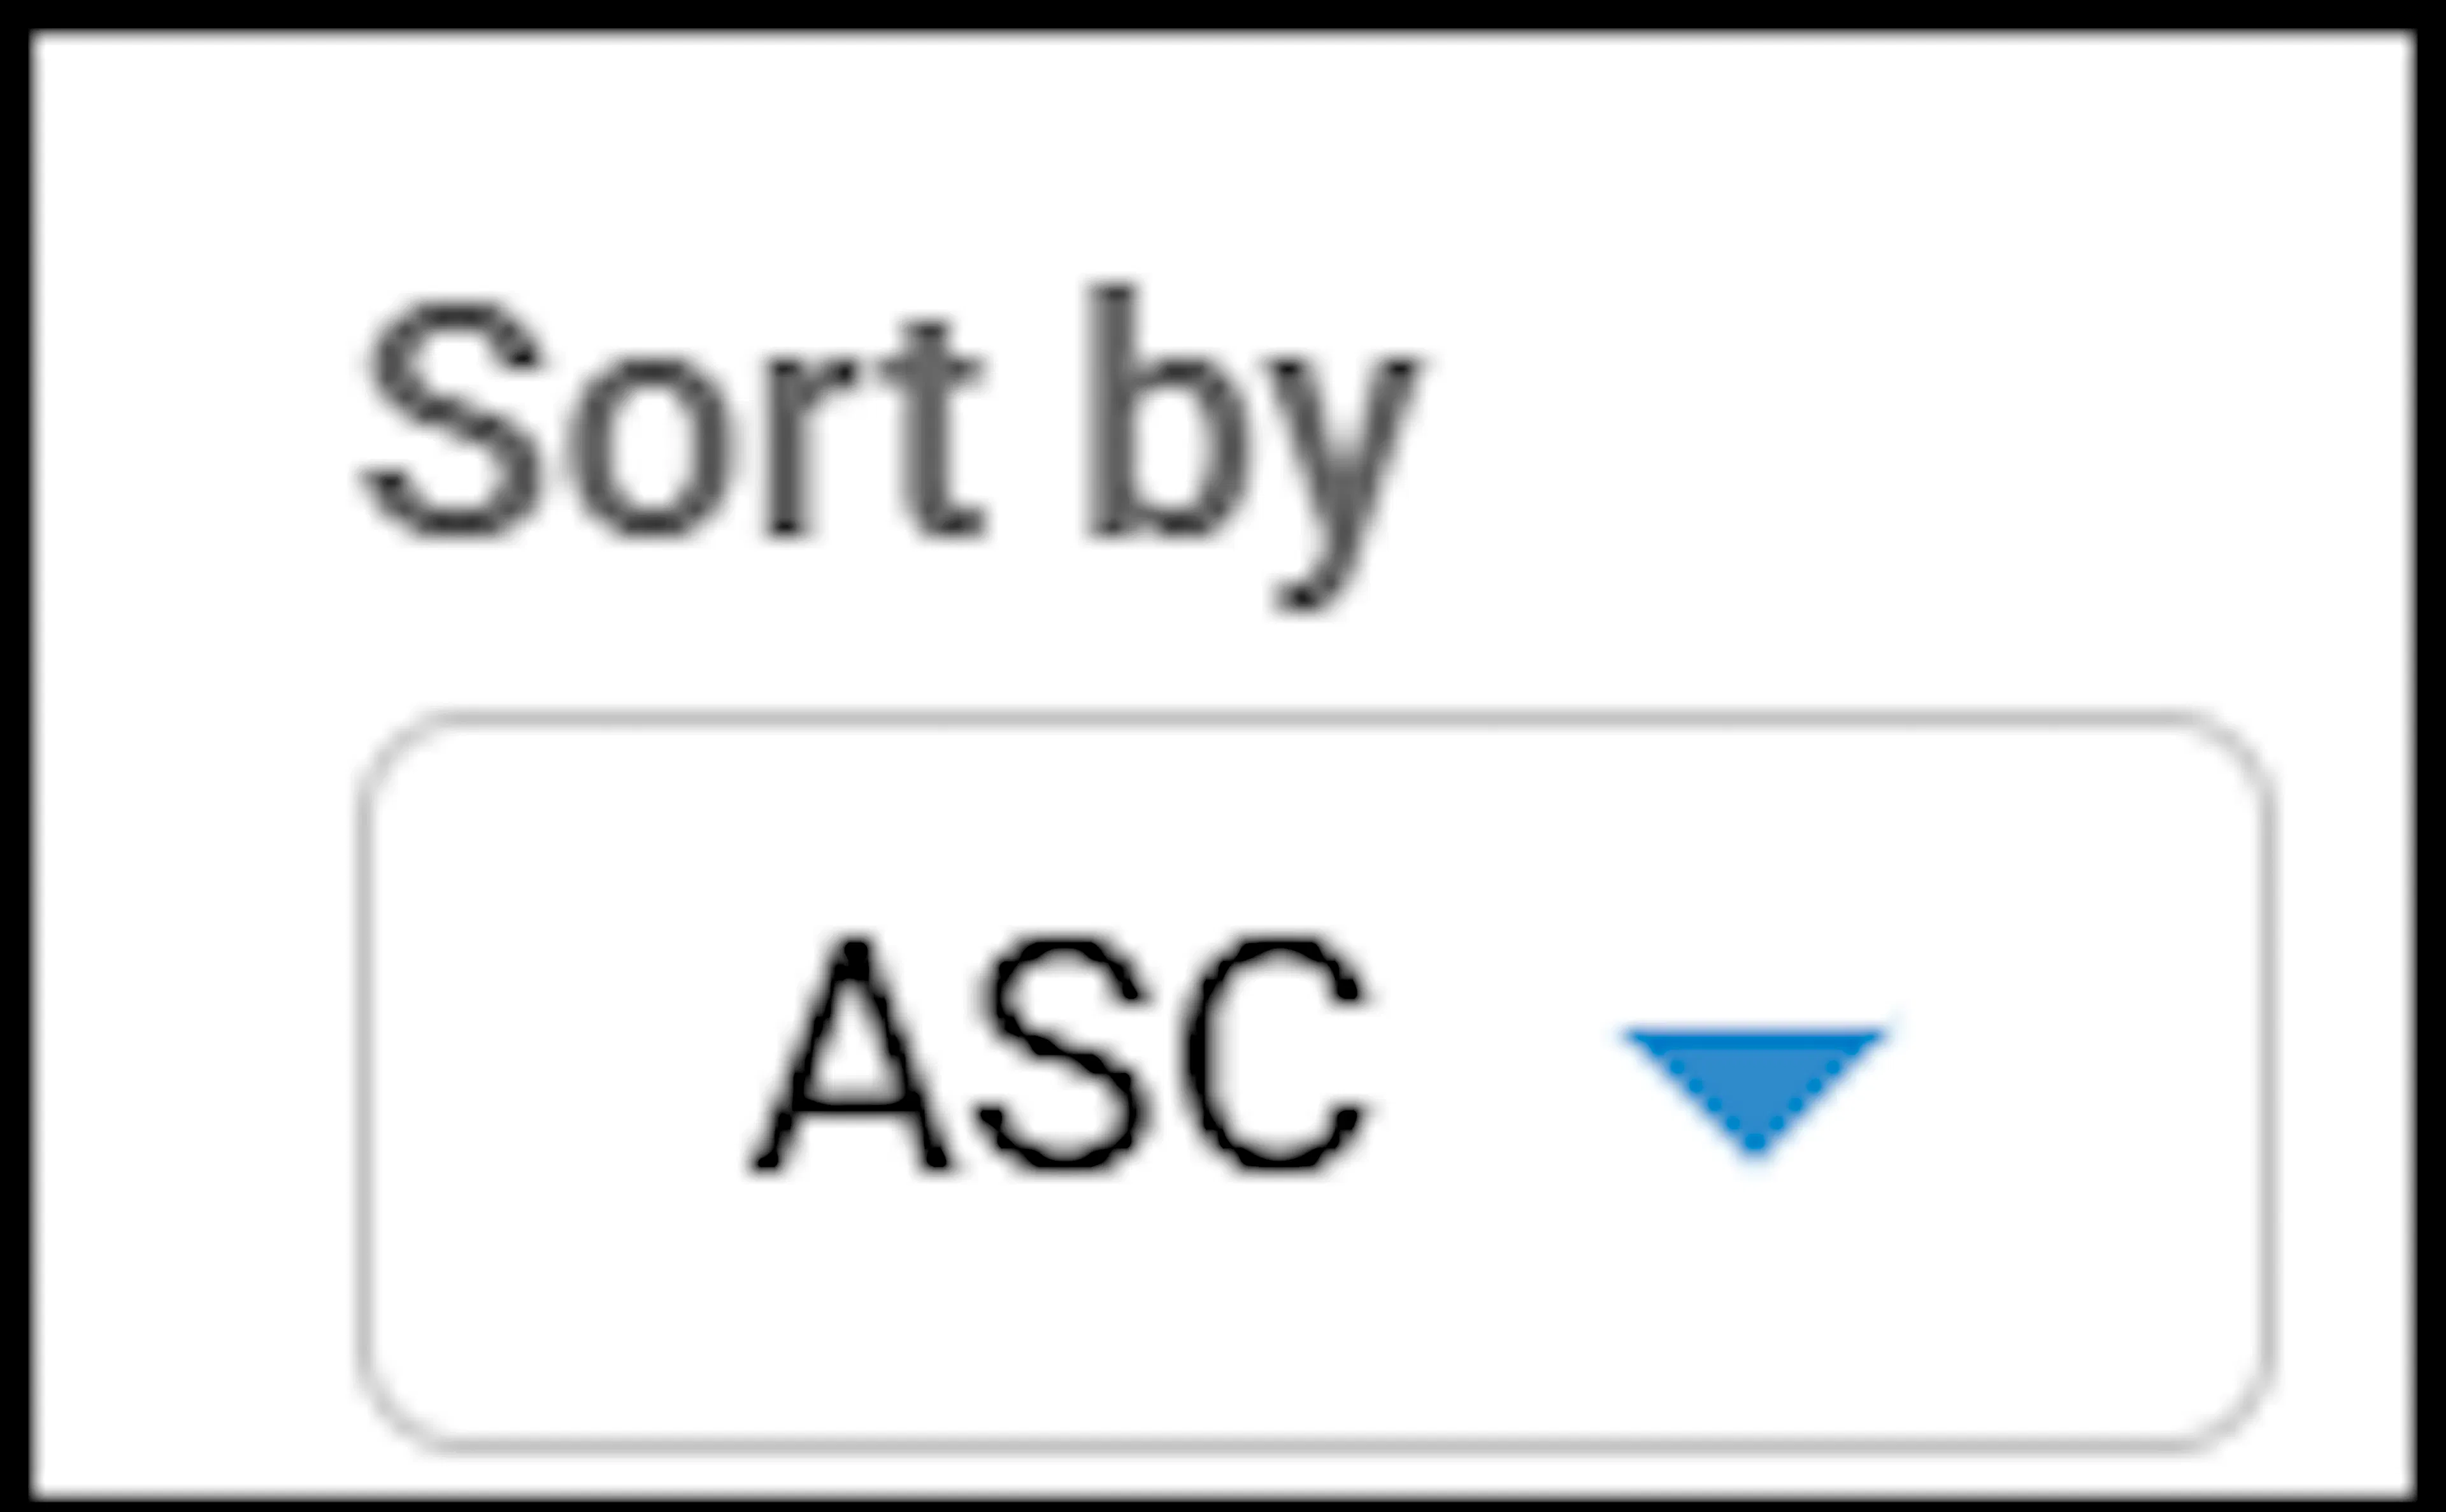 | Select this option to sort the projects in either ascending or descending order. |
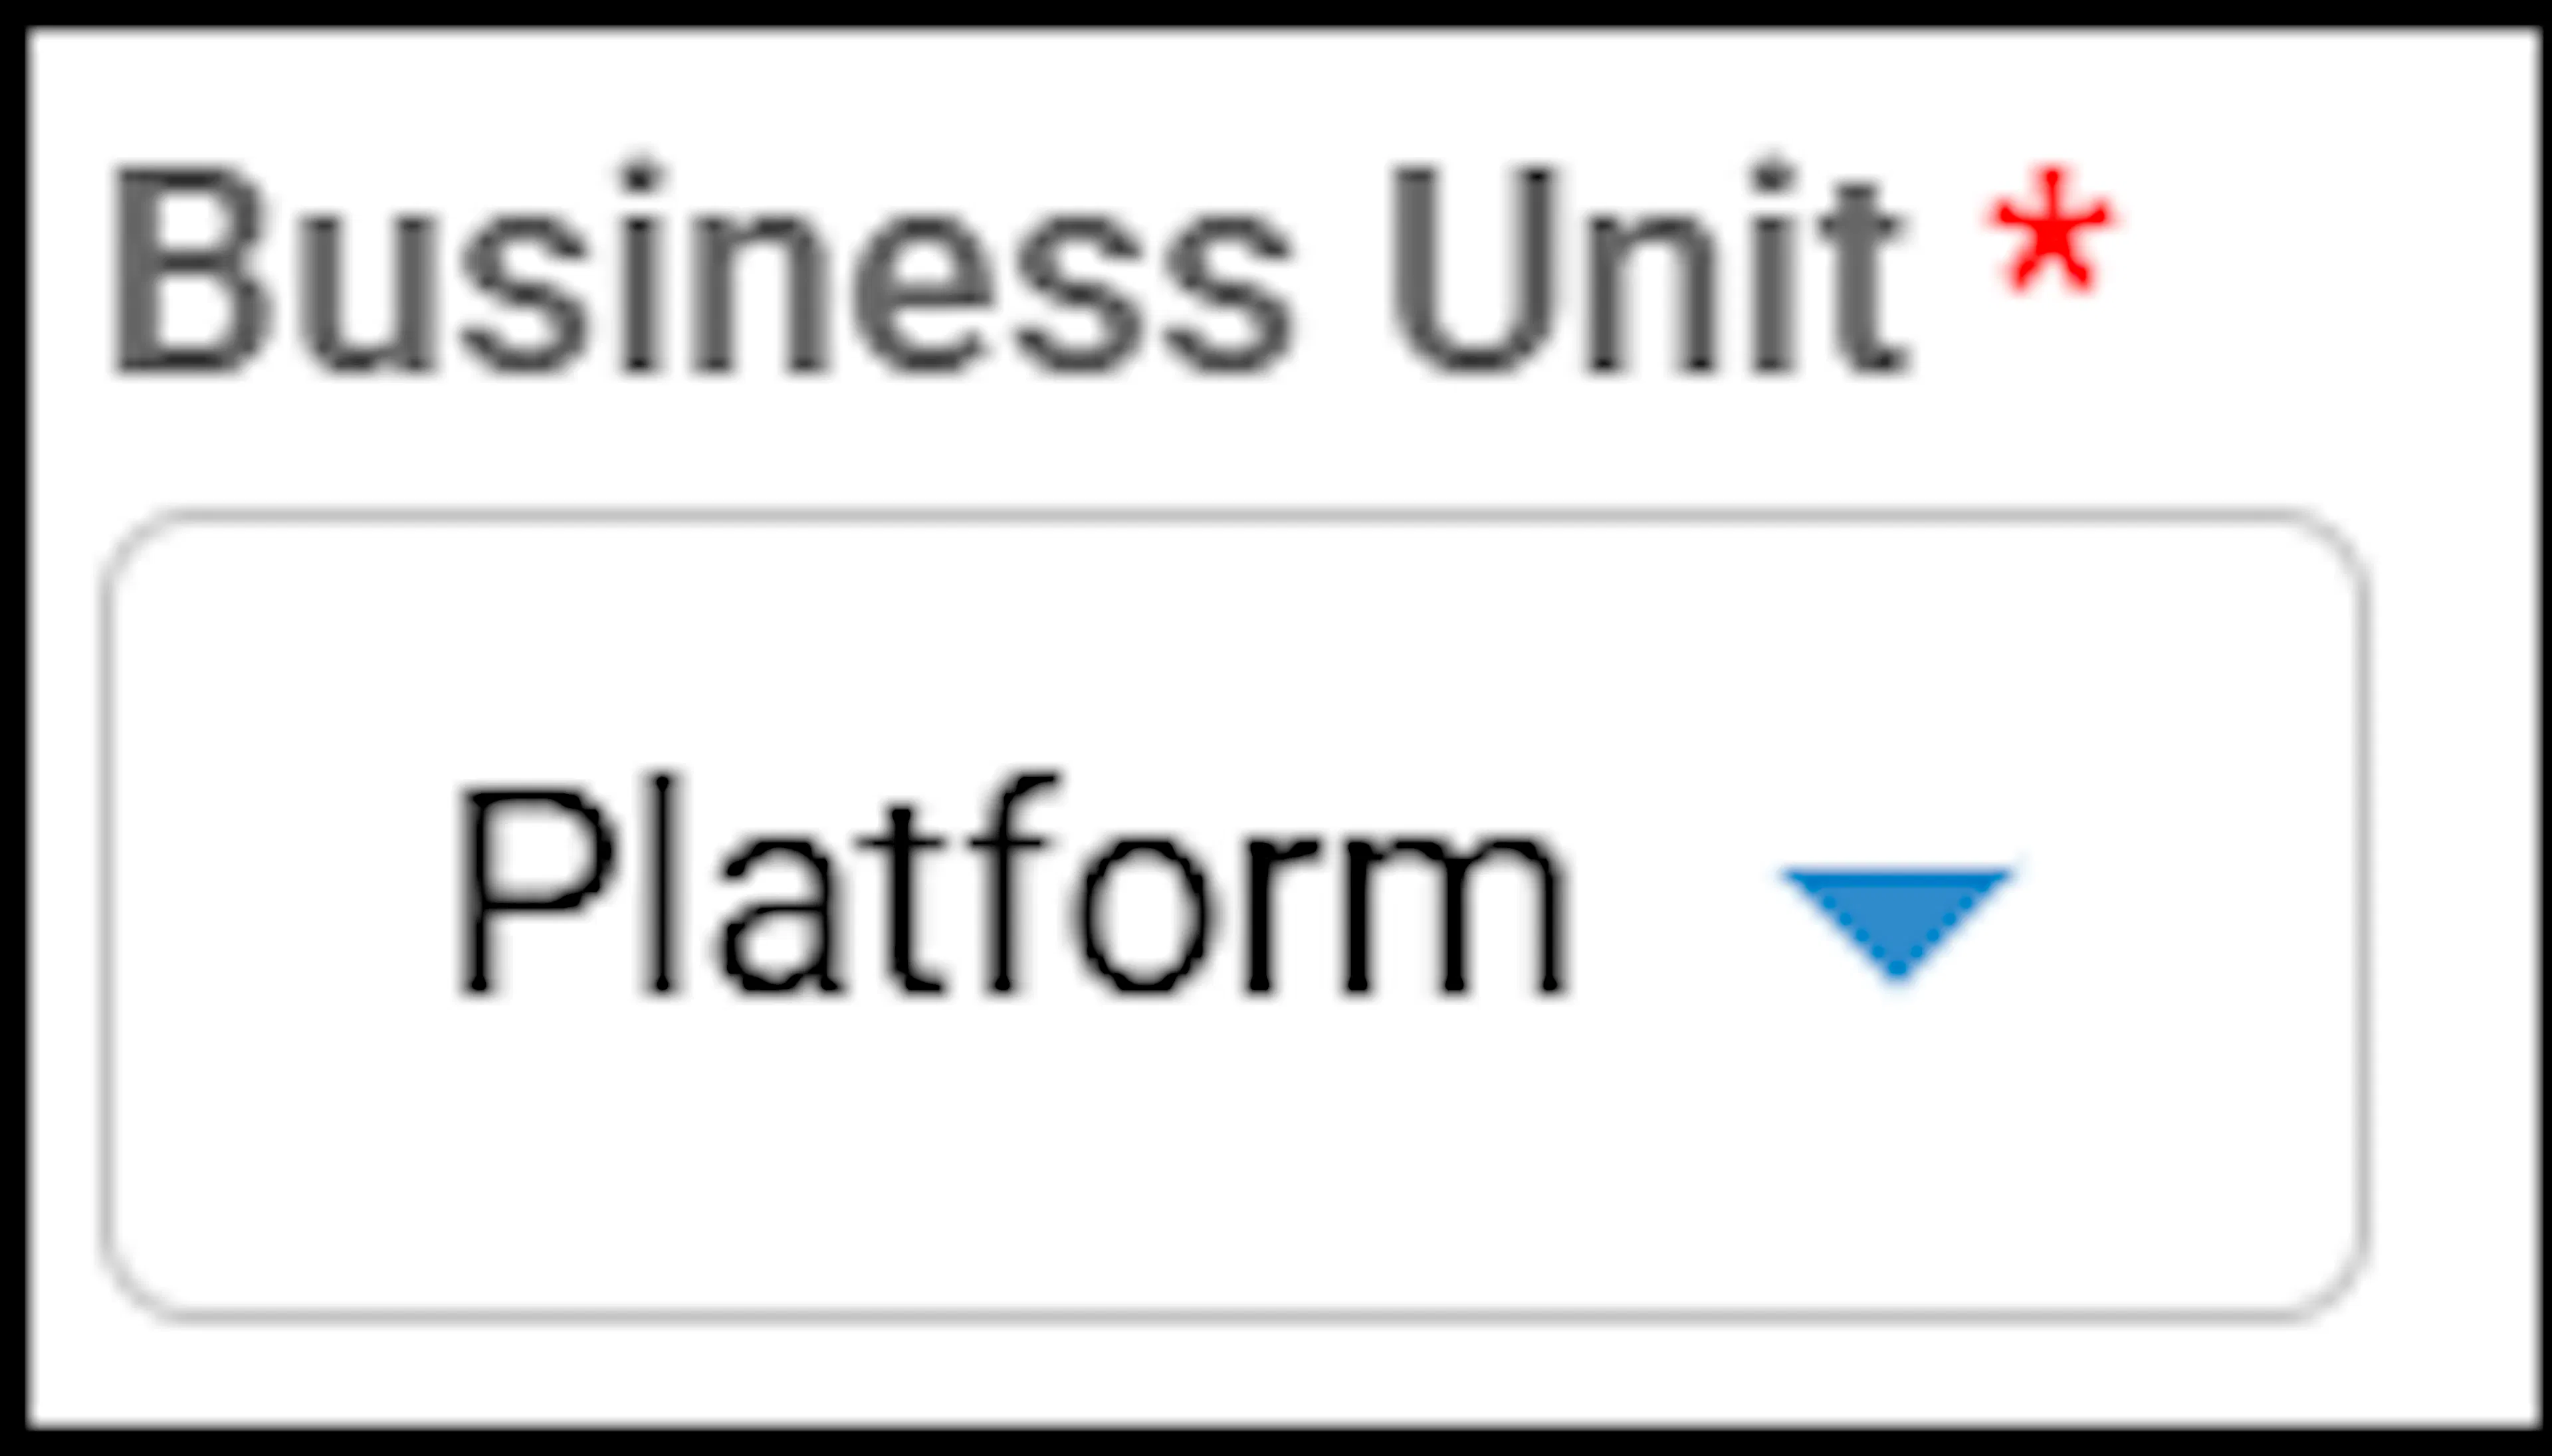 | Select the appropriate Business Unit from the dropdown list. |
 | Select the appropriate Automation Type from the dropdown list. |
 | Click this button to apply the changes. |
 | Click this button to reset the changes. |
Downloads
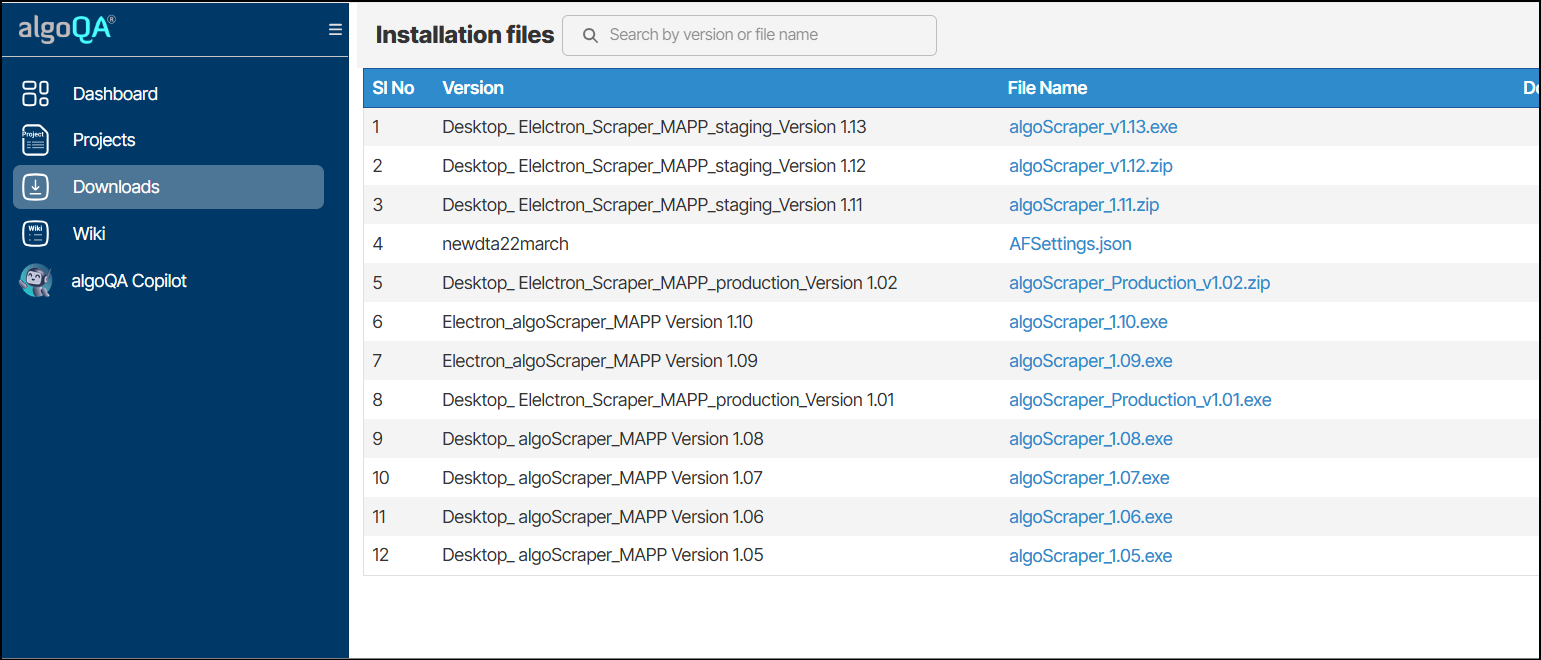
The Downloads section lists the available algoScraper files, with each file extension representing a different version and automation type.
Wiki
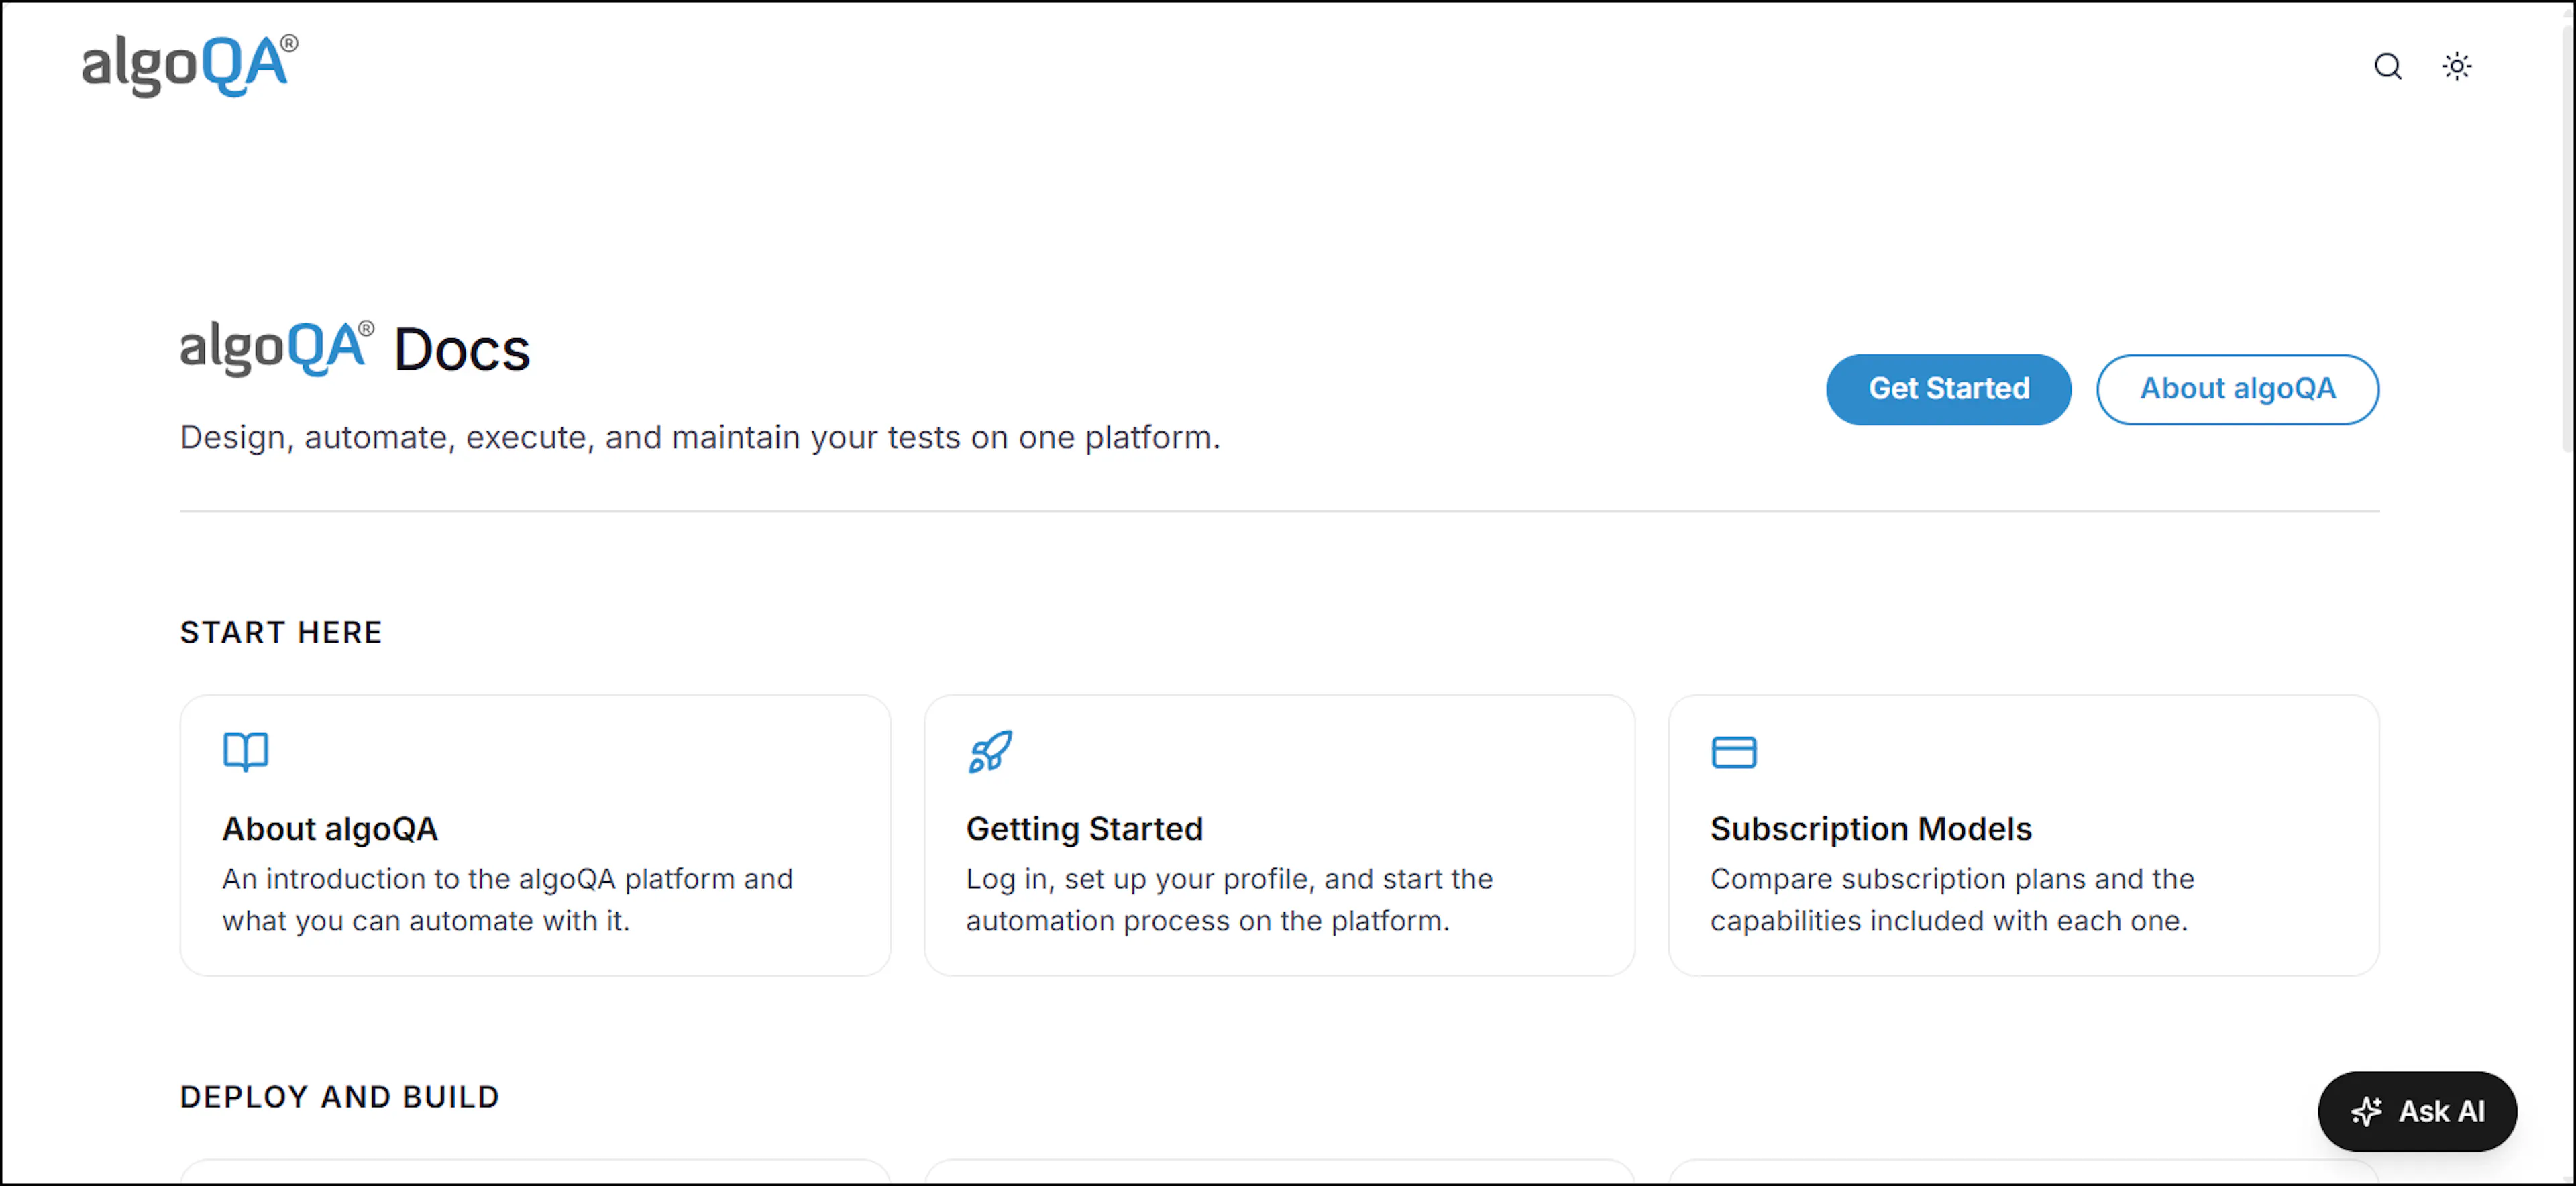
The Wiki section contains documentation for all algoQA features. Search by keyword to find the relevant wiki article, which will guide you through the activity you want to perform in algoQA.
algoQA Copilot
algoQA Copilot is a built-in assistant exclusive to the algoQA platform. When you type a few keywords, it suggests relevant inputs based on your search.