Generate Test Cases and Test Scripts
Generate BDD test cases and automation scripts from recorded scenarios in algoQA, with options for filtering, de-duplication, and script compilation.
Test cases are generated with BDD format in Gherkin language (GWT).
Example of Feature File generated in BDD format:
Given I have access to an application
When I selected a Button in file
And I selected New File in file
Then verify New page is displayed in file
The generated test cases will be stored in the Test Cases.
You can generate test cases using the Generate Test Cases button.
How to Generate Test Cases?
To generate a test case, perform the following:
-
In the Test Design screen after generating scenarios, click on Generate to generate Test Cases. To learn more about Test Design, see Test Design Methods.
-
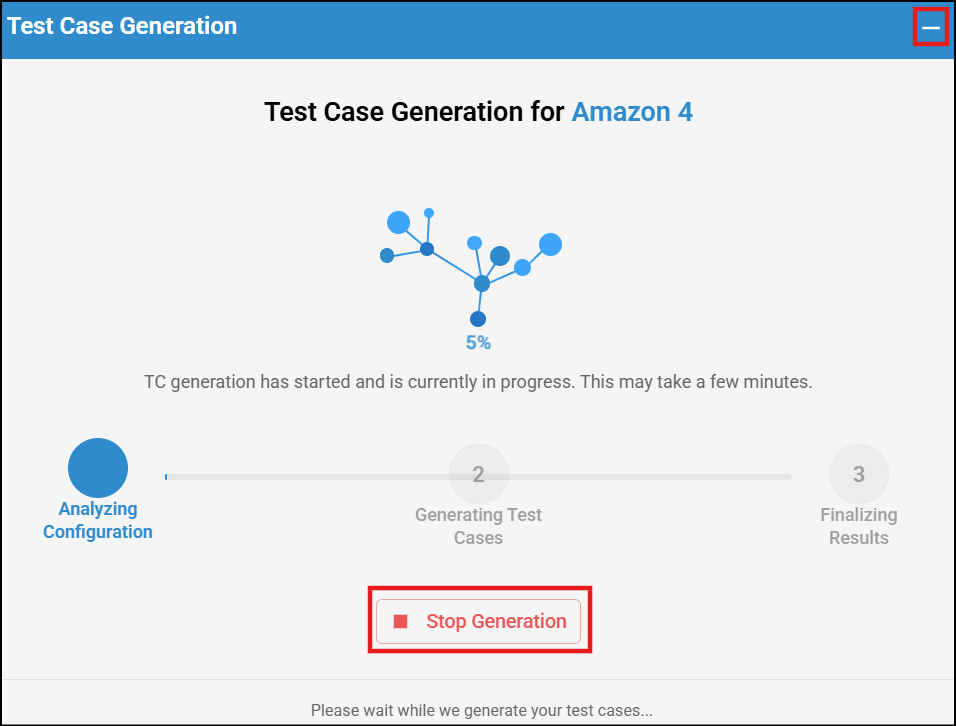
A Test Case Generation pop-up will appear, allowing you to monitor the progress. You can stop the generation at any time by clicking Stop Generation. If needed, you may minimize the pop-up by clicking Minimize, and restore it by clicking Maximize.
-
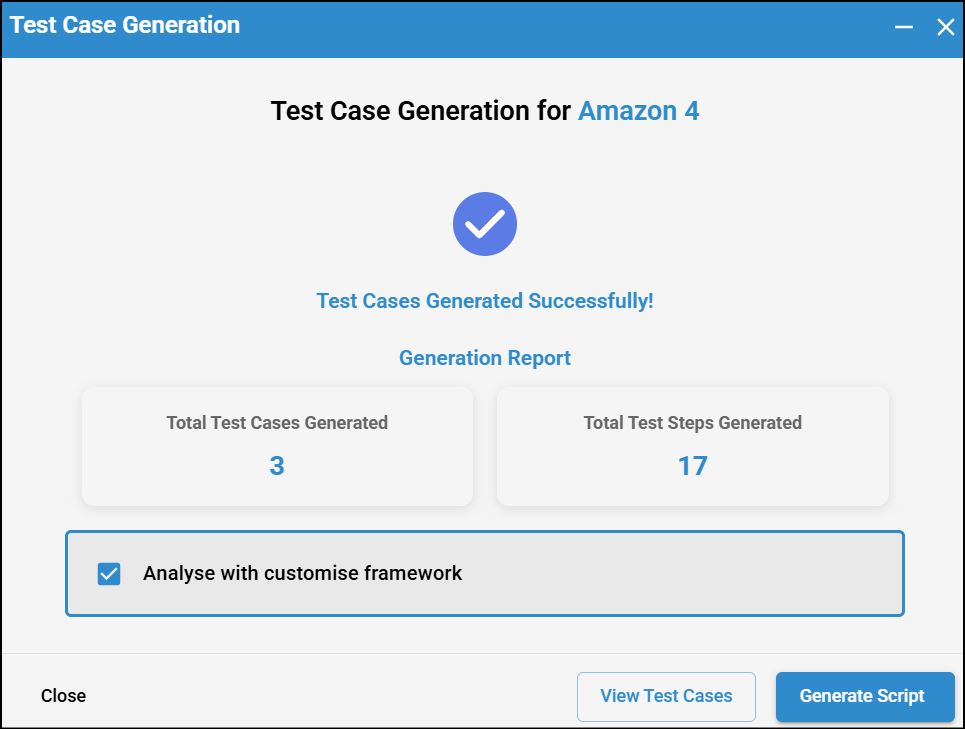
Test cases are generated quickly.
-
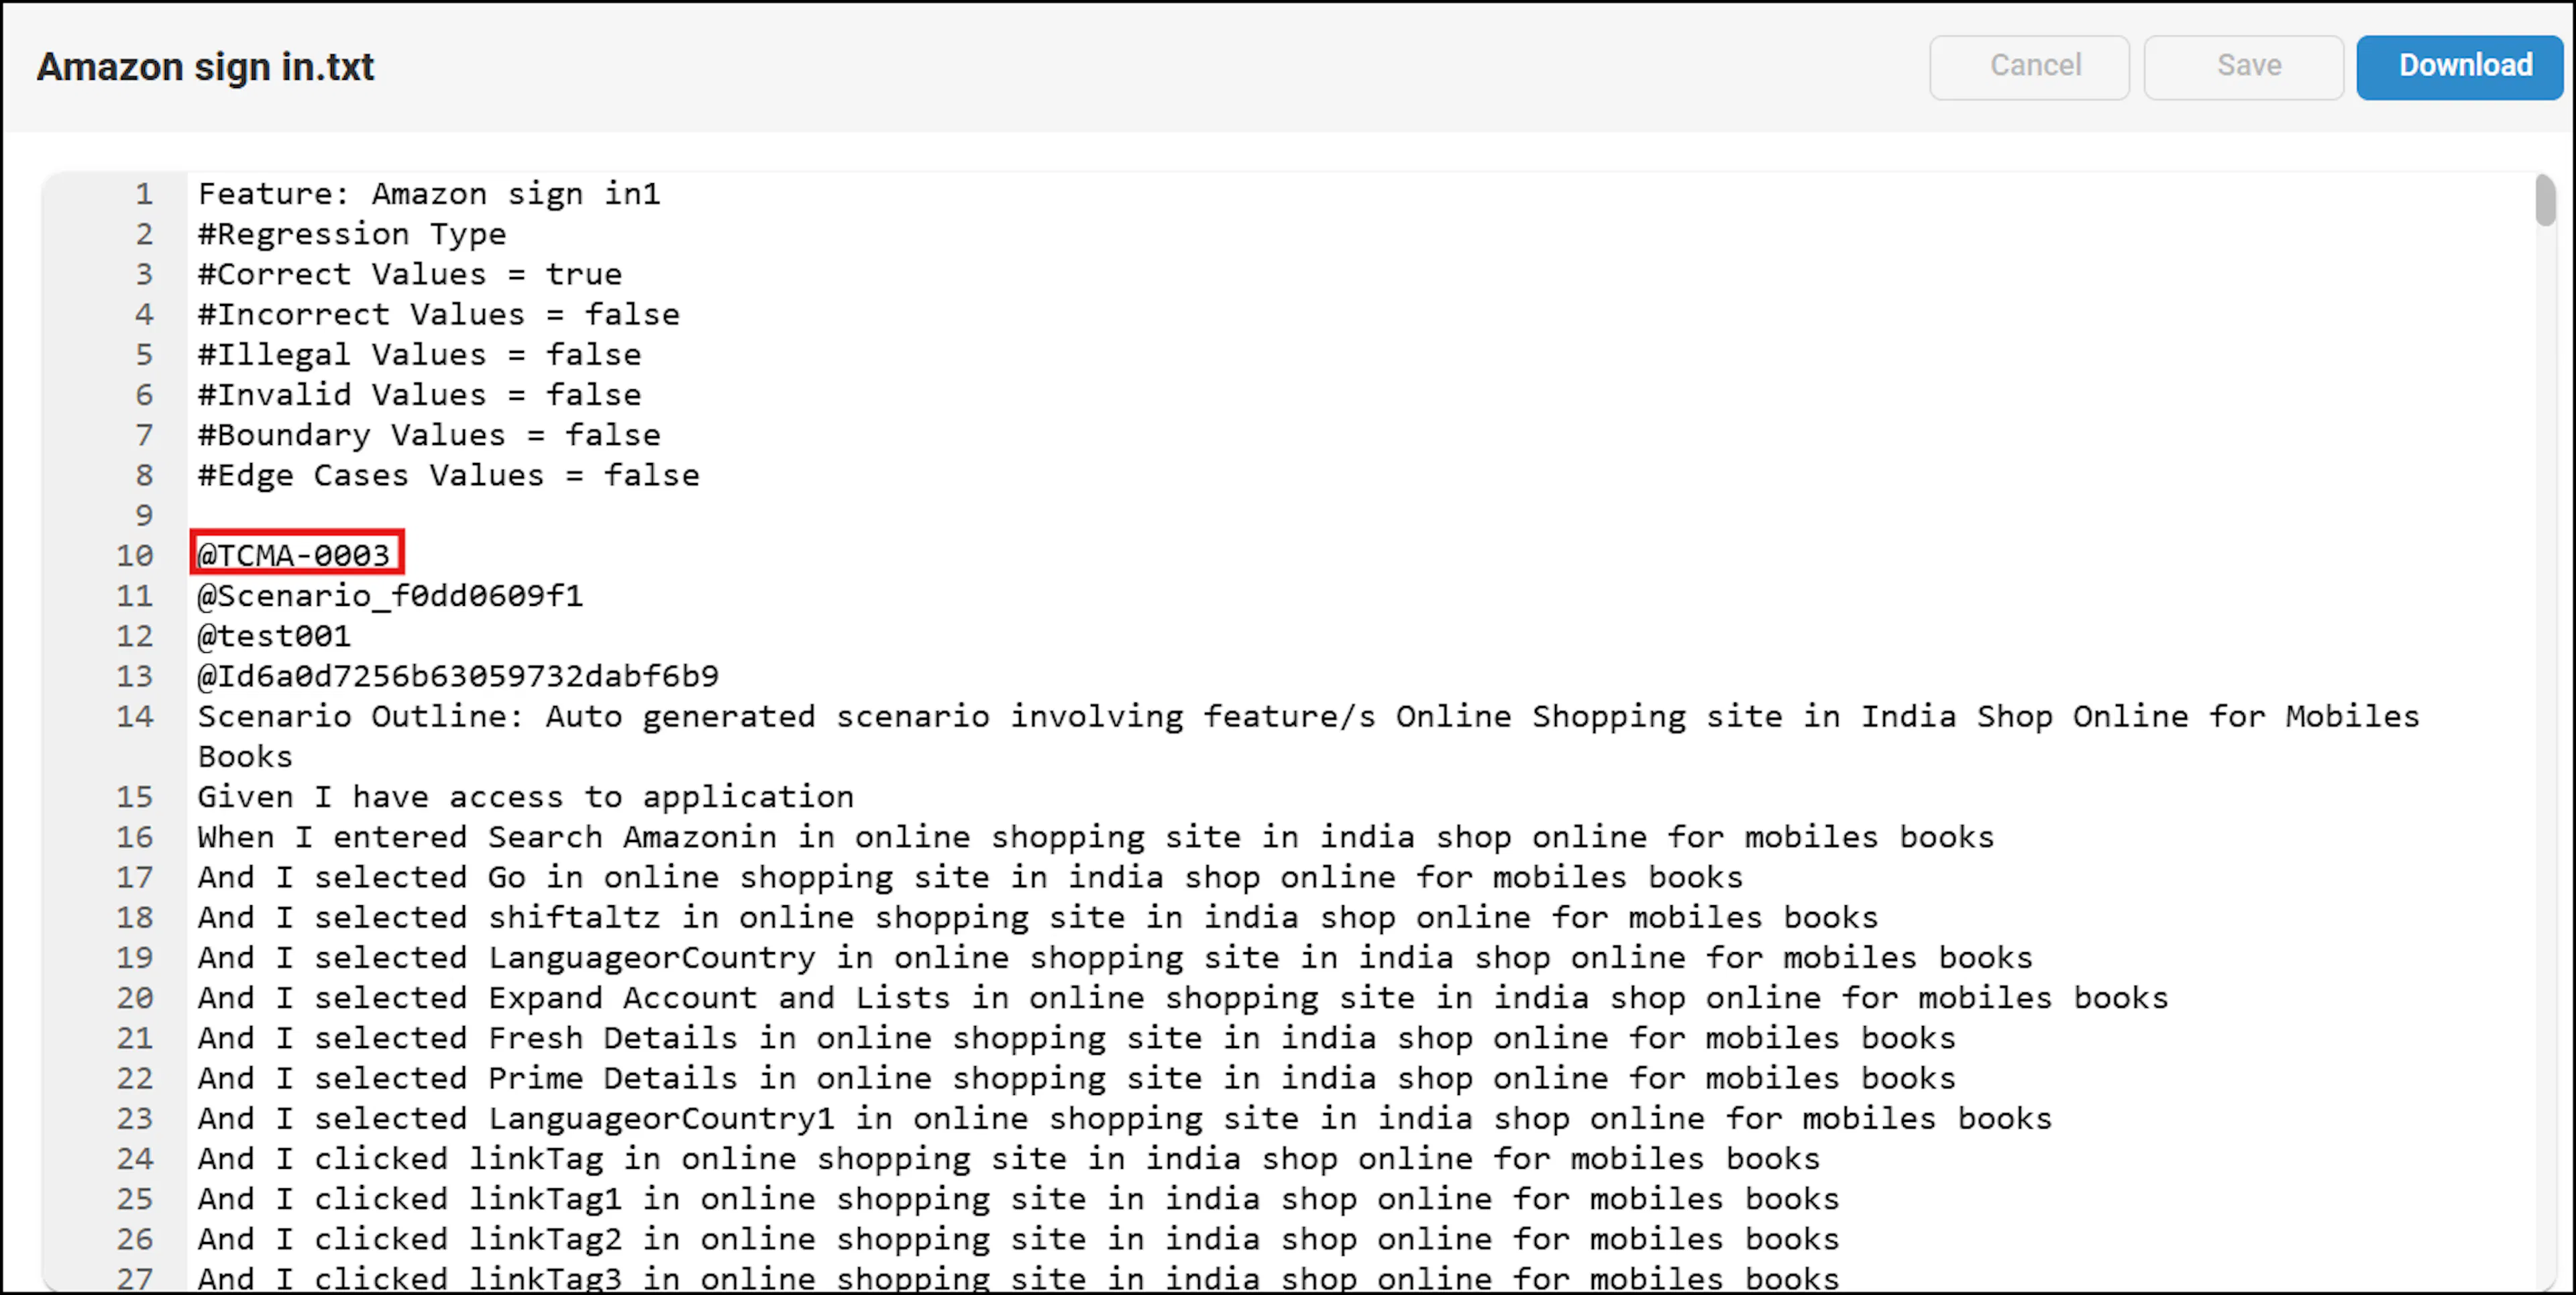
The generated test cases are stored in the Test Cases. This folder includes a spreadsheet which contains GWT steps in XLSX format, Feature File in TXT and .json formats.
If you select the Scenario ID checkbox under Custom Columns in the Scenario List, the unique ID is also available in the test cases after they are generated.
-
Test Case Generation might fail for the following reasons:
- If no nodes are created.
- If Scenarios are not created, see Test Case Generation Issues.
-
You can download the test cases and delete them using the respective buttons. By clicking the 'More' icon (three dots), you can access De-duplication and Scenario Quality Analysis. To learn more about them, click De-duplication and Scenario Quality Analysis.
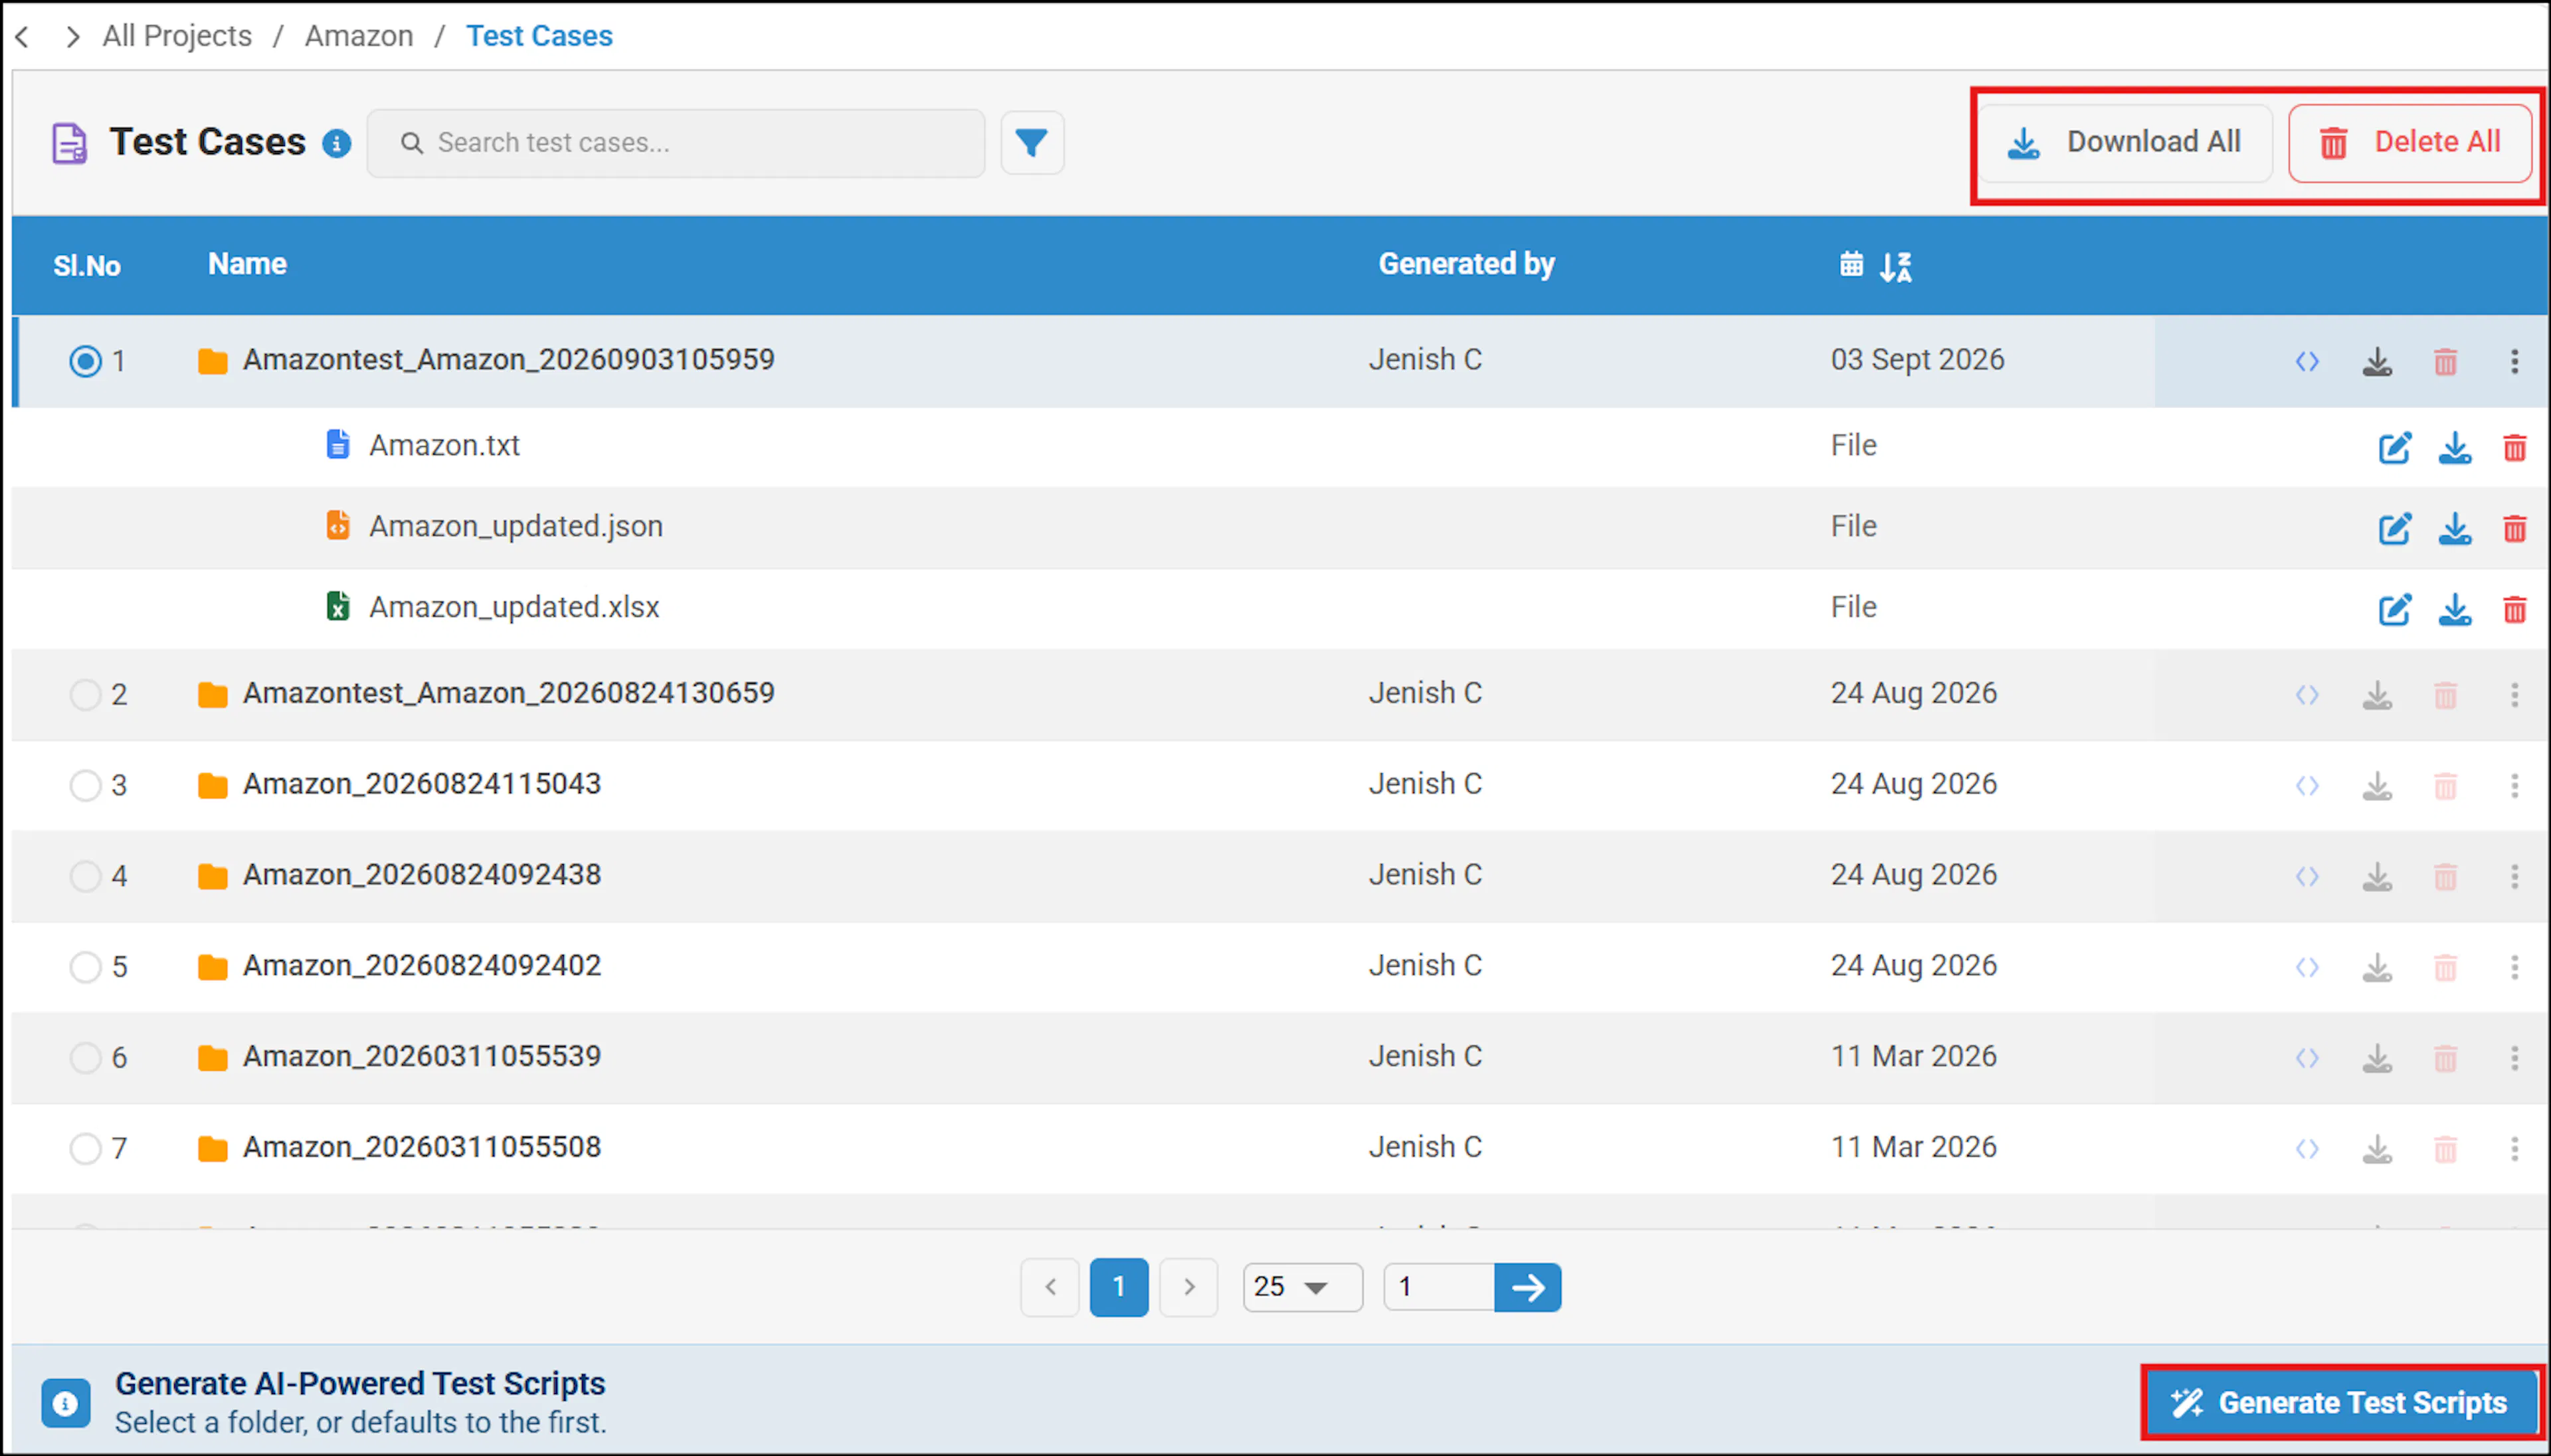
-
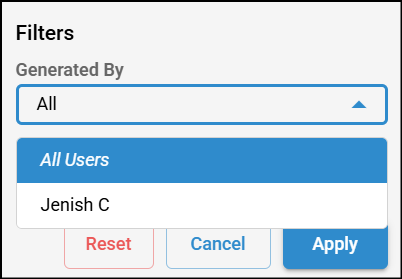
You can use the filter options to refine results by selecting time ranges such as Today, Last Week, or a Custom range and the user who generated the test cases using the Generated By dropdown.
Test data will have indexing when different test data for the same controls is provided. This indexing is provided for the following scenarios:
- When the same control is used multiple times within a scenario.
- When duplicate controls from different features/nodes are used in a scenario.
- When duplicate alias names are provided in a scenario The indexing will start from 0 (e.g., wait, wait1, wait2...)
How to Generate Test Scripts?
After generating test cases, you can click the Generate Test Scripts button to generate scripts.
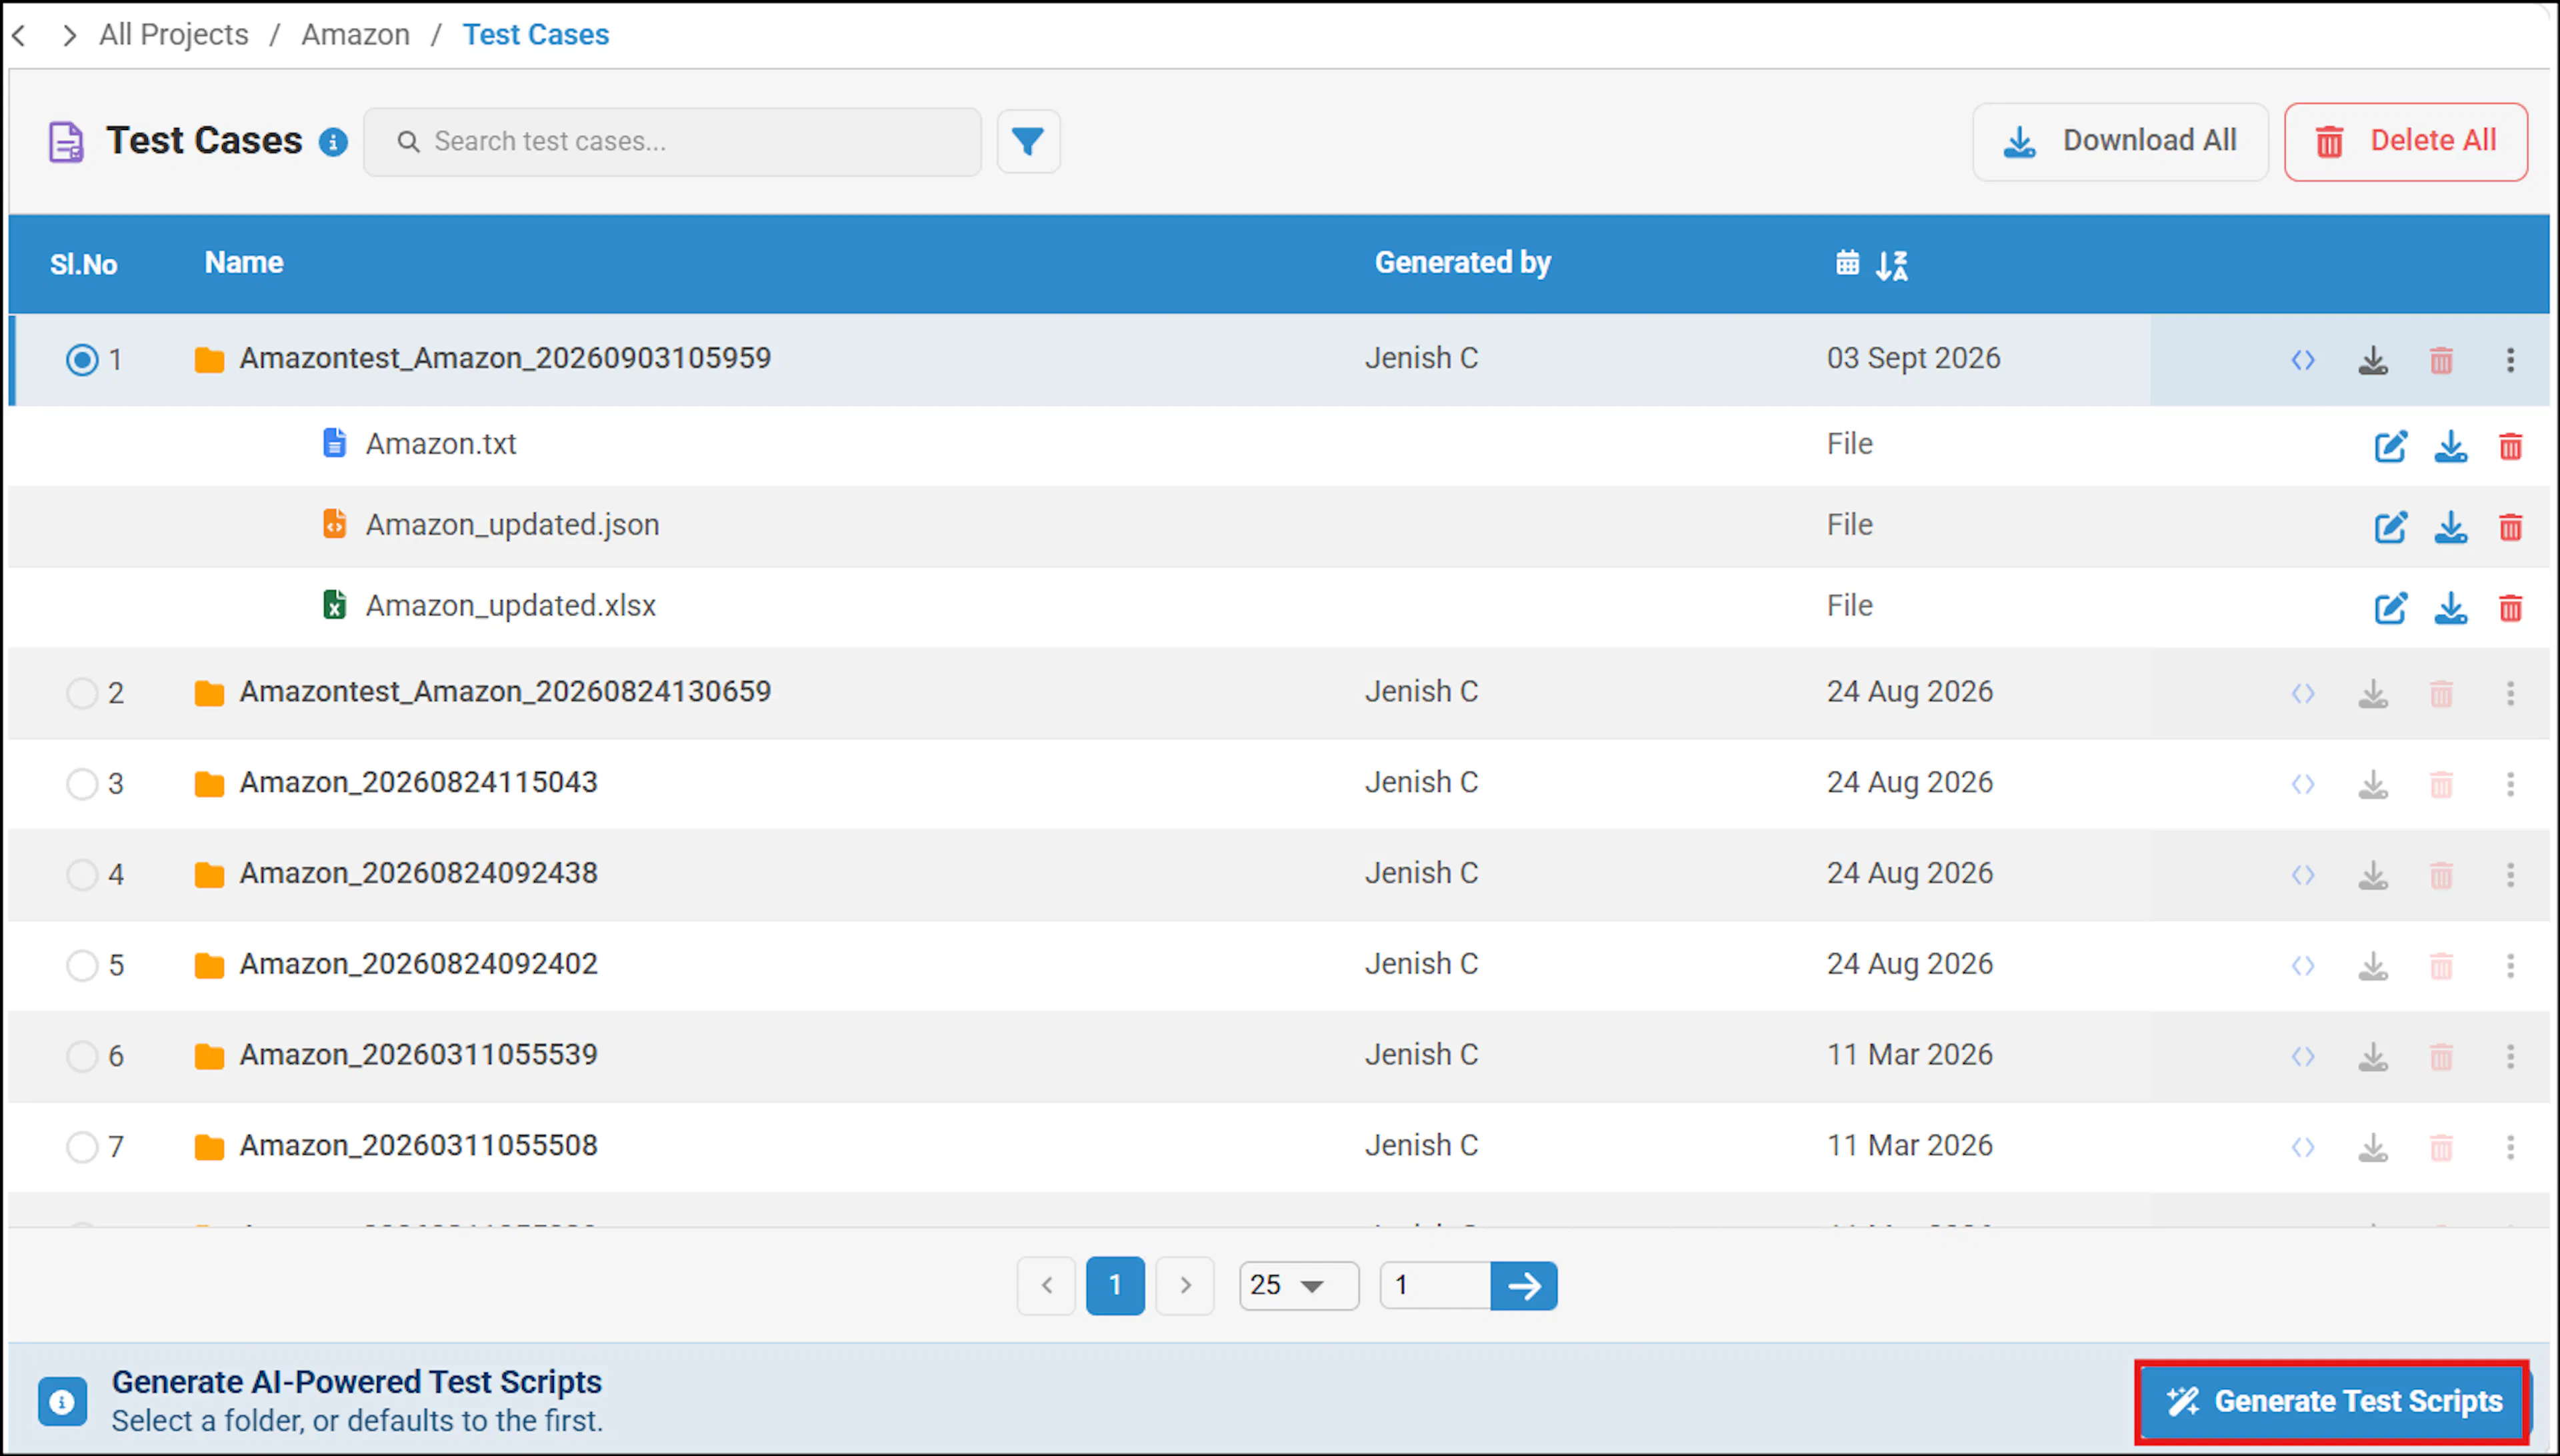
In the script generation screen, all the files will be selected by default. You can unselect and select as needed, then click Confirm for the scripts to be generated.
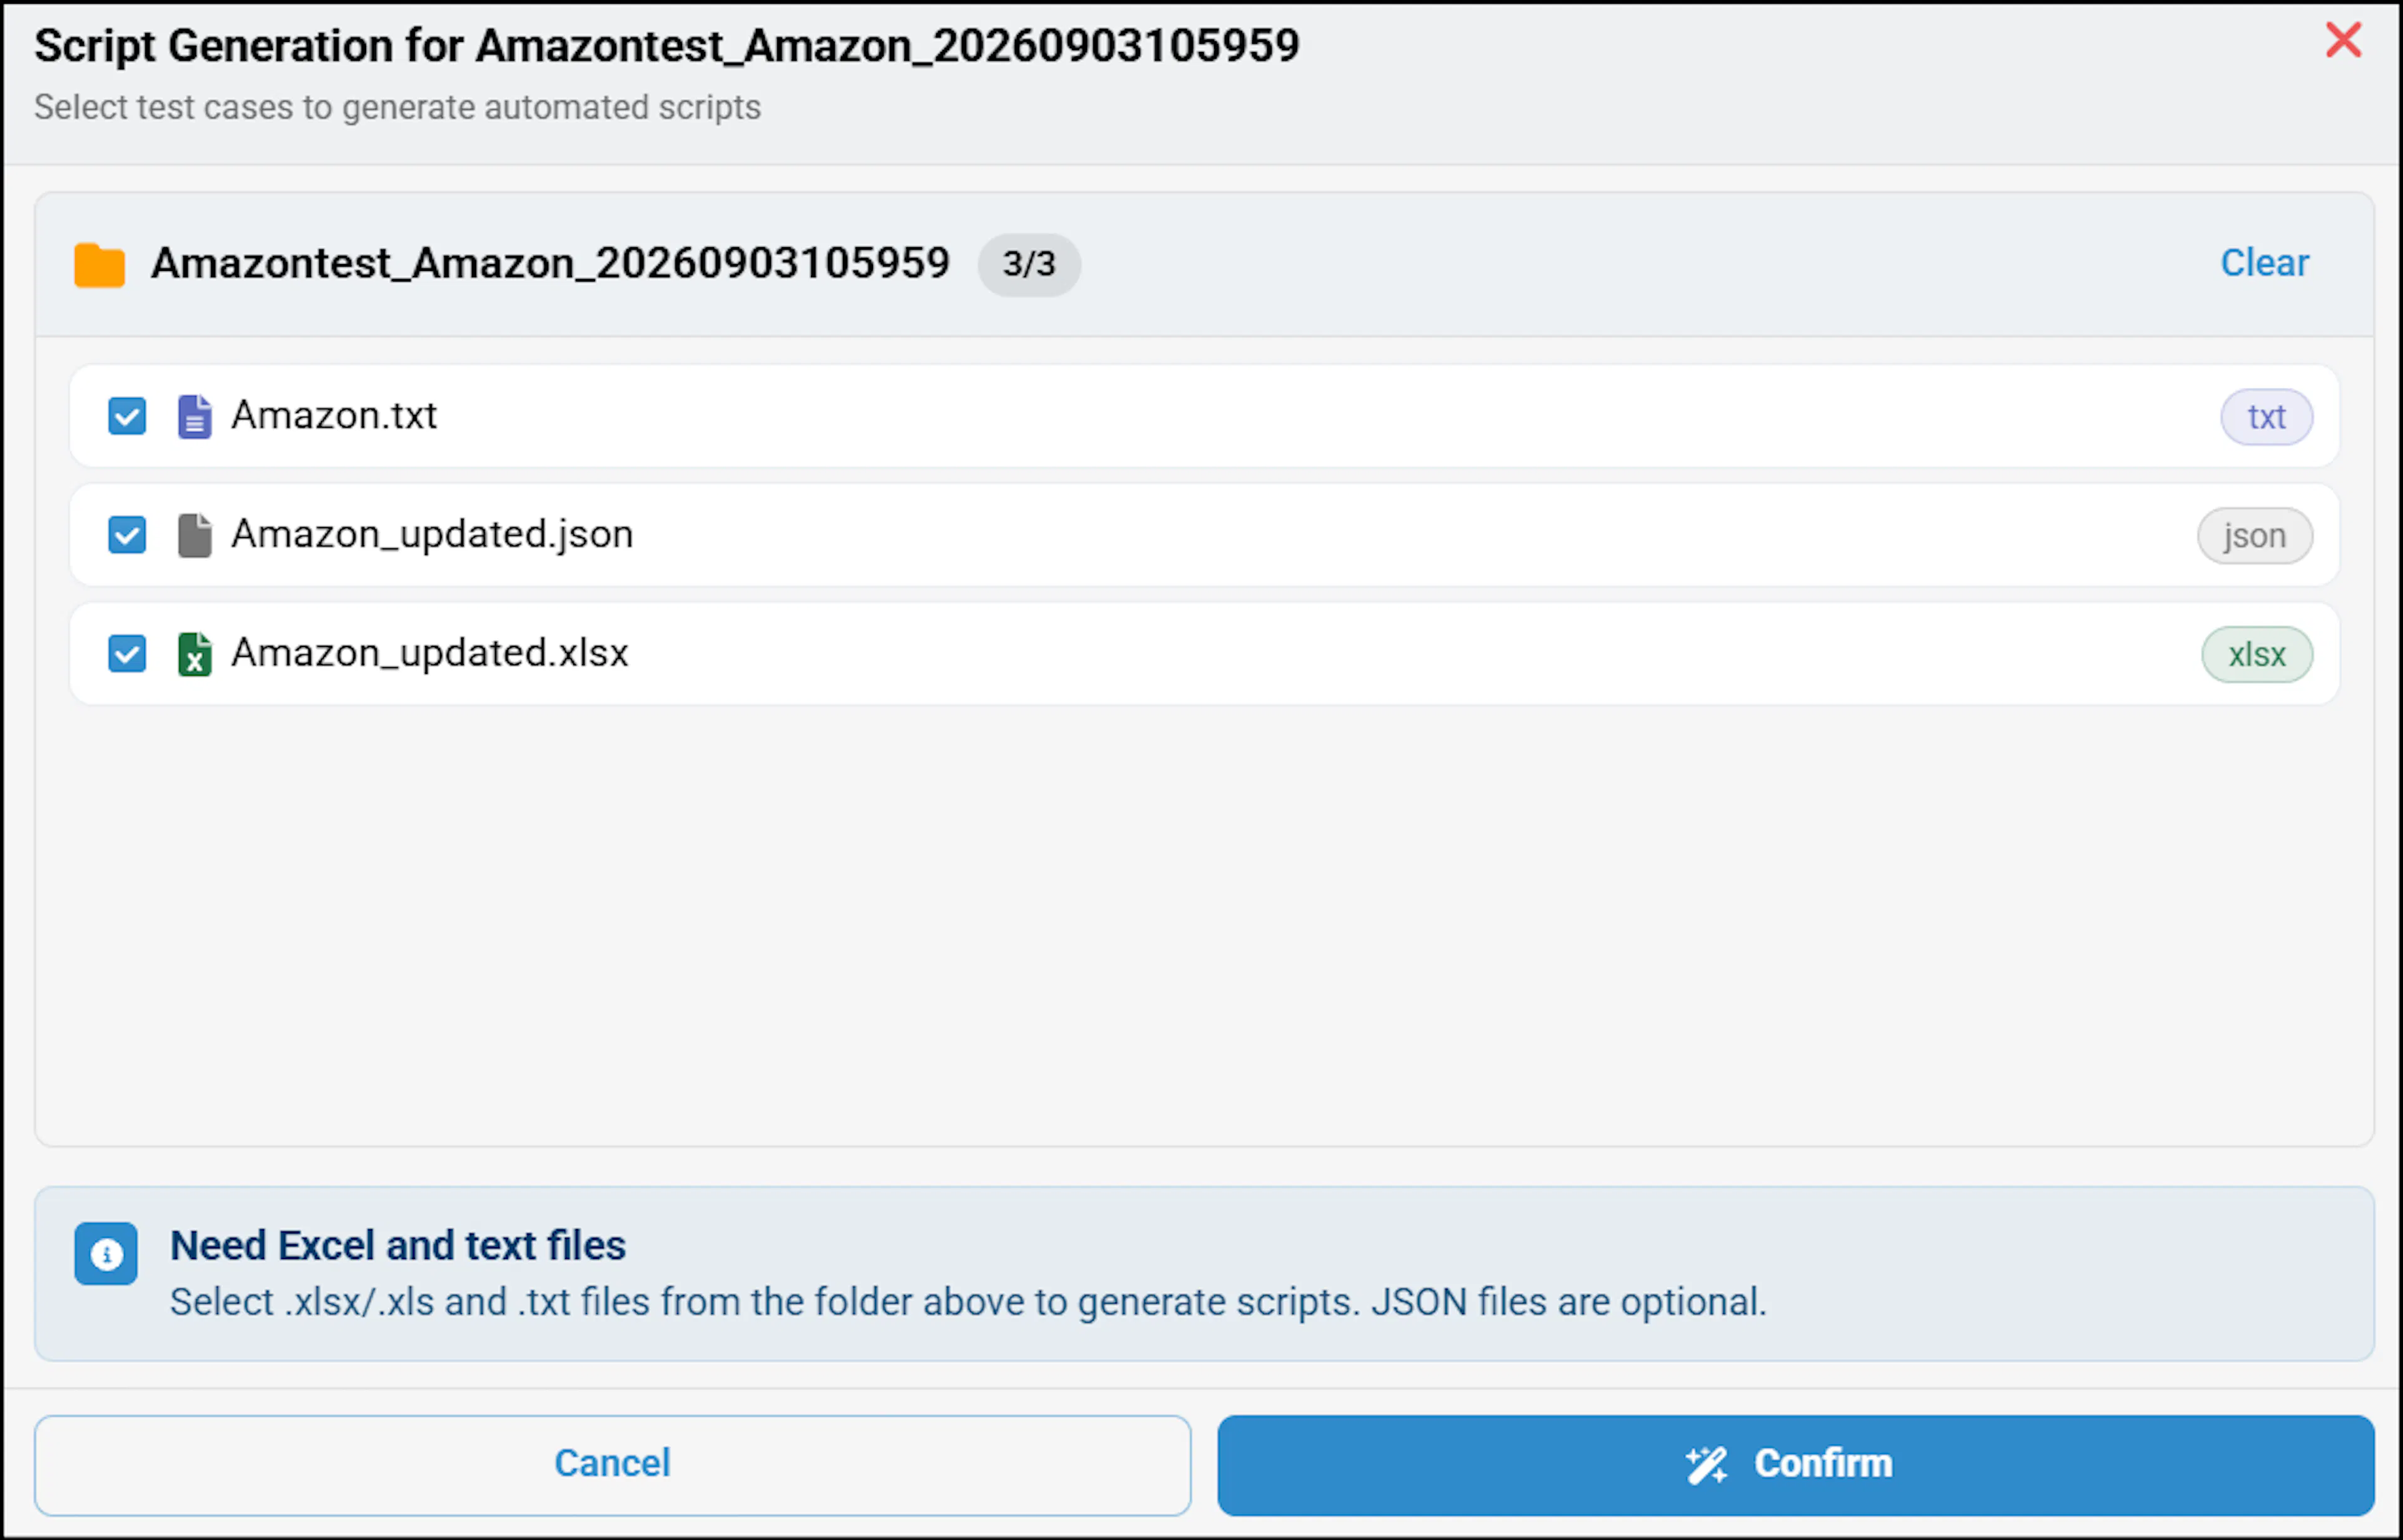
Note that .xls file supports storage up to 7000 rows (GWT lines) of data. You can modify and save the lines, download the file without any issues.
To generate test scripts, perform the following:
- After generating the scripts, you can download, view, compile, and execute them.
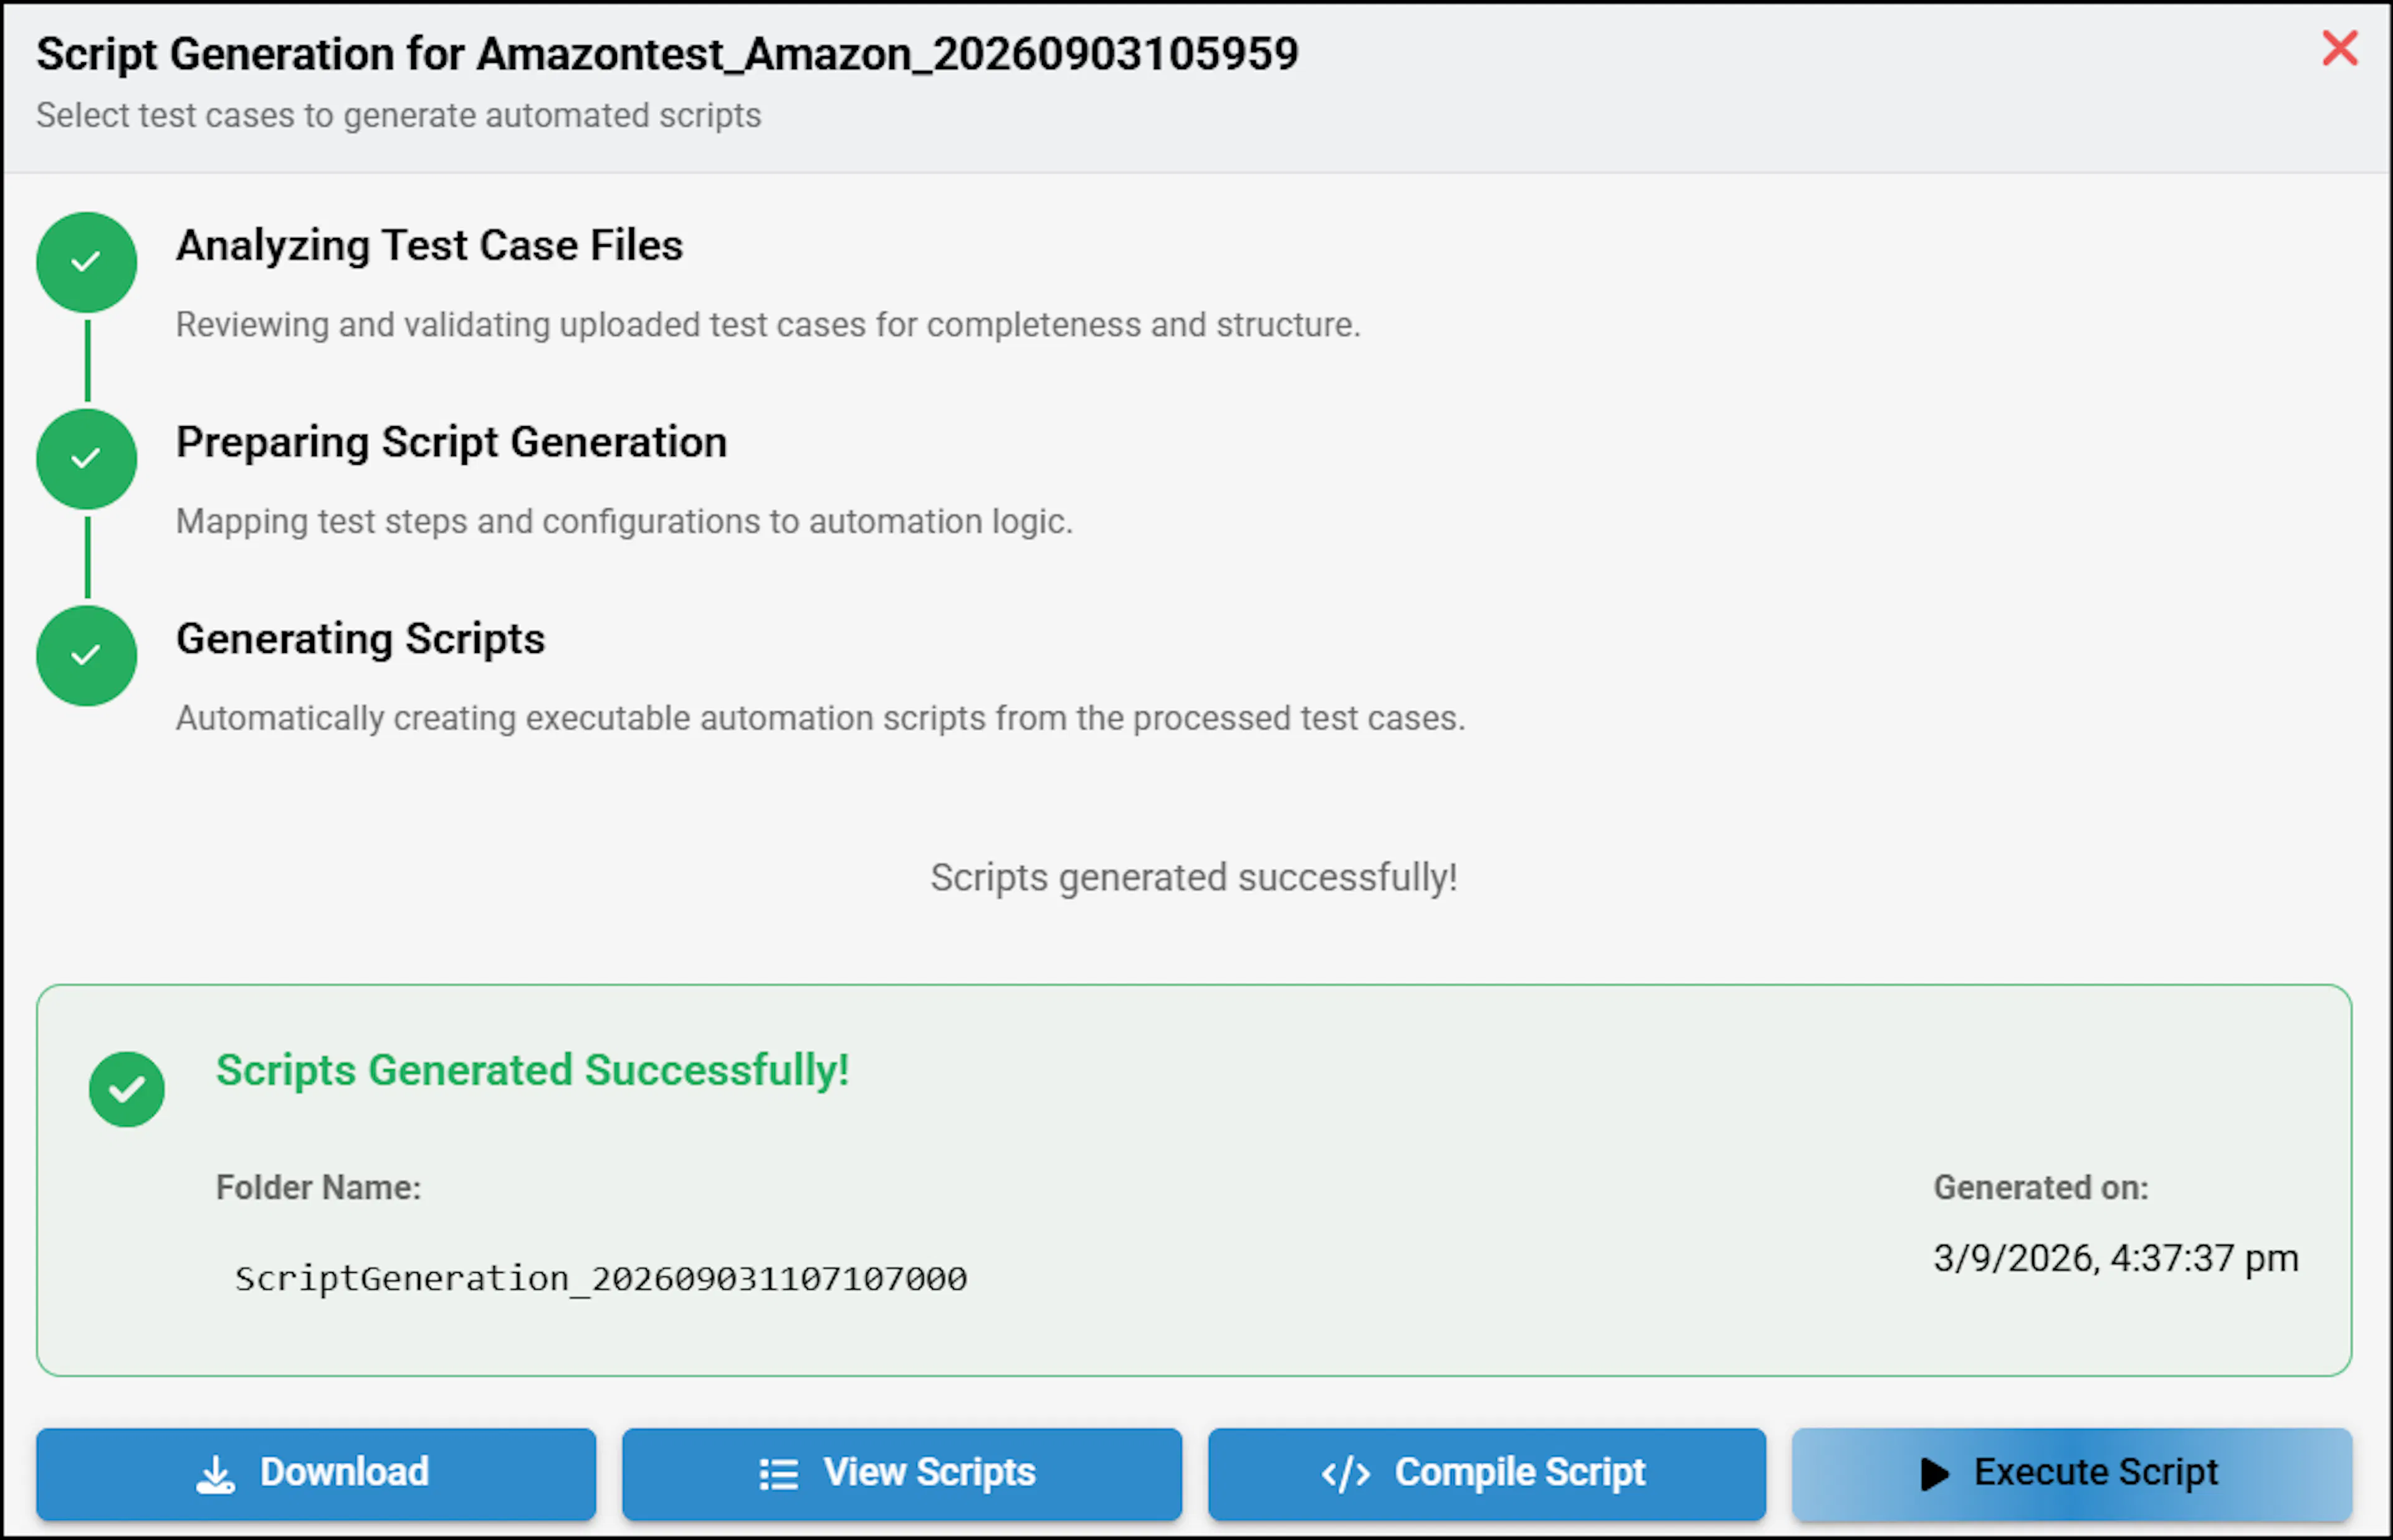
- Check How to Automate Web Applications to learn more about compilation and to view scripts.
- You can use the filter options to refine results by selecting time ranges such as Today, Last Week, or a Custom range. Additionally, you can filter by language, framework, and the user who generated the scripts using their respective dropdowns. You can also filter based on compilation status, including Compiled, Not Compiled, Failed, Pending, and Passed.
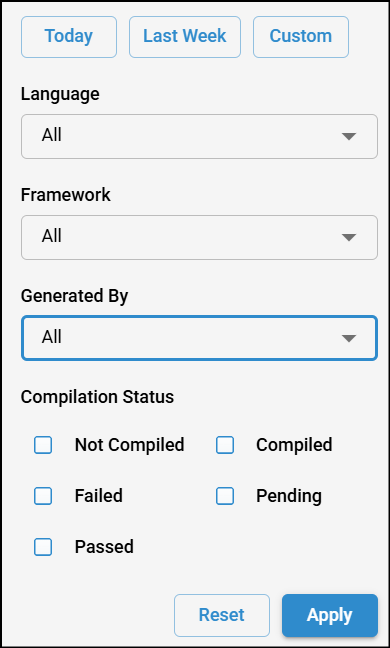
- Check Scripts Execution in algoQA to learn more about execution.
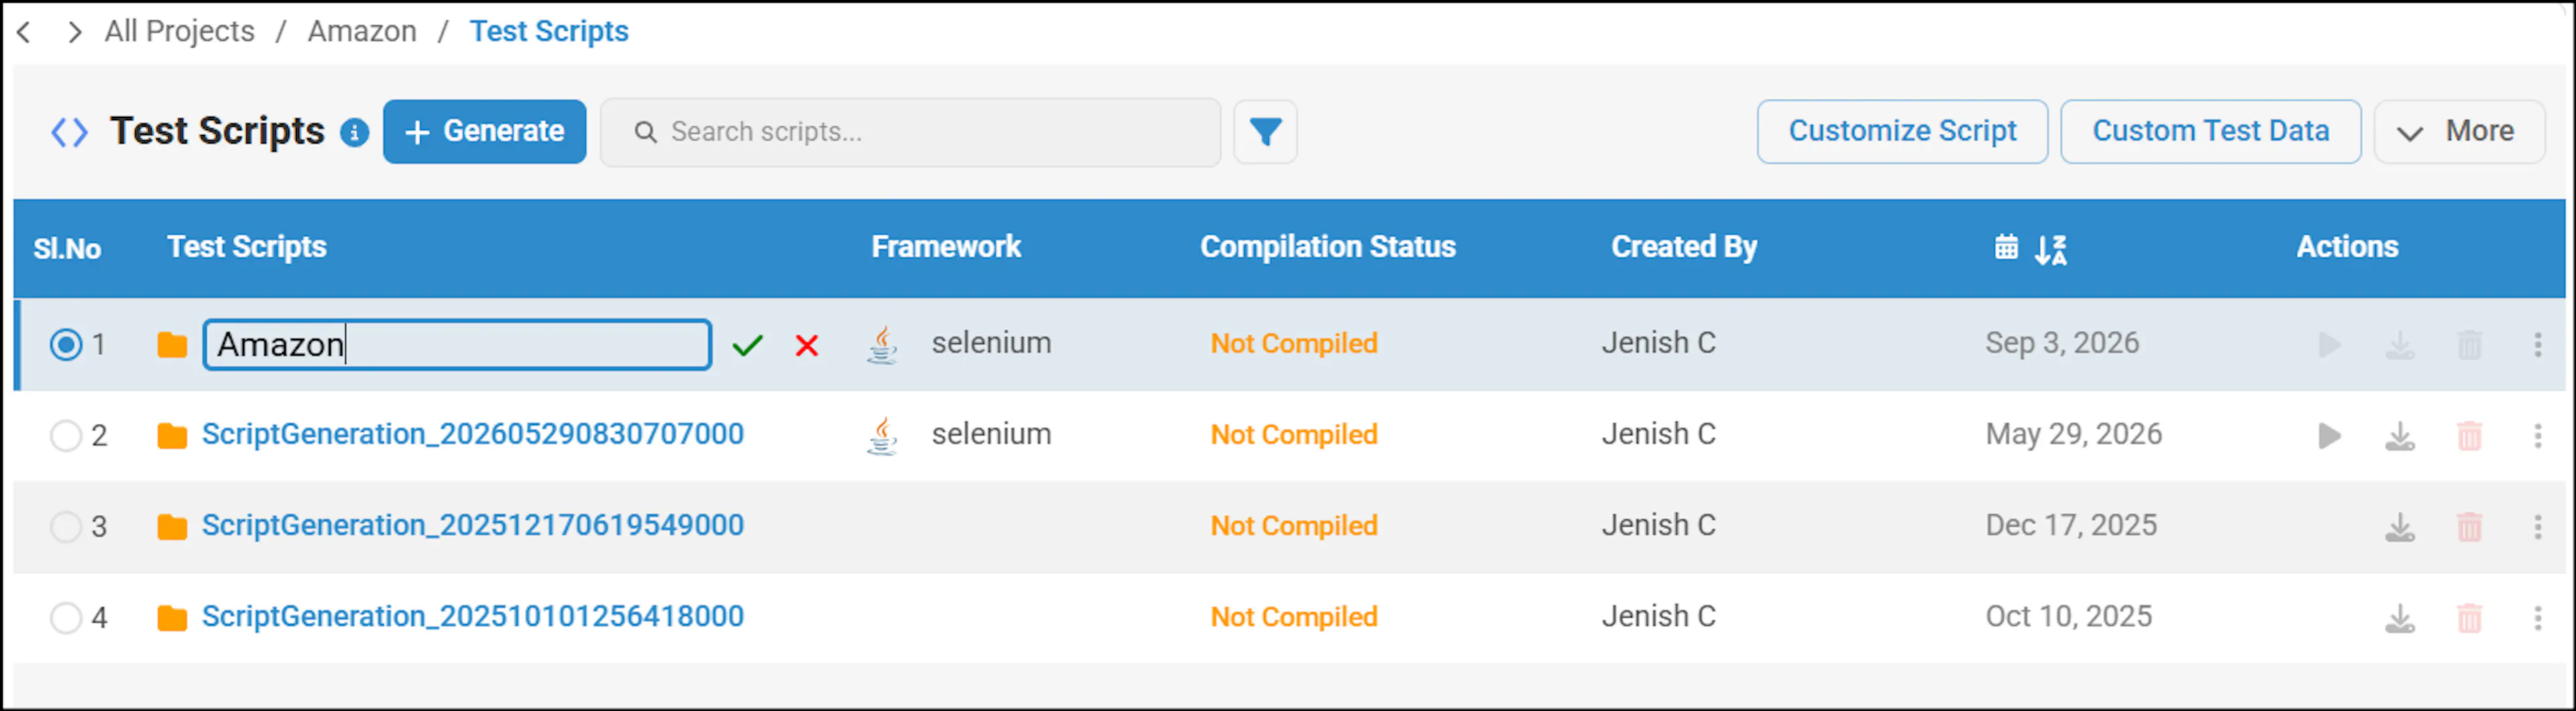
- You can rename the generated script folder and download it.
- Click the More icon (three dots) next to the script, then select Rename.
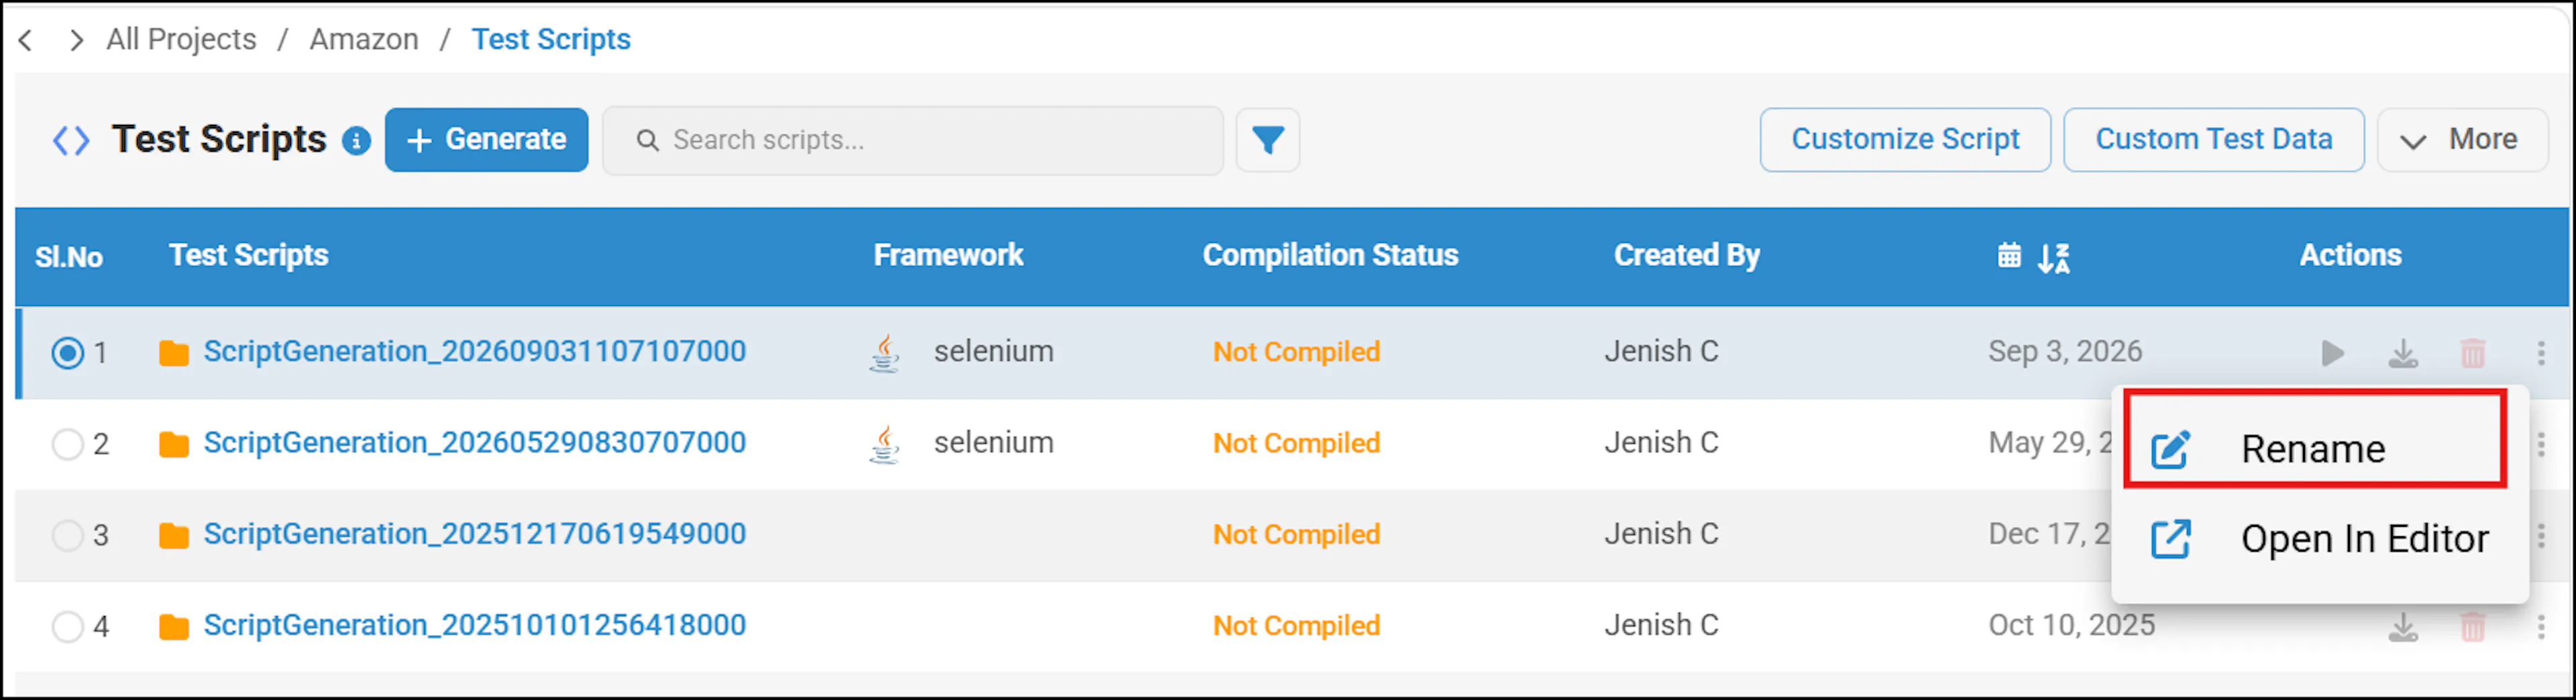
- Edit the name, and click the tick icon to save it.