Canvas
Use the Canvas to create nodes, configure features and controls, generate test cases, and manage your project visually.
How to Use the Features in Canvas
To add a node, click Add Node, edit the node name, and click Save.
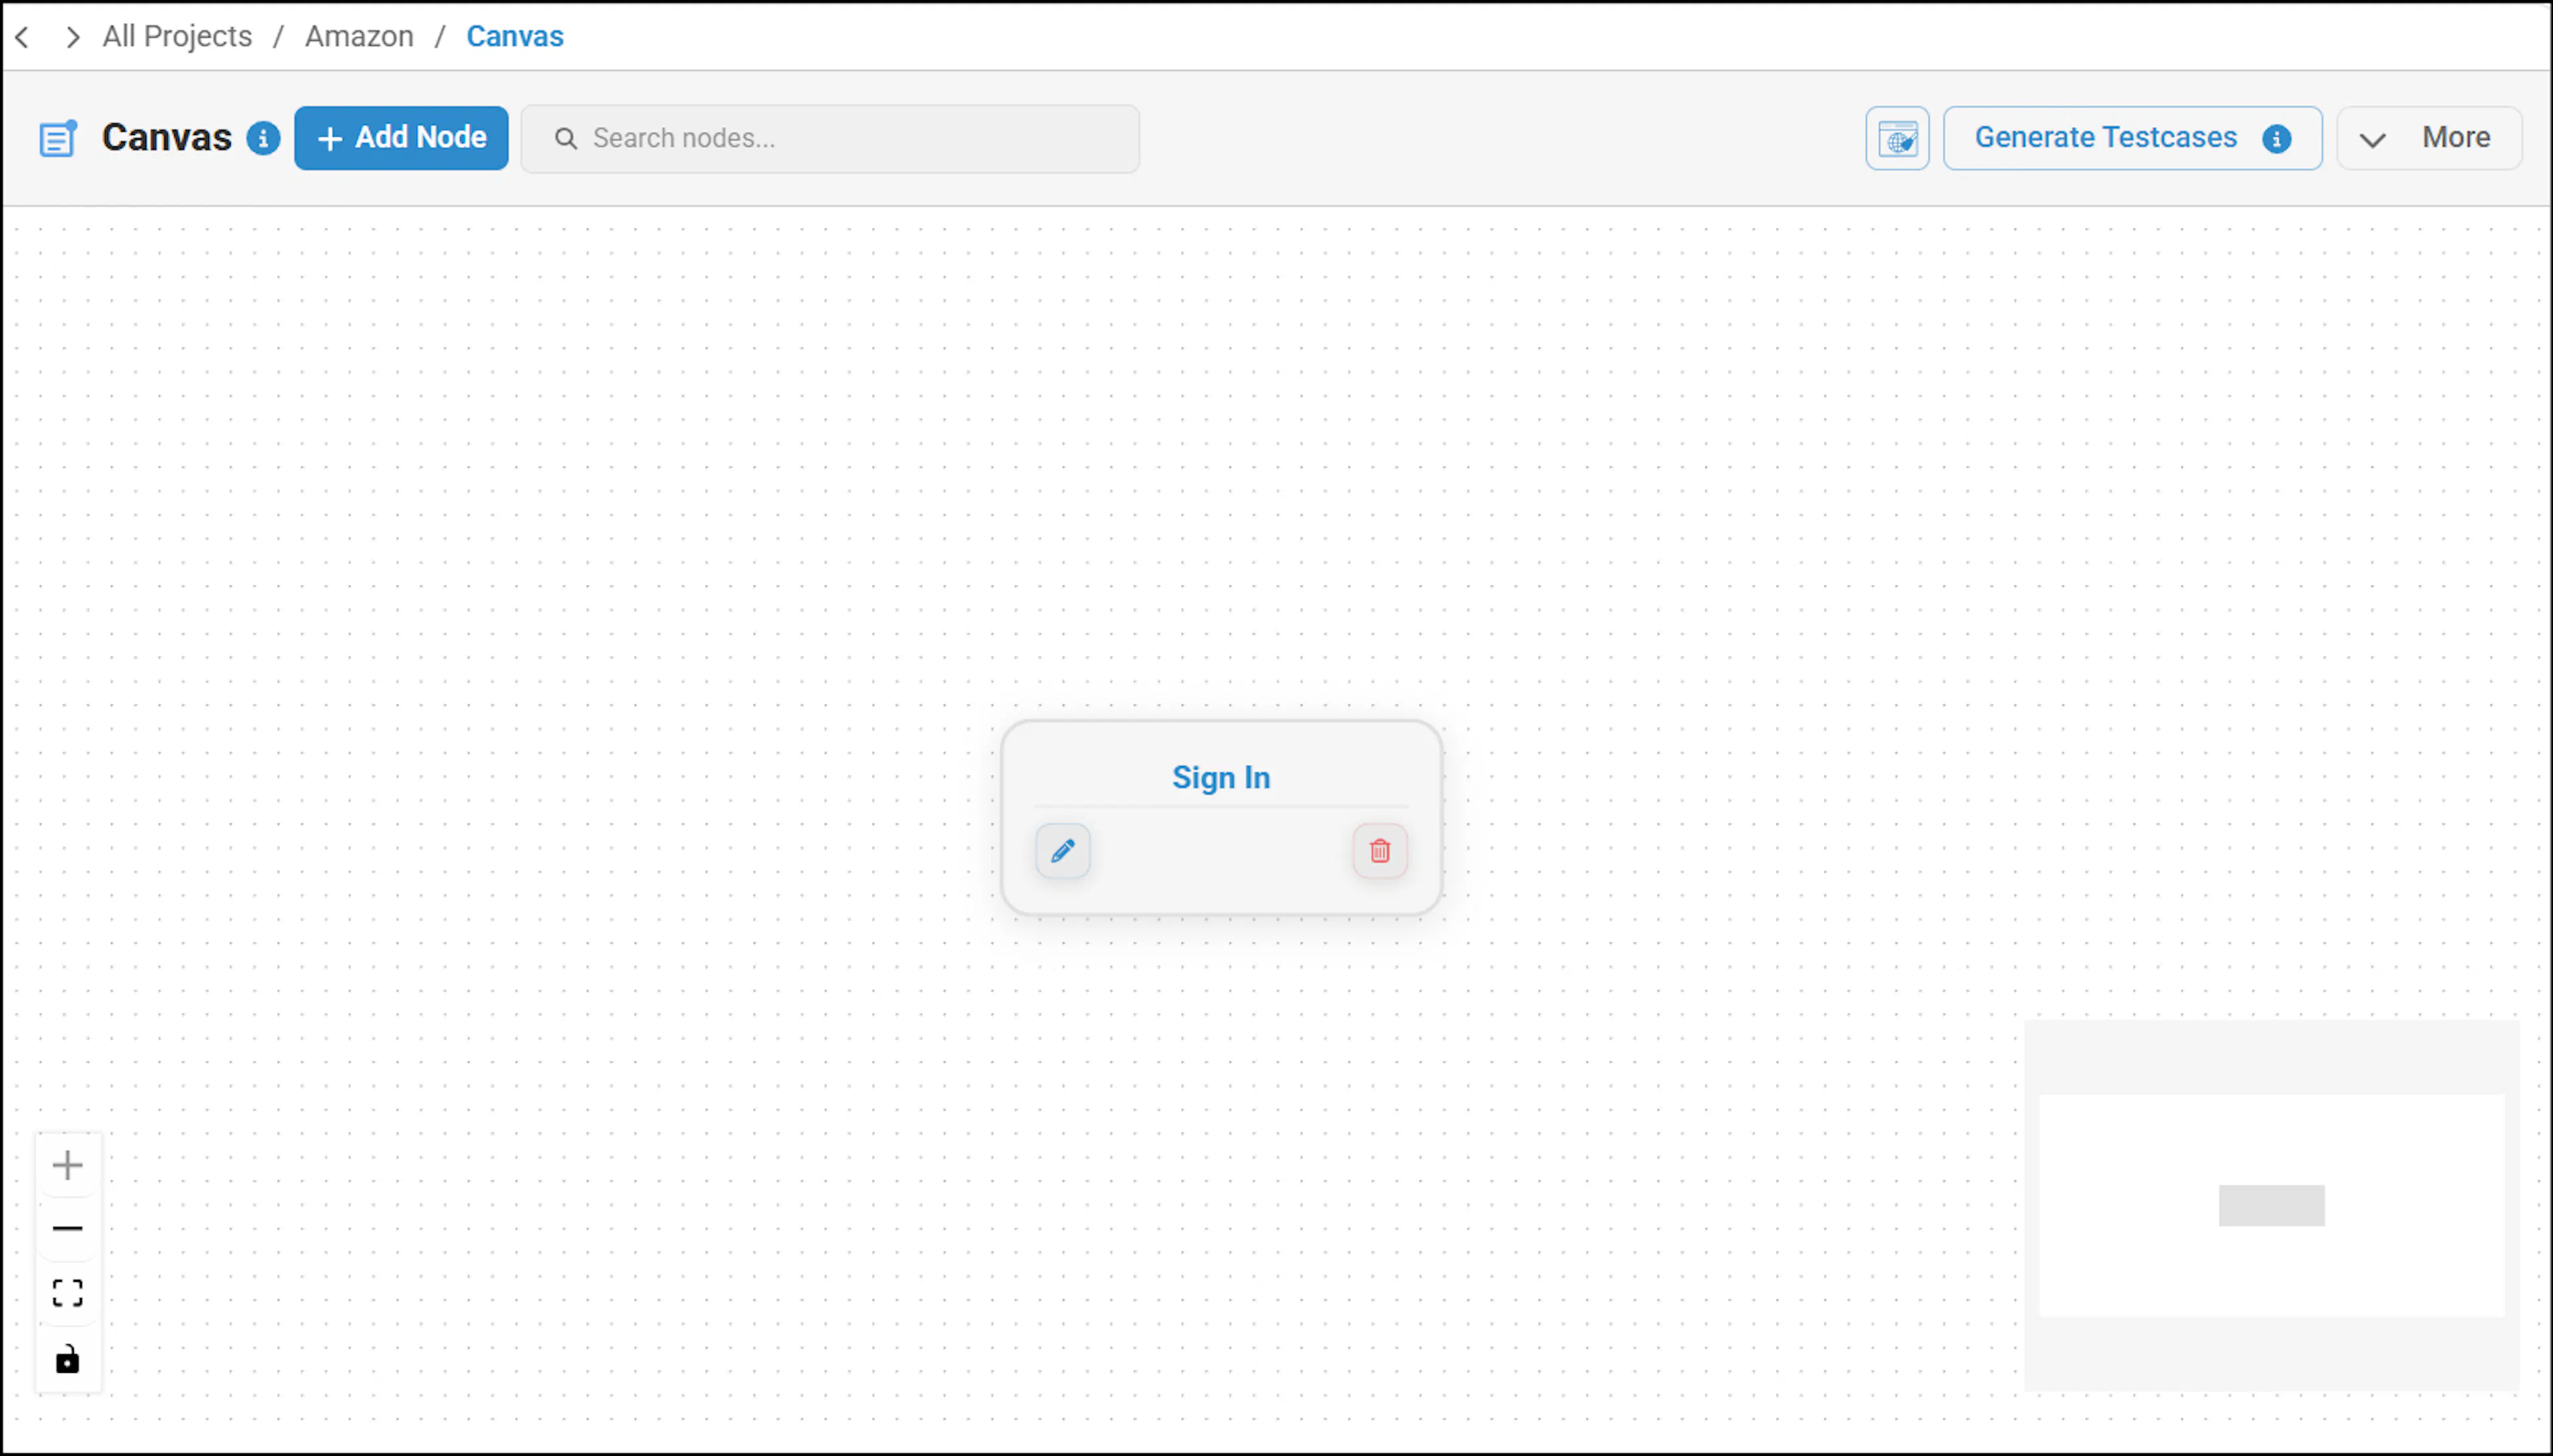
If needed, nodes can be dragged and repositioned, followed by clicking the Save button.
Nodes can be searched using the search field.
When a search is performed, only the matching nodes are displayed, and all other nodes are hidden. To view all nodes again, simply clear the search.
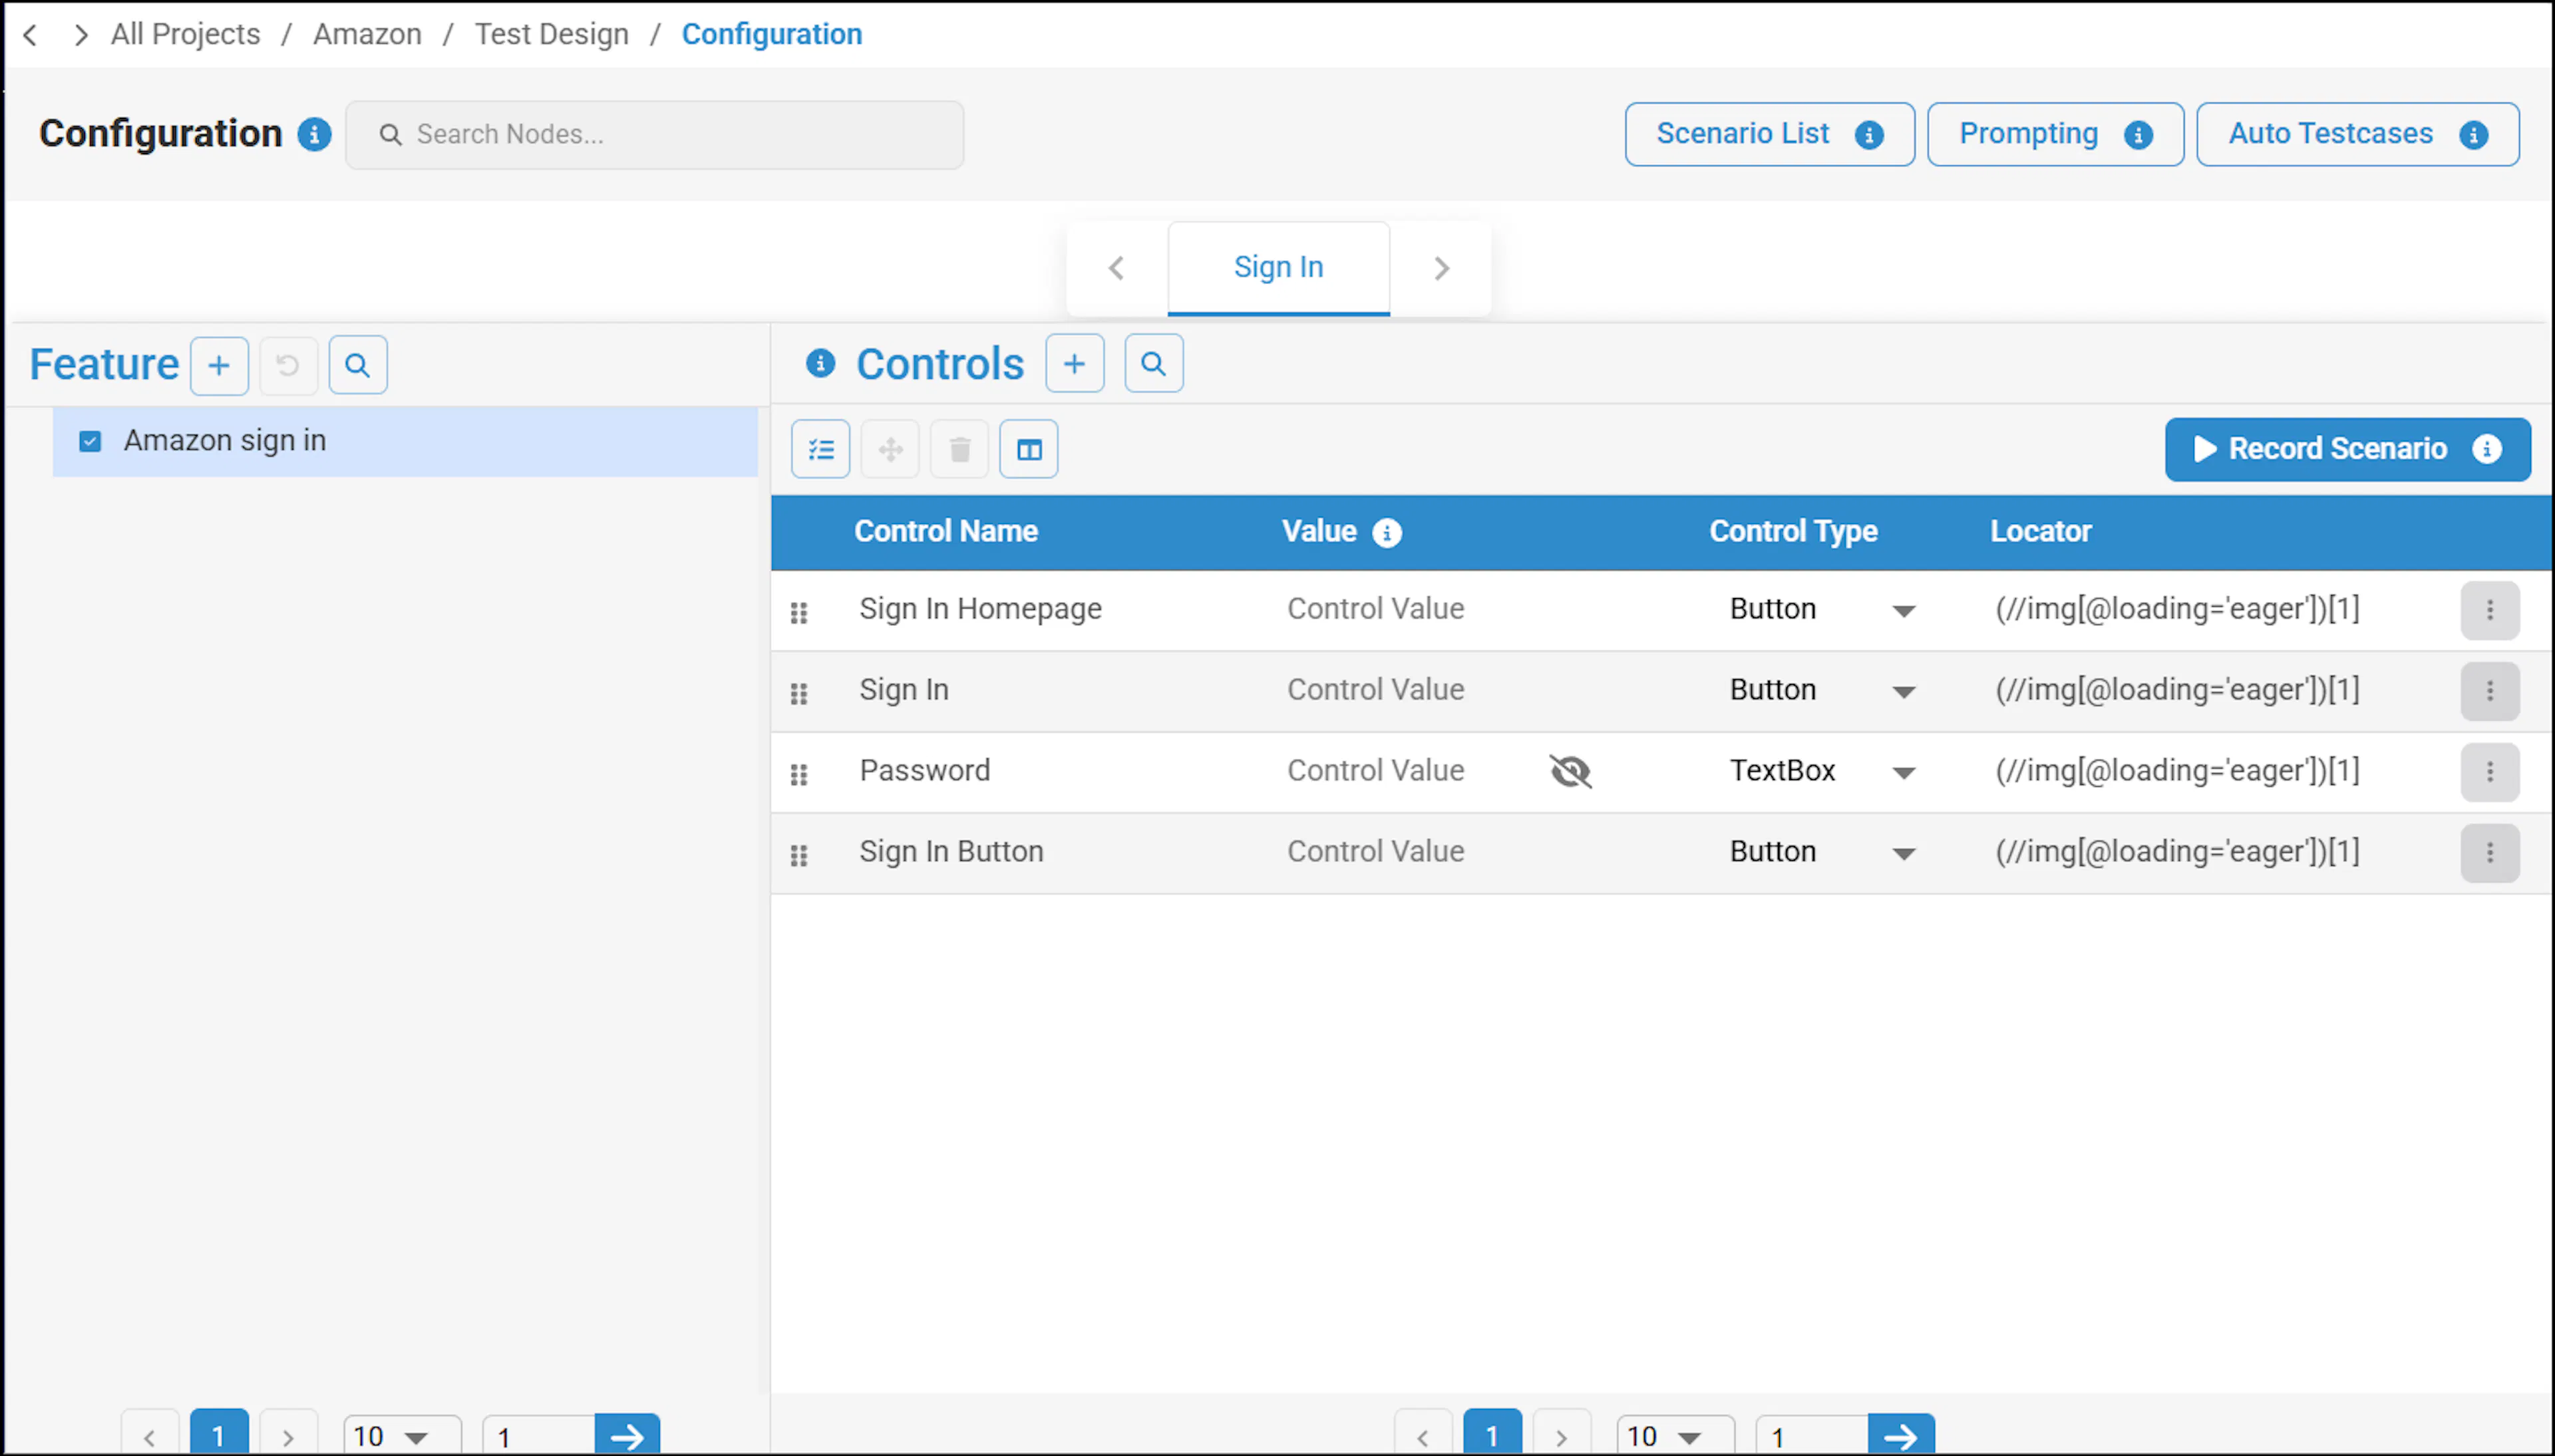
You can configure a node by clicking the node name.
This will direct you to the Test Design > Configuration screen, where you can add and configure features and controls. You can also record scenarios from this screen.
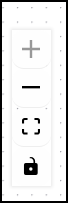
You can use the '+' icon to zoom in, the '–' icon to zoom out, Fit View to display the nodes correctly within the view, and the Lock icon to toggle the nodes without saving.
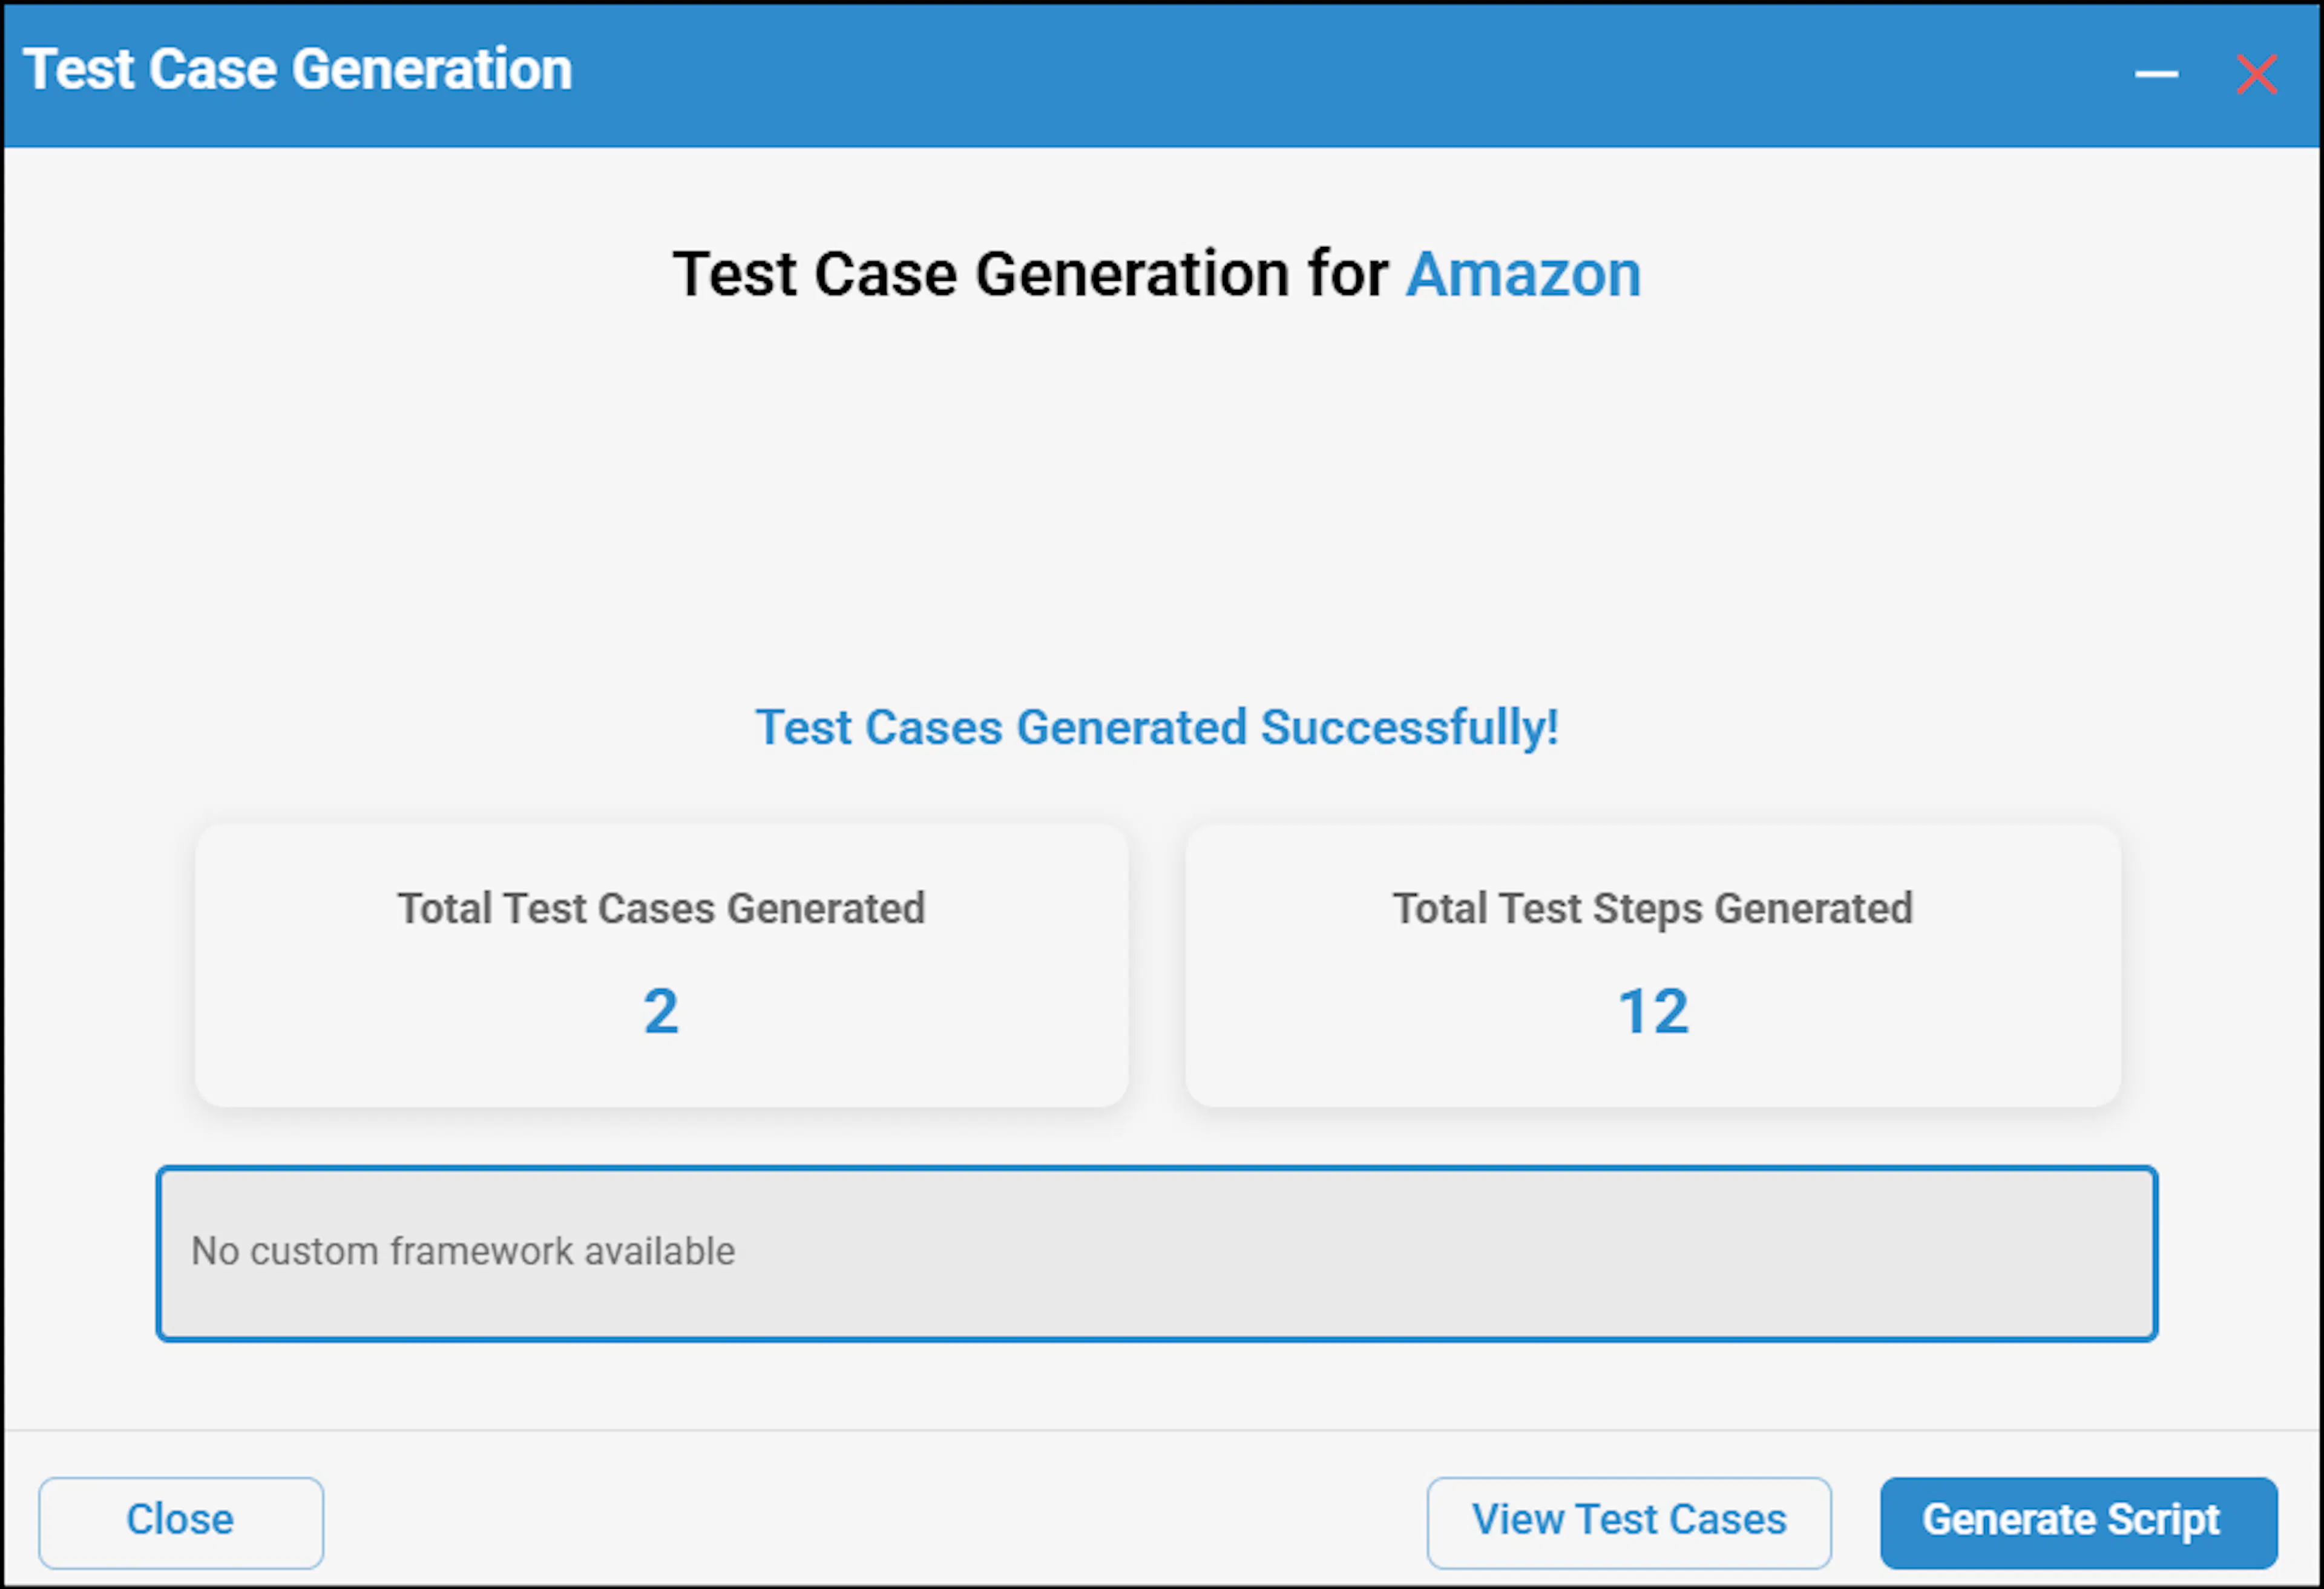
By clicking the Generate Test Case button, the Test Case Generation pop-up will appear.
From there, you can view the test cases and generate scripts.
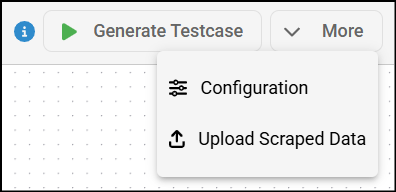
The More dropdown provides options to update the configuration and upload scraped data/Application Screenshot.