How to Delete Script Generated Files and Test Cases Generated Files all at Once
In the Projects, after generating test cases and scripts, you can delete all the files at once from their respective pages.
Deleting Multiple Files at Once
Perform the following:
As a user, navigate to Projects.
In the Projects, search for the required project where you choose to delete the test cases and generated scripts at once.
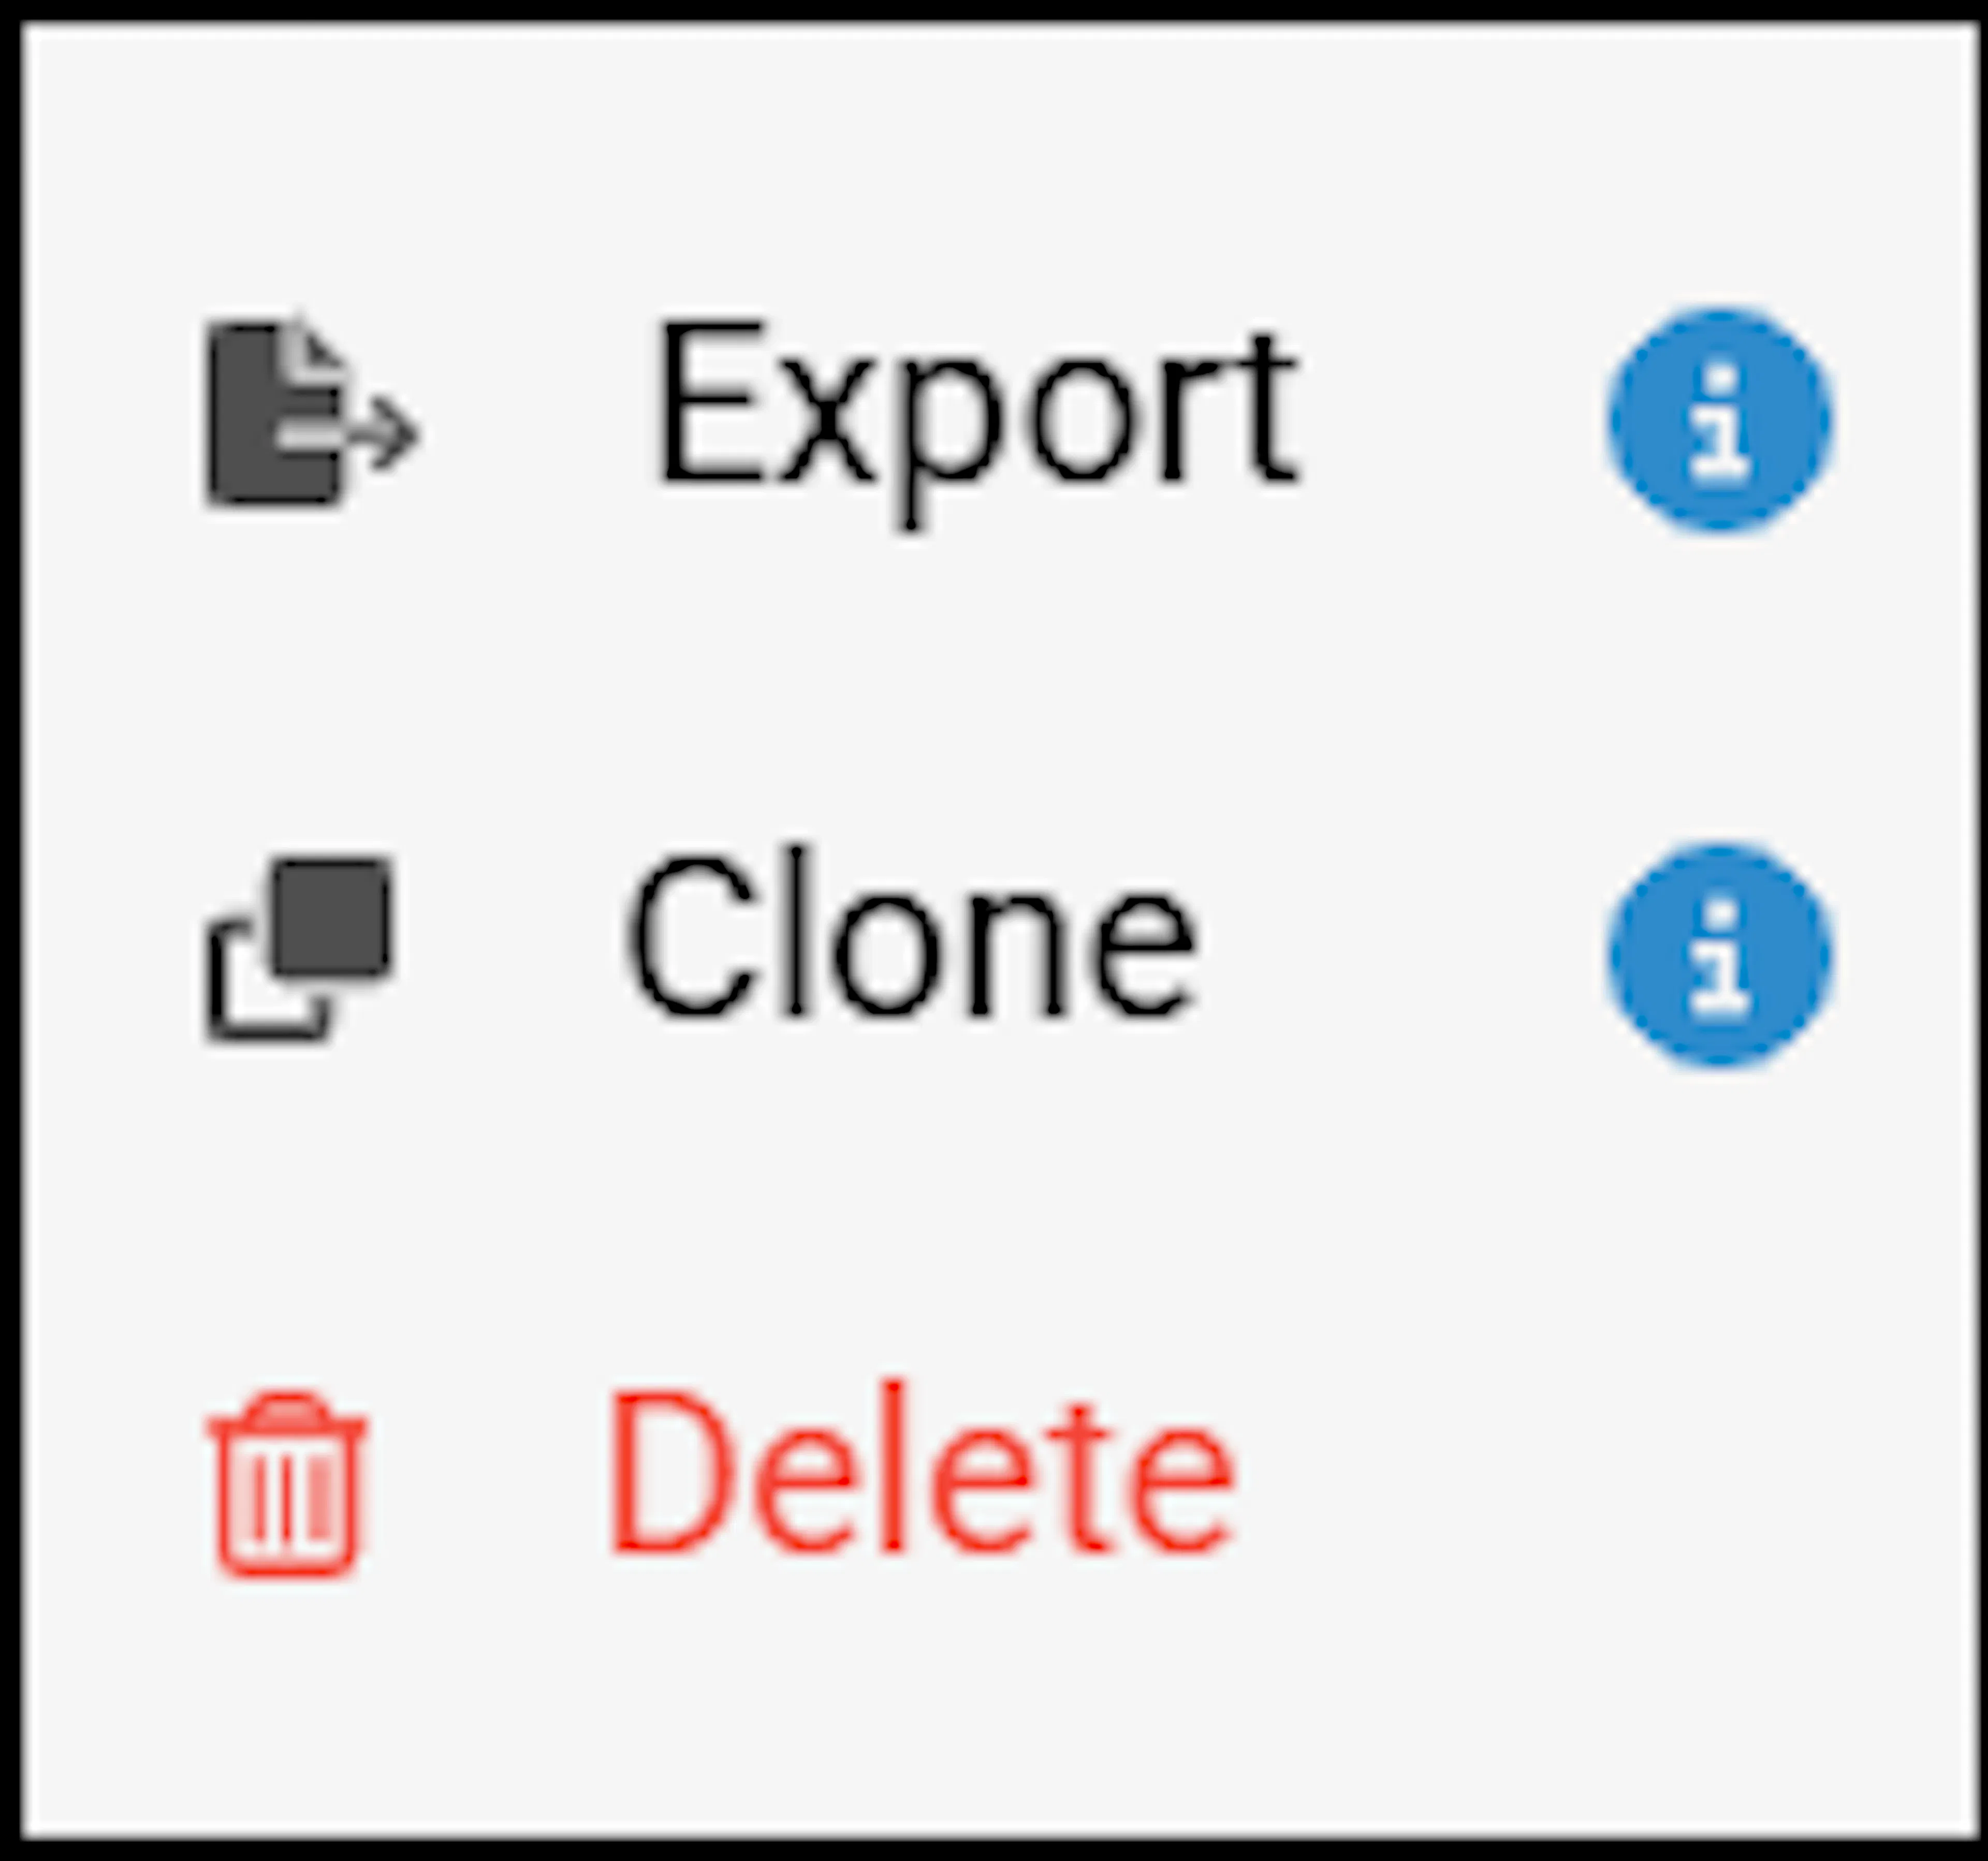
Open the Test Cases. In the top right corner, there is a Delete All option.

On clicking it, a pop-up appears saying that this action cannot be undone. If you need to cancel the action, it can be cancelled here, or go ahead with Delete All.
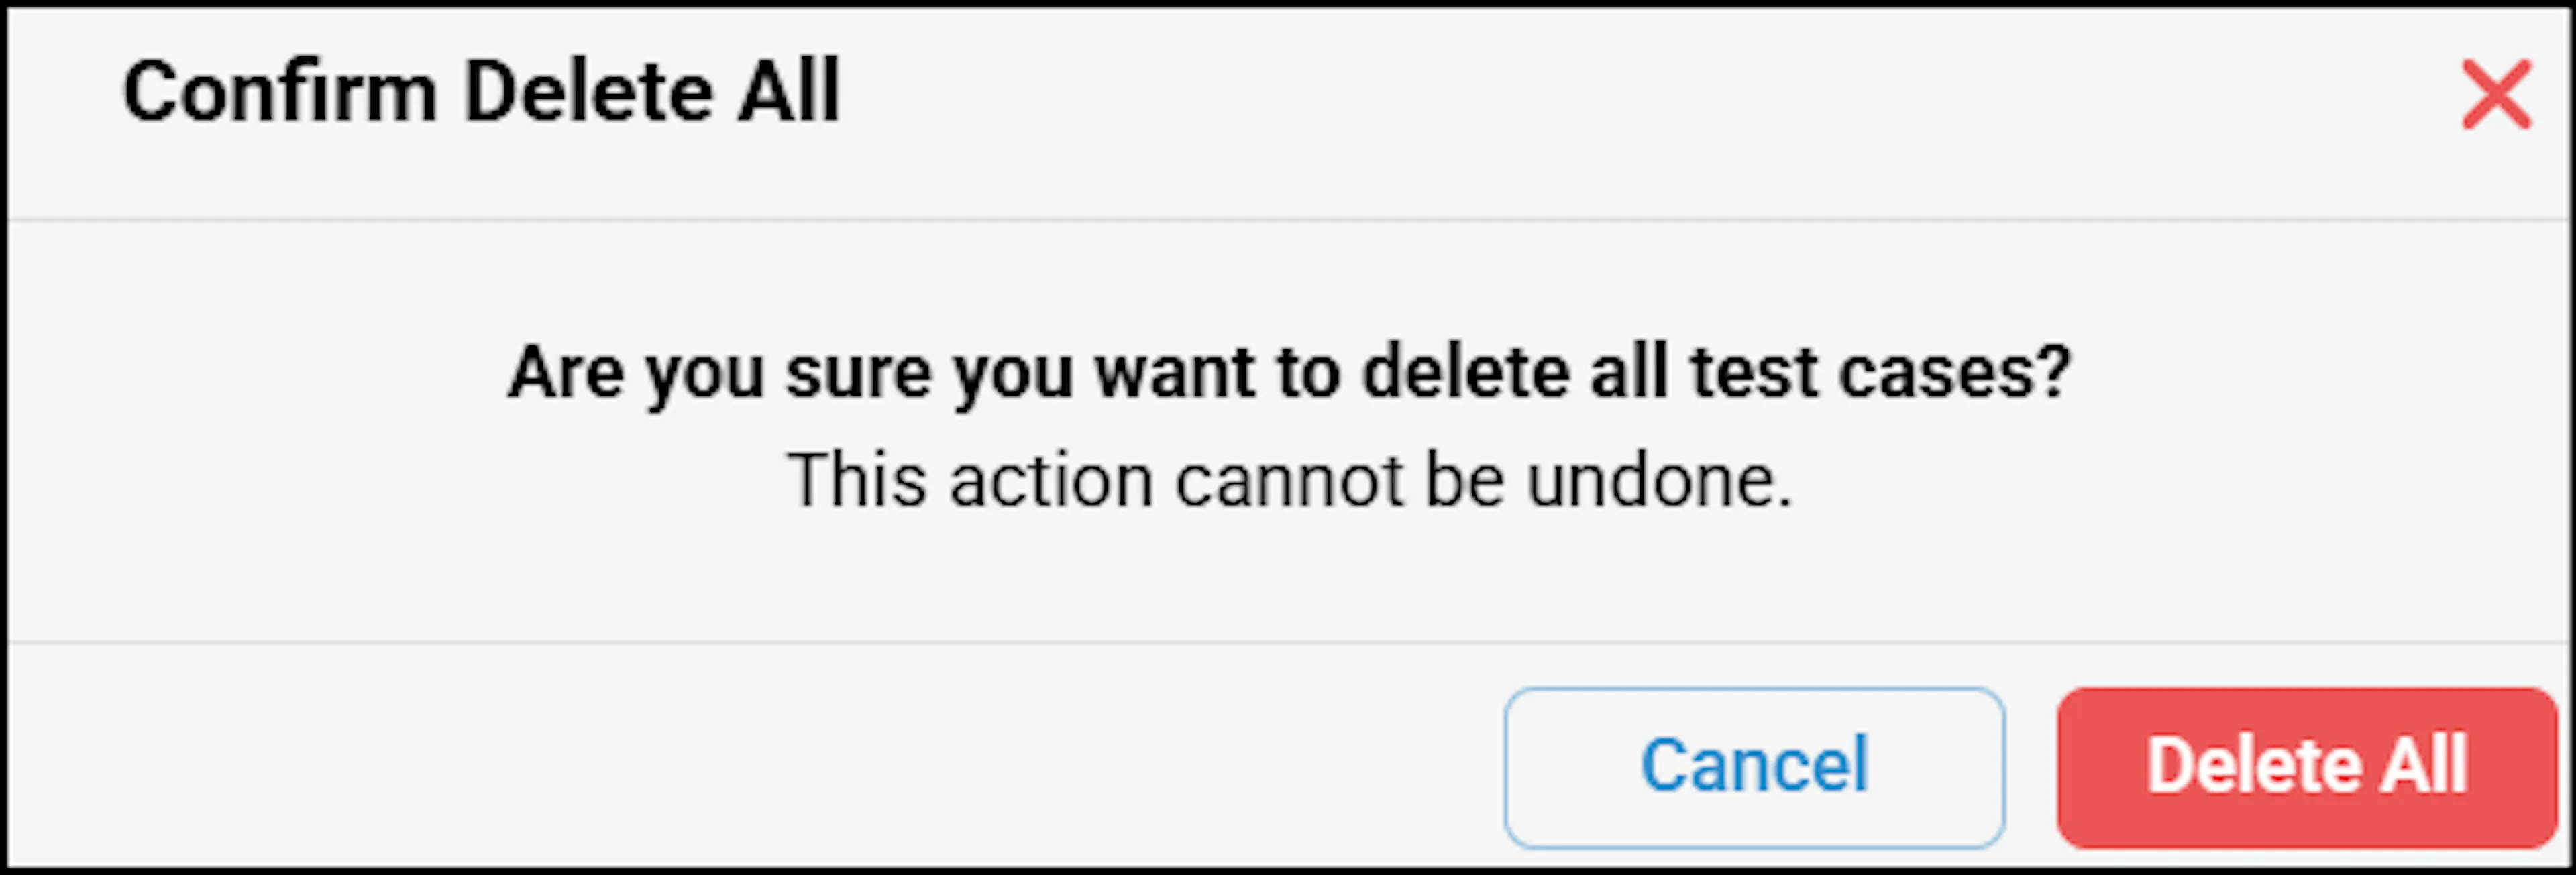
Open the Test Scripts. Click the more dropdown at the top right corner to see the Delete All option.
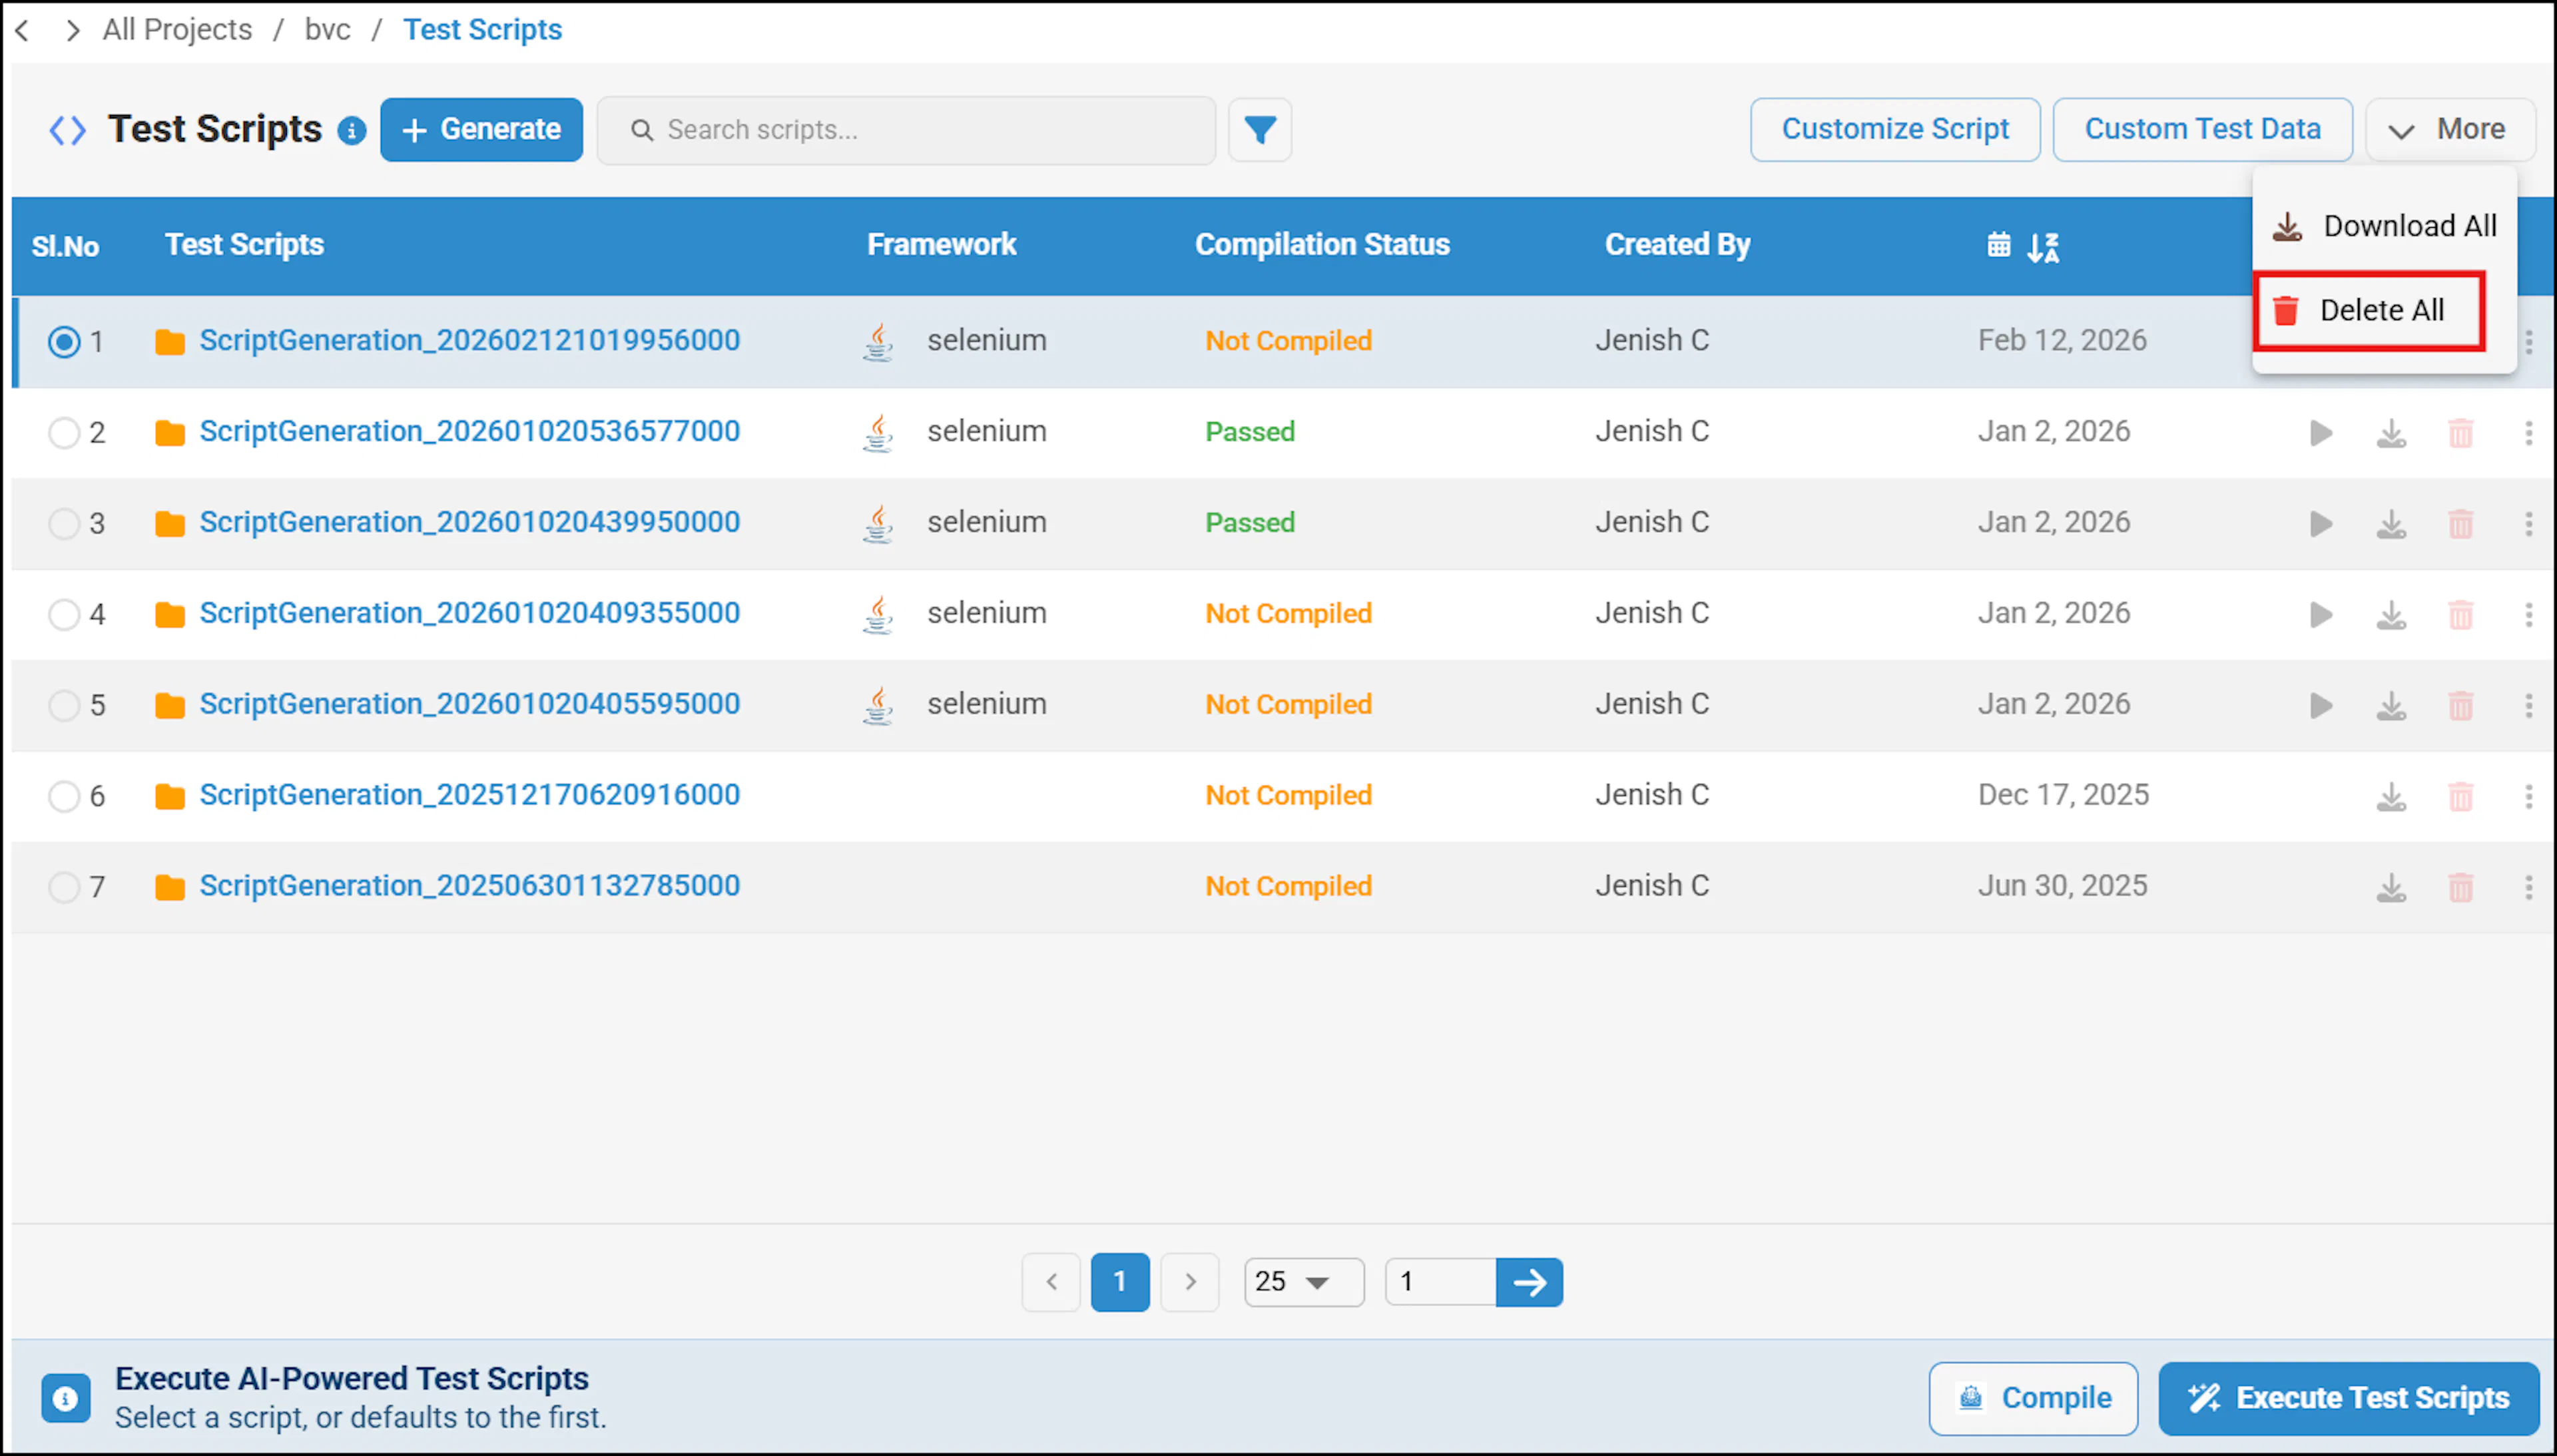
On clicking it, a pop-up appears saying that this action cannot be undone. If you need to cancel the action, it can be cancelled here, or go ahead with Delete All.
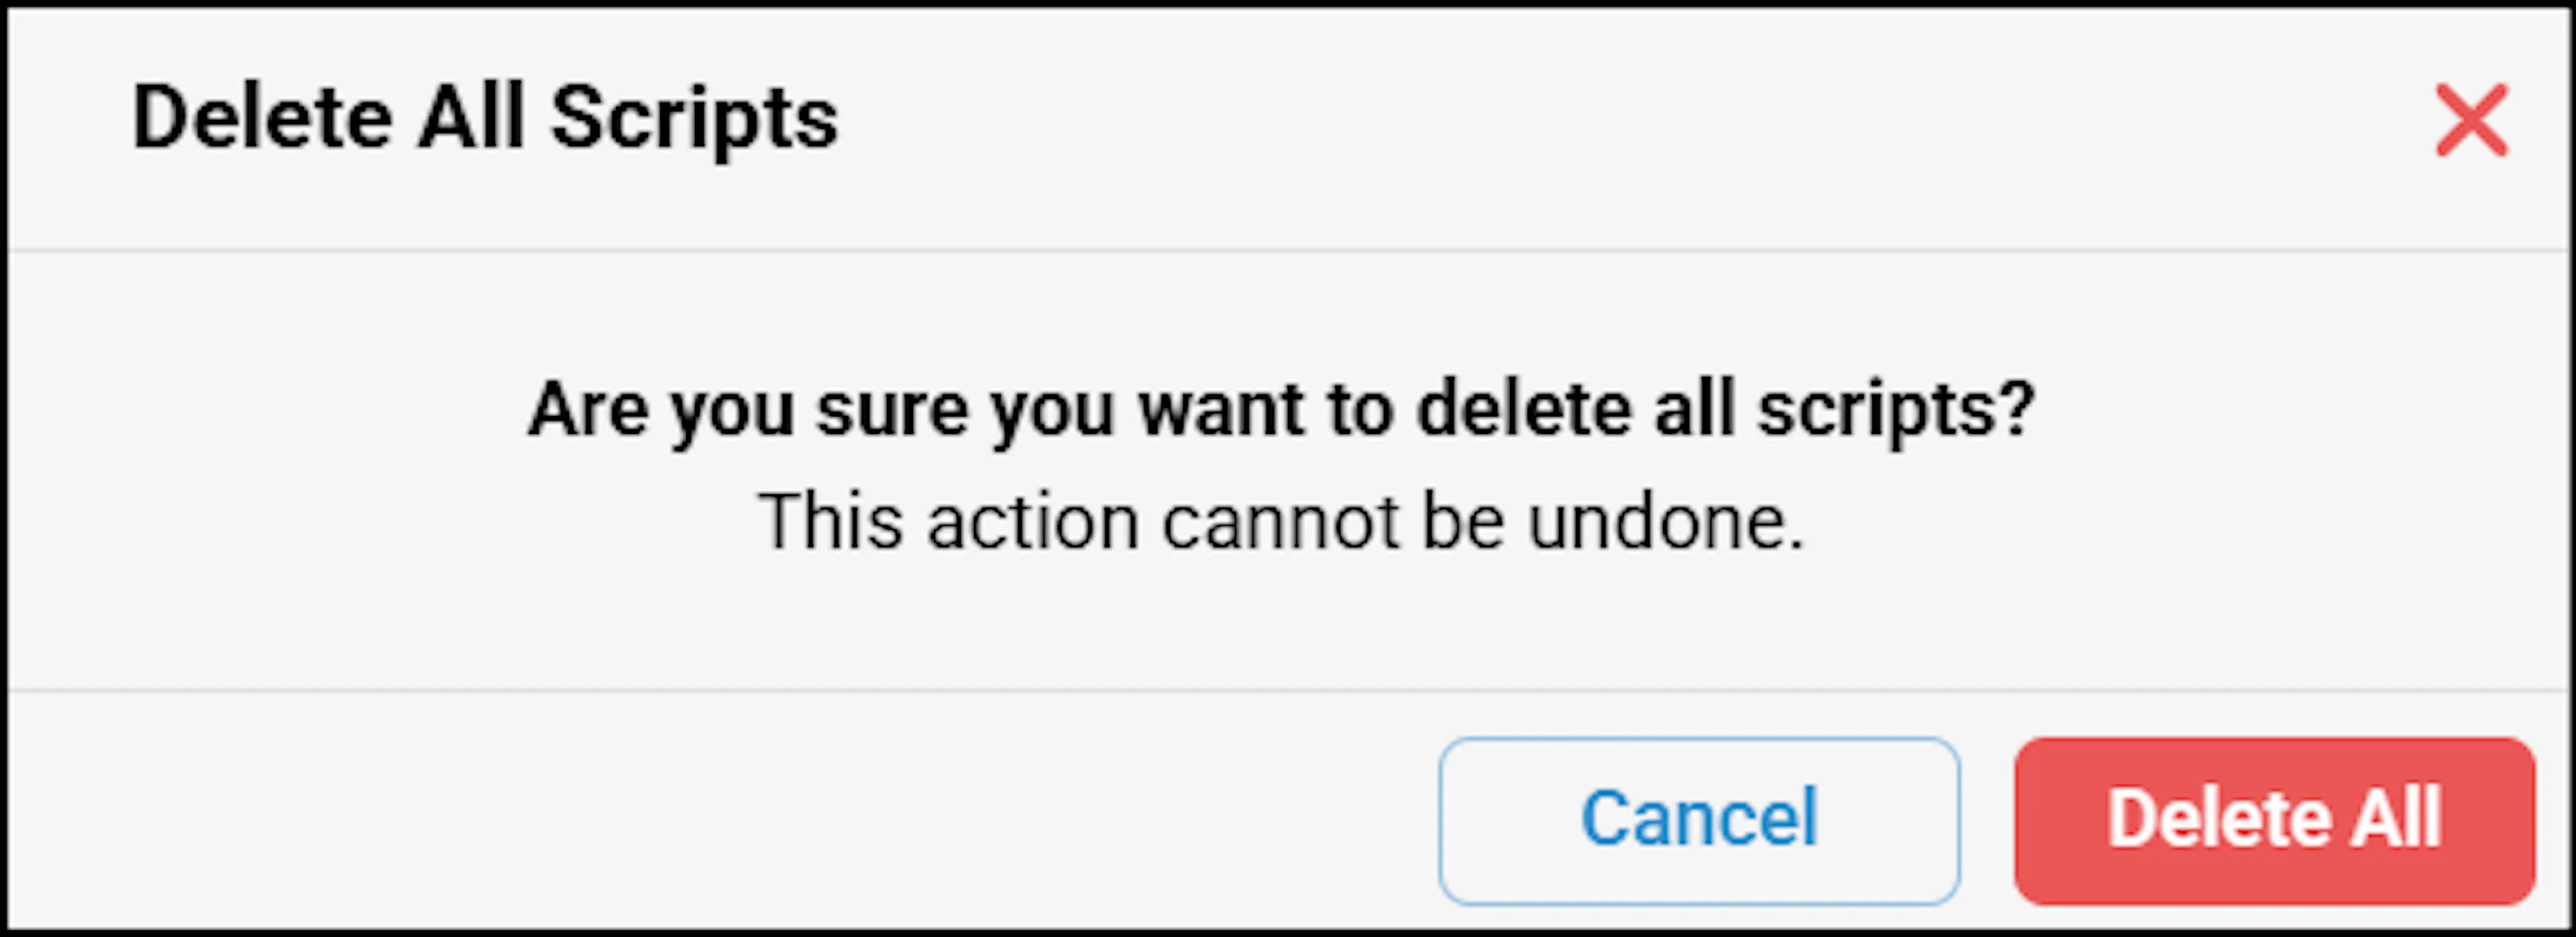
The user should have access to the delete all functionality. For this, the project admin must provide access to the user.
Follow the section below to know more about providing permissions.
Providing Permissions
To provide permissions as an administrator, perform the following:
- As an admin, click Settings and select Access Settings.
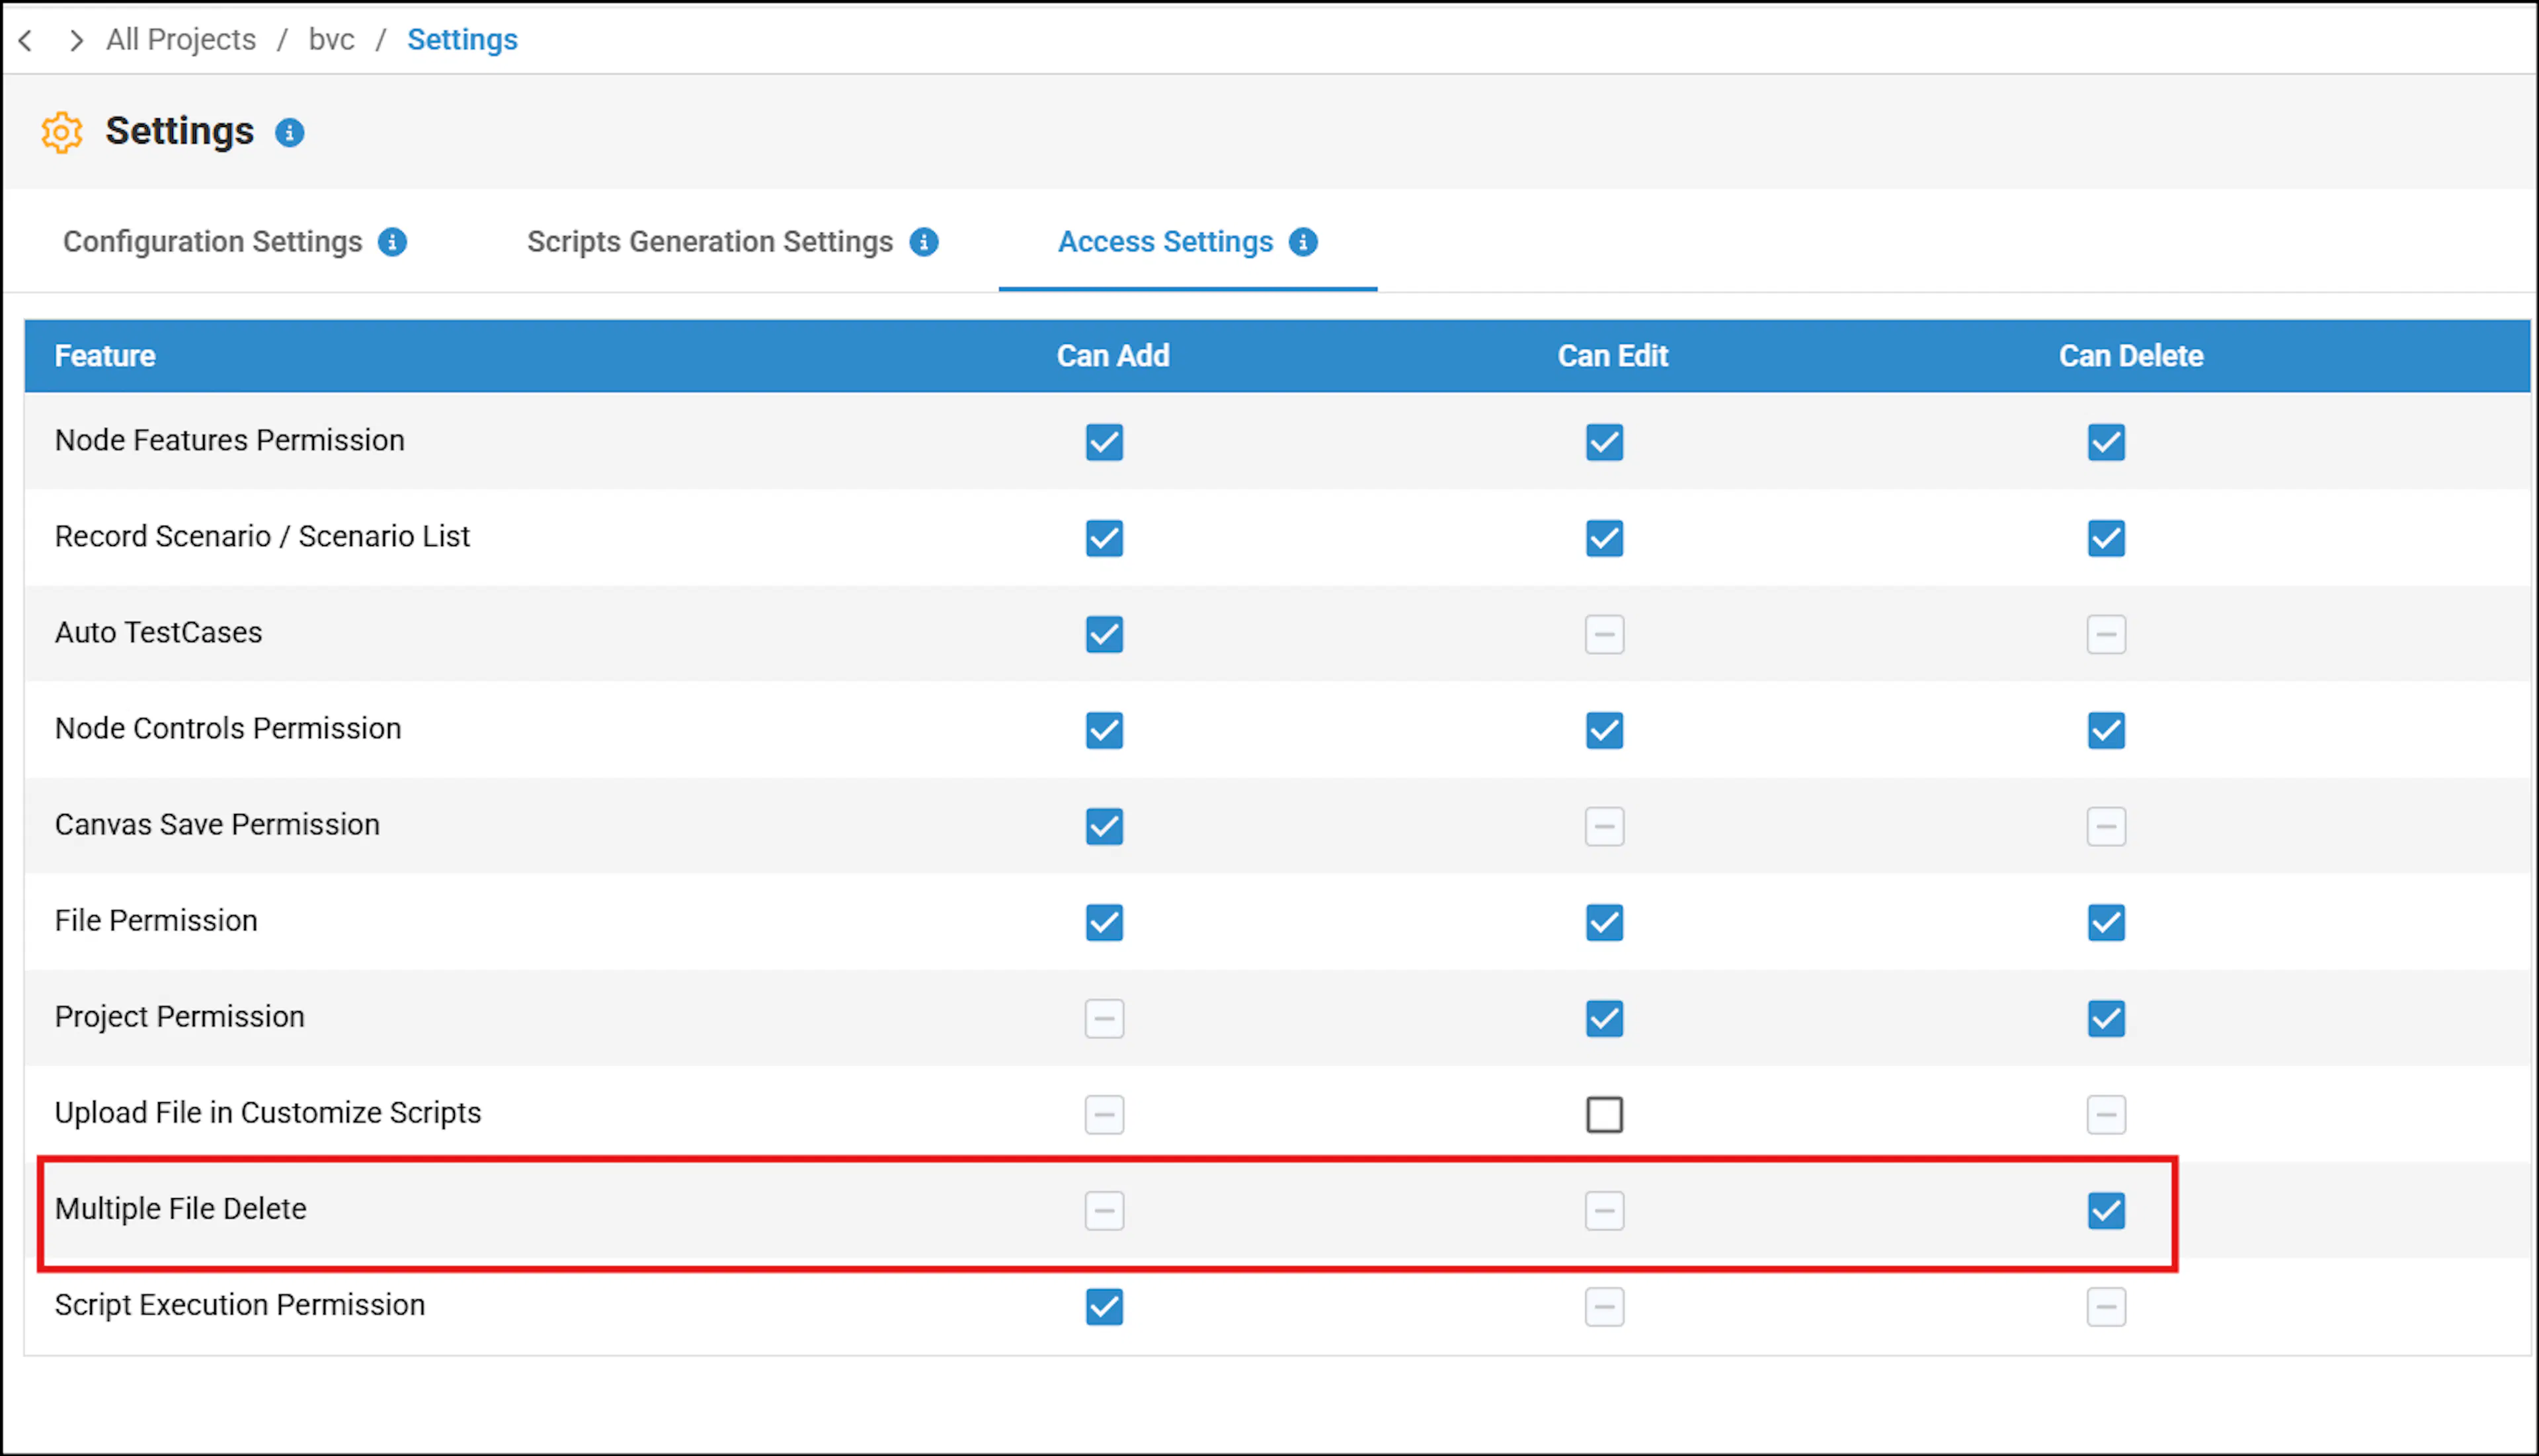
- In this window, select the 'Can Delete' checkbox in the 'Multiple File Delete' row to enable permission to delete multiple files.
Verifying as a User
To verify if the 'Delete all' option is enabled, perform the following:
- Navigate to the same project as described in Second section.
- Click Delete All from Test Cases and Test Scripts.
- You can then delete the selected files from the respective folders.
Assigning a Project as an Admin and Providing Permissions
To assign a project, perform the following:
Navigate to the Projects section and choose a project which needs to be assigned.
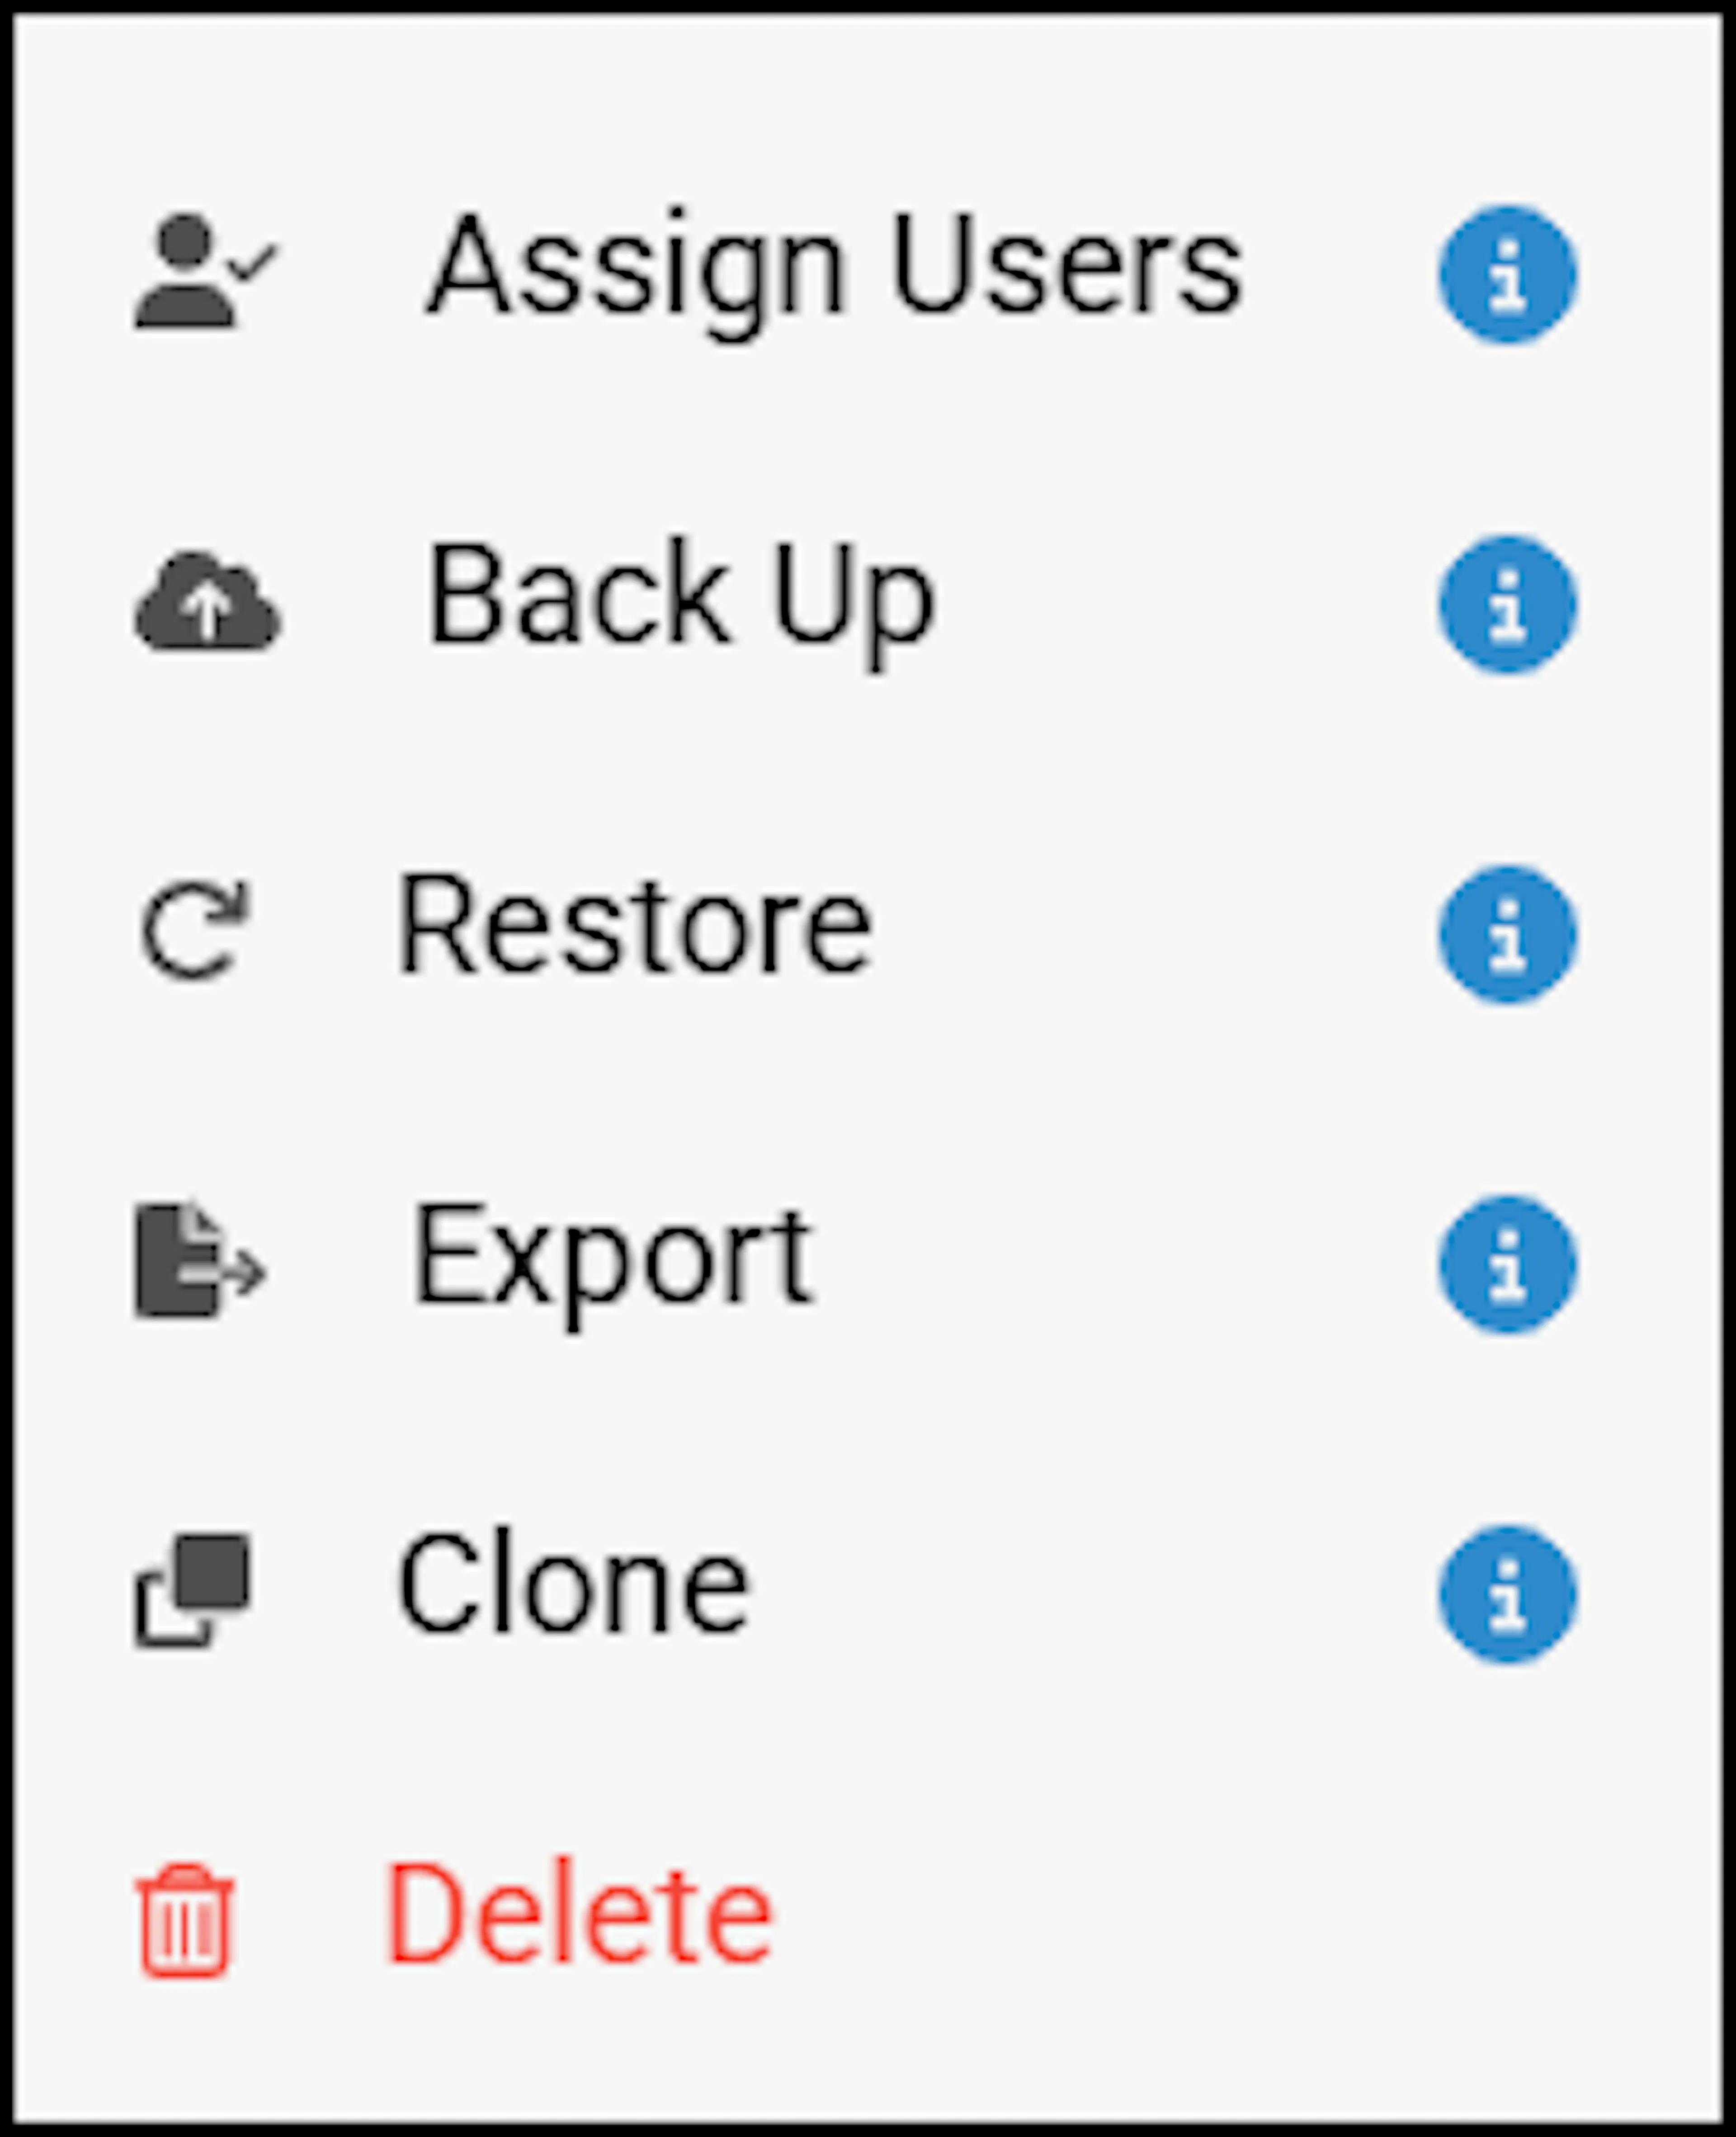
Click the More Menu to select the 'Assign Users' option from the list of submenu options.
In the Assign Users window, choose the user to whom you wish to assign the project.
Select the checkbox next to the user's email ID to assign the project.
Perform section Providing Permissions to provide permissions.
Verifying Permissions
As an assigned user, you can verify if the 'Delete All' option is enabled by following the steps described in Section 4.
Menu options for Assigned Users
After assigning the project, the user will see a smaller set of options in the submenu list.