
Scenario List View and Toolbars
Learn how to use the Edit Scenario secondary screen, including the Scenario Form fields and Scenario Sequence toolbar to manage test steps.
Overview
In the Scenario List ,you manage your test scenarios. To access it, navigate to Test Design > Scenario List.
You can access the Scenario Steps List by clicking the Edit icon for the scenario you want to edit in the Scenarios List.
The Scenario Steps List includes:
- Edit Scenario
- Edit Step
Edit Scenario
The Scenario List allows you to edit specific scenario details. It includes various fields for the identification of a scenario, which are detailed in the following tabular format:
- To access these fields, click on Scenario List in Test Design screen.
- Scenario Steps List will appear, Click the edit icon beside the search bar.
- Update the changes and click Update.
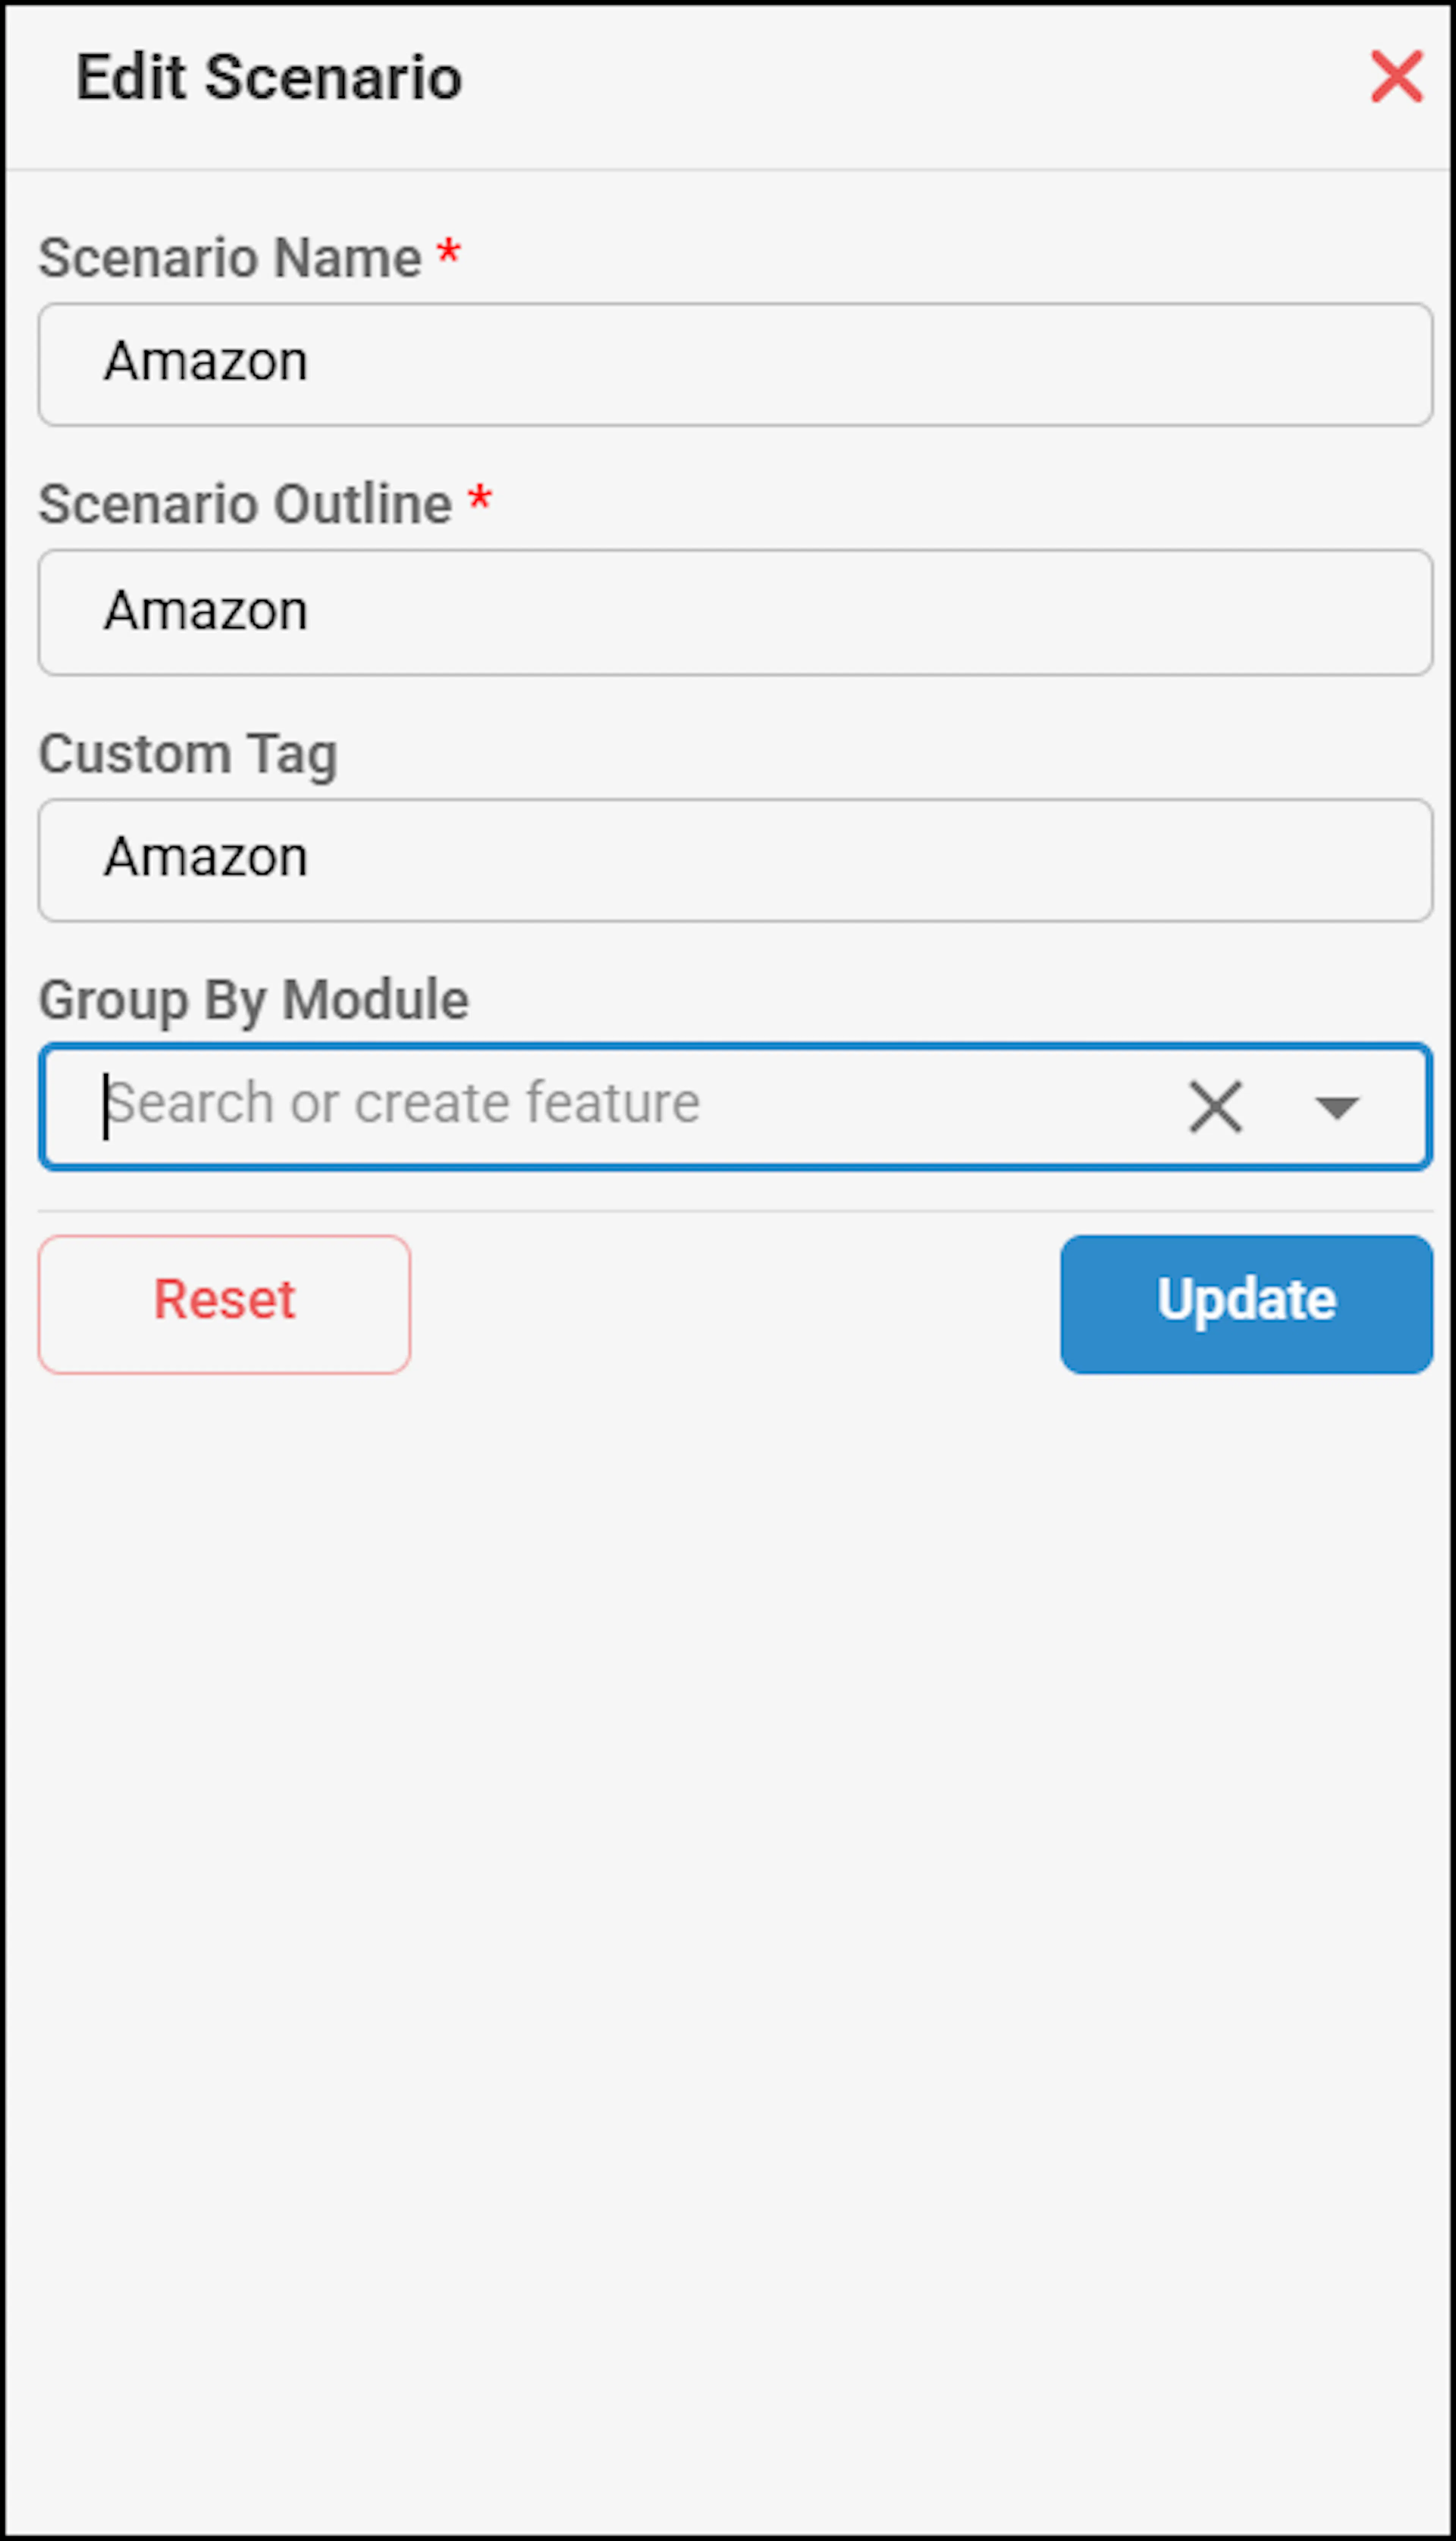
Scenario Form Fields and Descriptions
| Field | Description |
|---|---|
| Scenario Name | Displays the Scenario name or Test Case name used while recording the scenarios using Follow Me feature. You can edit the name in this text box. |
| Custom Tag | Displays the tags that will group and execute the tests associated with the given tags. For example, if you provide a tag as @test001, then all the test cases tagged with @test001 will be executed. Similarly, you can provide tags like @Smoke001 & @Sanity001. |
| Group By Module | Segregates the BDD feature files module-wise by generating them in separate feature file. For more information on generating a separate feature file, refer to Generate separate feature file in a separate folder. For example, Features - User Login, User dashboard and Payment processing. The following screenshot represents a module-wise and feature file structure: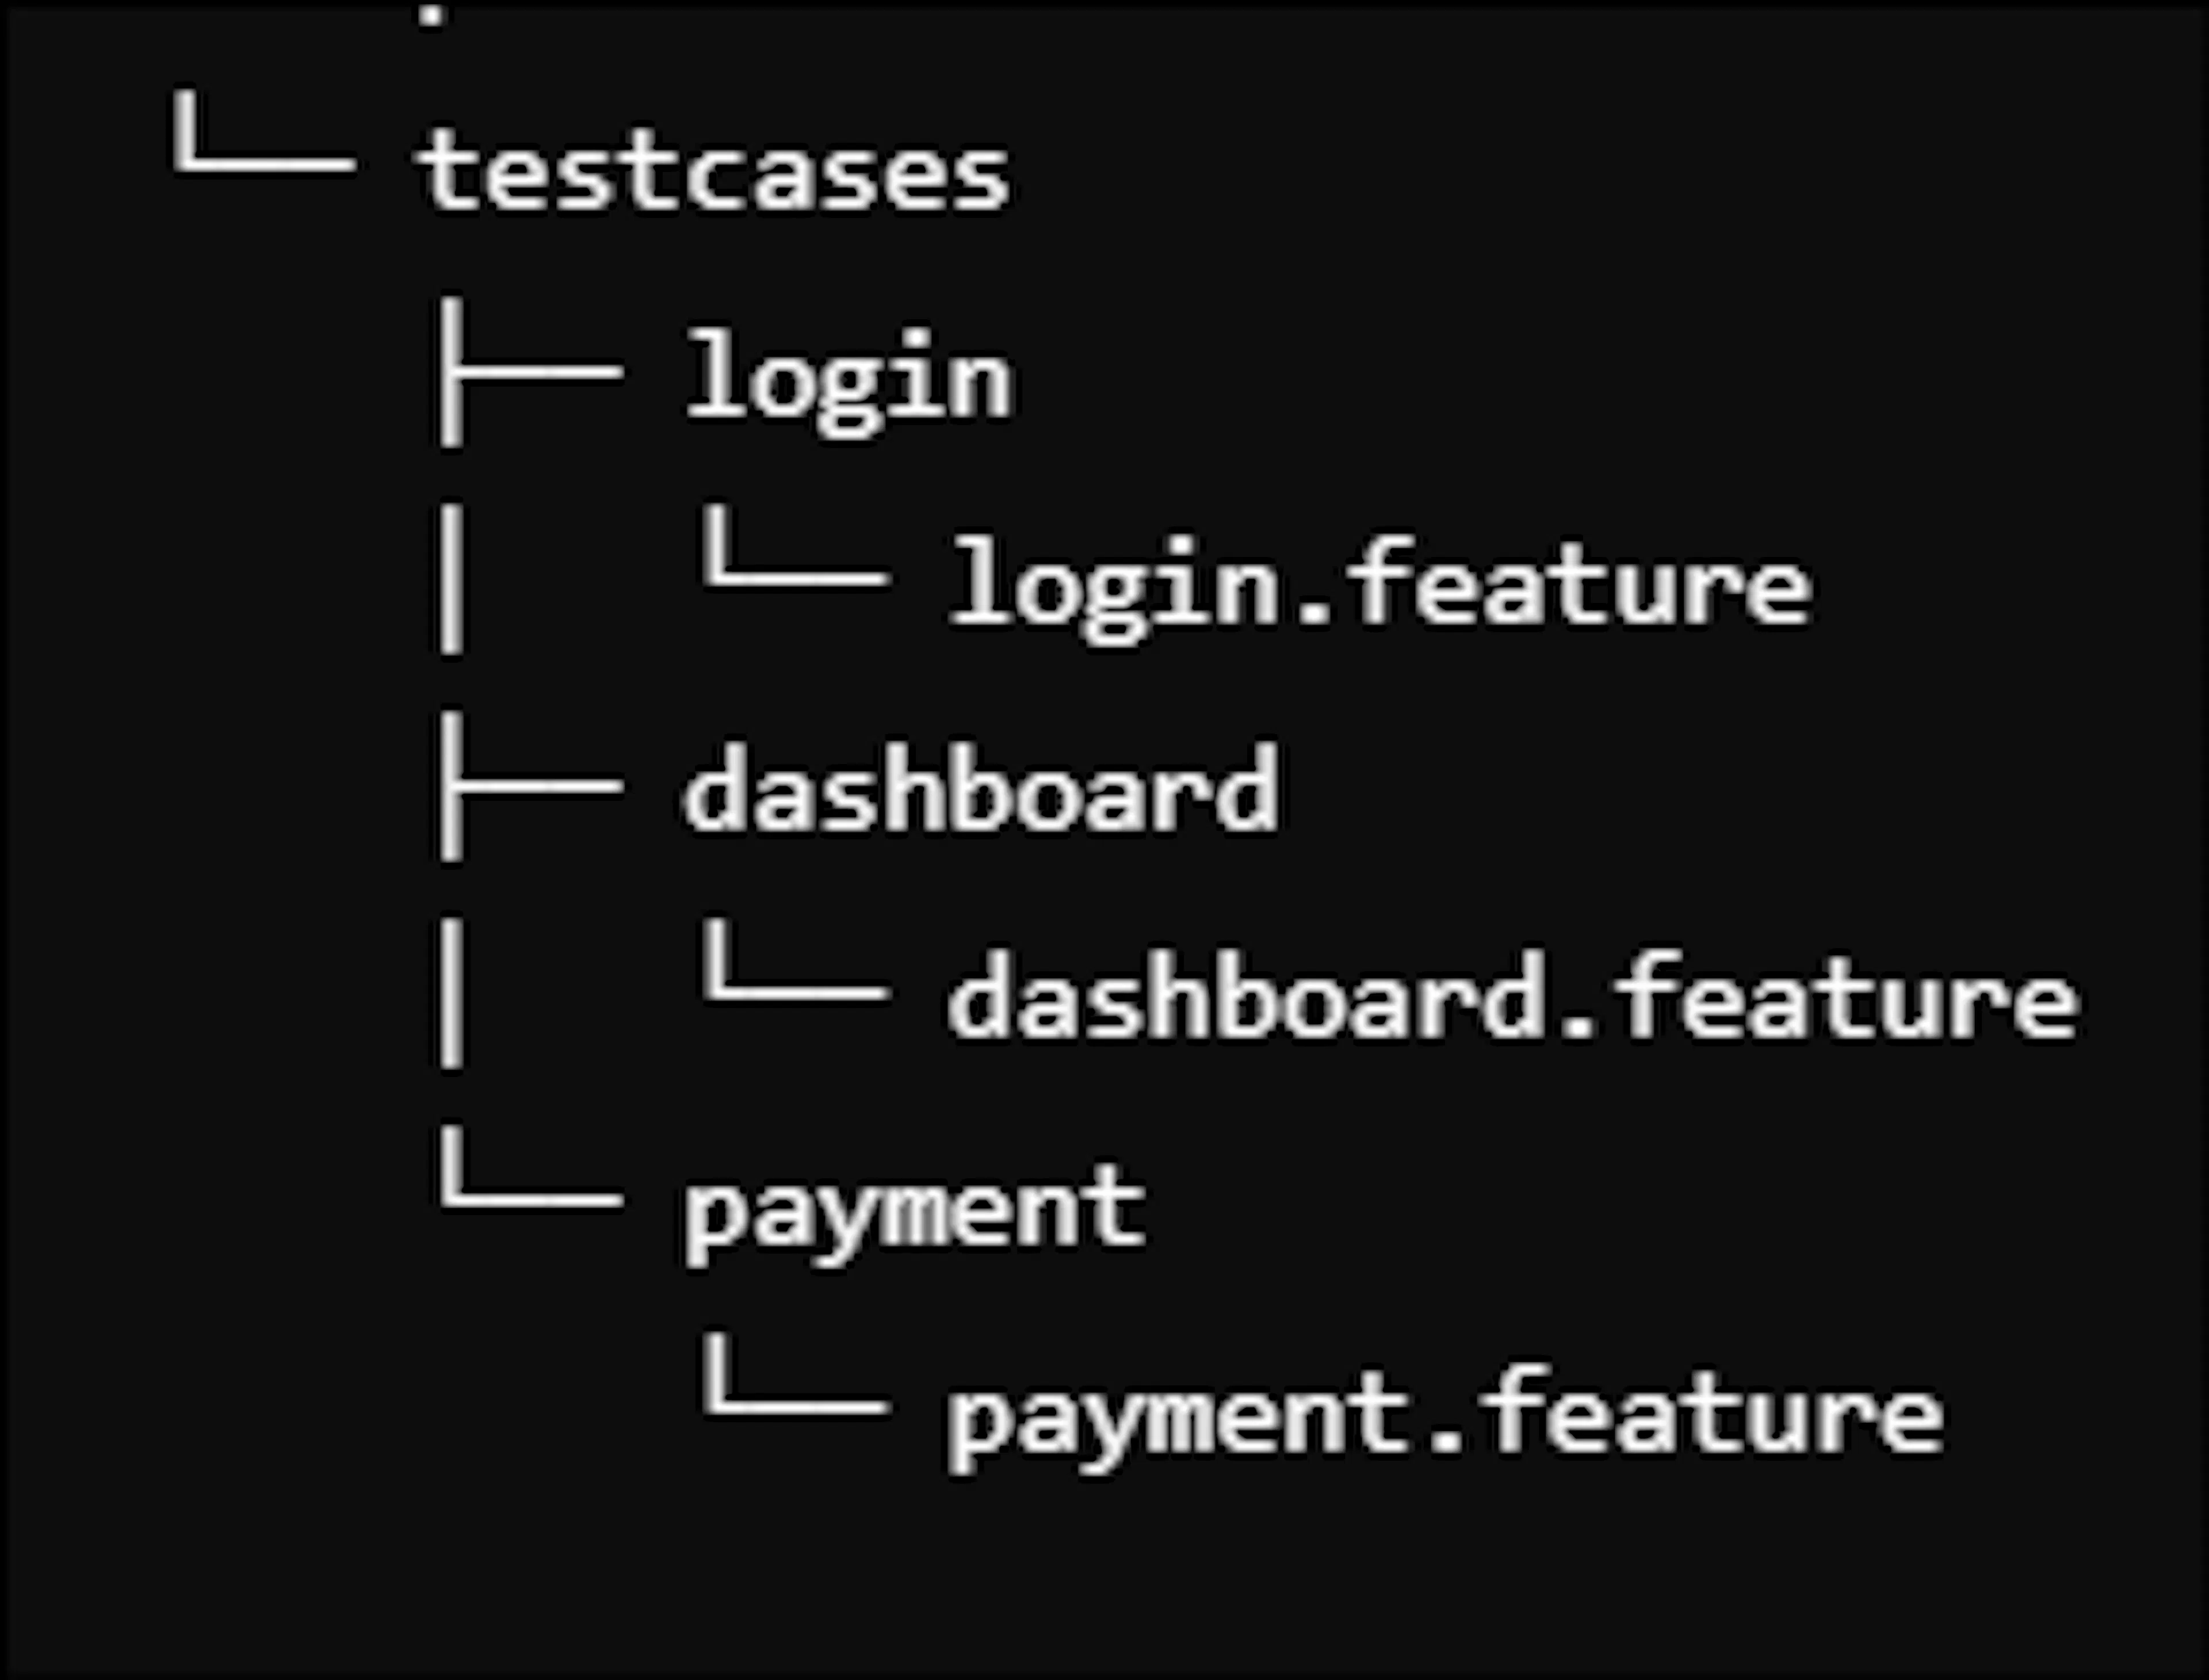 |
| Scenario Outline | Provides brief test case summary or description as an outline given during recording of the scenario using Record Scenario feature. |
Edit Step
The Edit Step section allows you to manage the sequence of test case steps within a workflow. It enables you to:
- Edit: Modify existing test case steps.
- Add: Add new test case steps.
- Delete: Delete the step
- Duplicate: Duplicate the step
- Drag and Drop: Rearrange the steps as needed.
- Click the edit icon beside the scenario steps, update the changes, and click Save.
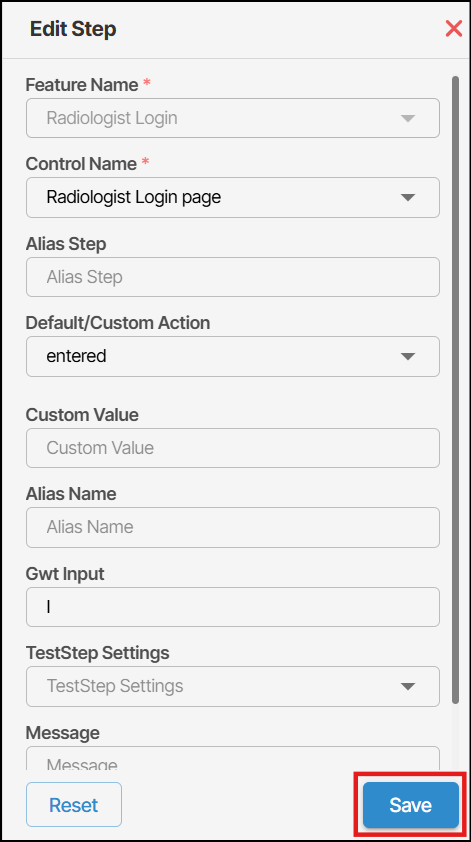
Edit Steps fields and descriptions
| Field | Description |
|---|---|
| Feature Name | Displays the feature name that is being tested. |
| Control Name | Displays the UI element name provided during Node Configuration. You can modify the UI element in this textbox. |
| Alias Step | If you wish to add a user-specific step or modify an existing step manually, then you can use this text box. For example, a login scenario where you want to add an alias step for verifying user profile details in the Dashboard, Feature file will be generated with highlighted alias step, 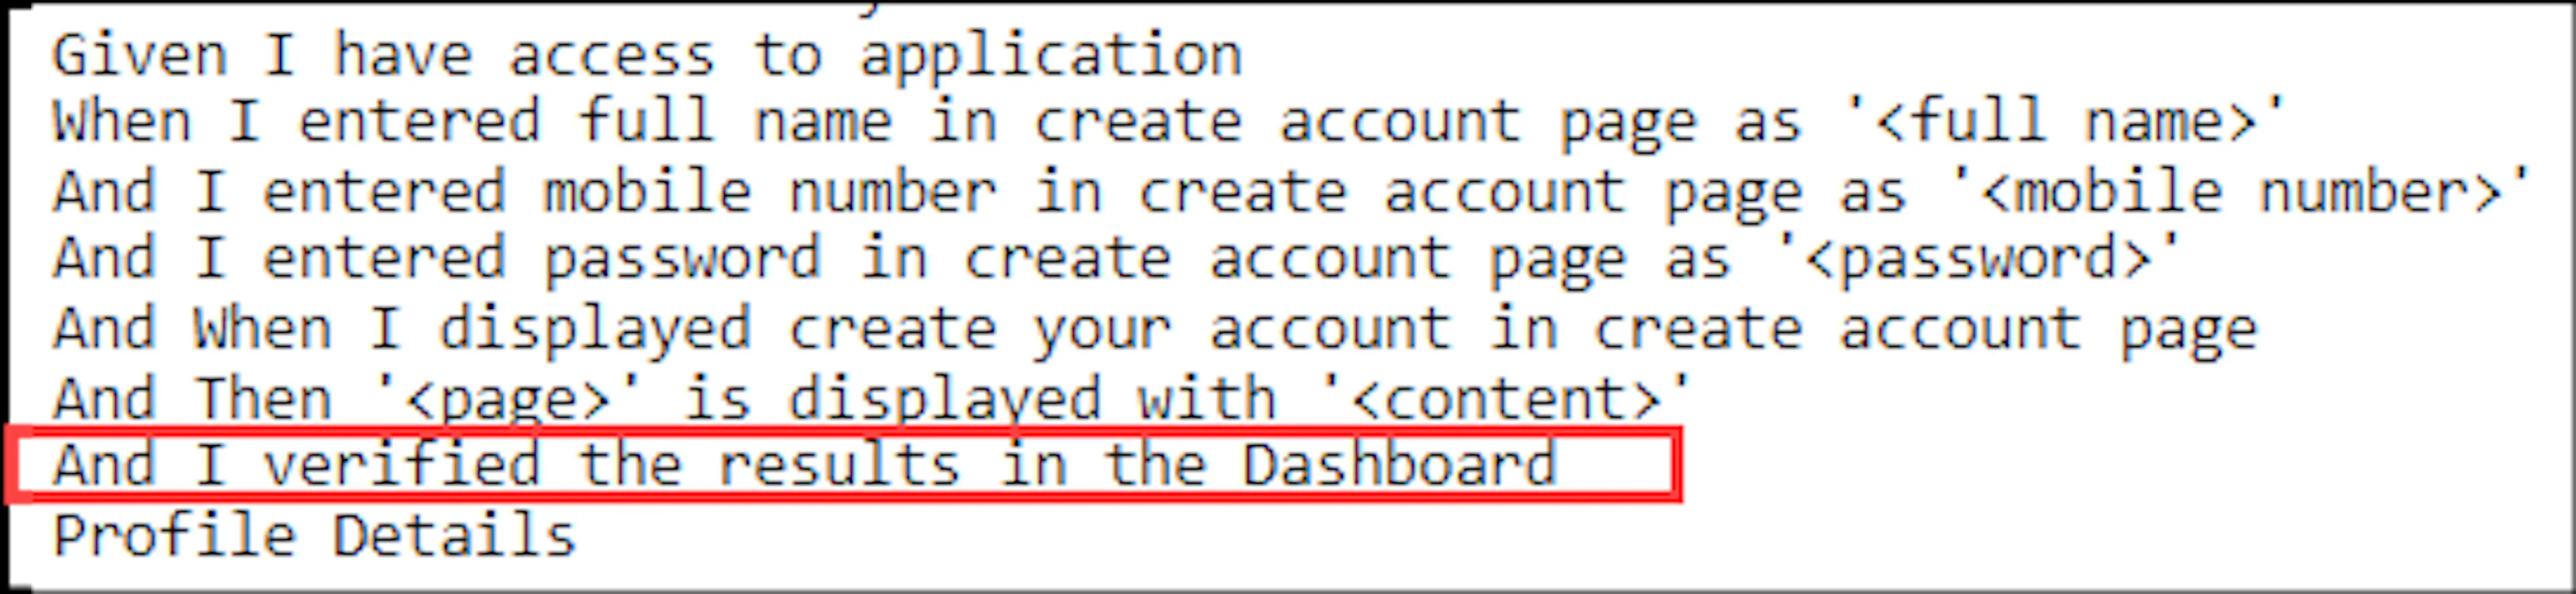 <User> and 'Password' And I enter user email as 'abc1@email.com' and <User1> and 'Password1' And I enter user email as 'abc1.1@email.com' and <User2> and 'Password3.3' You can create multiple alias steps for the same control by assigning a different action (default or custom action). You can update the action or parameter values of an existing alias step. During the update, you can choose to: Update all instances of the alias step across the project. Update only the selected instance. You can replace an existing alias step with another step or remove an alias step and save the changes. When you select an existing alias step, the associated control and parameter values are populated automatically. When creating a new step, selecting a different control automatically clears the previously selected alias name and action. An alias step cannot be duplicated for a different control, either within the same feature or across different features. Auto suggestions are available for re-using Alias Step Note: Users can replace an existing Alias step with another step that belongs to the same control. To do this, they can either select a step from the available auto suggestions from dropdown list or manually edit and enter a new step. |
| Default/Custom Action | Default actions are the ones readily available as part of automation framework in algoQA. algoQA platform allows you to create custom actions to incorporate your application specific testing requirements. You can select the default/custom action from the drop down list. For more information on Default Actions, refer to Default Actions and For more information on Custom Actions, refer to Custom Actions. |
| Custom Value | You can provide user-specific value, keywords and parameters in the custom value text box. It will be reflected in the Feature File. For more information, see Keywords Used in algoQA and Their Descriptions. When entering a value in the custom value field, adhere to the following: Custom value cannot be just blank spaces. If you wish to include spaces, you can use the keyword _empty_. For more information, see Keywords used in algoQA. If you hit spacebar to enter only spaces, then an error message will be displayed saying Custom Value cannot consist only of spaces: 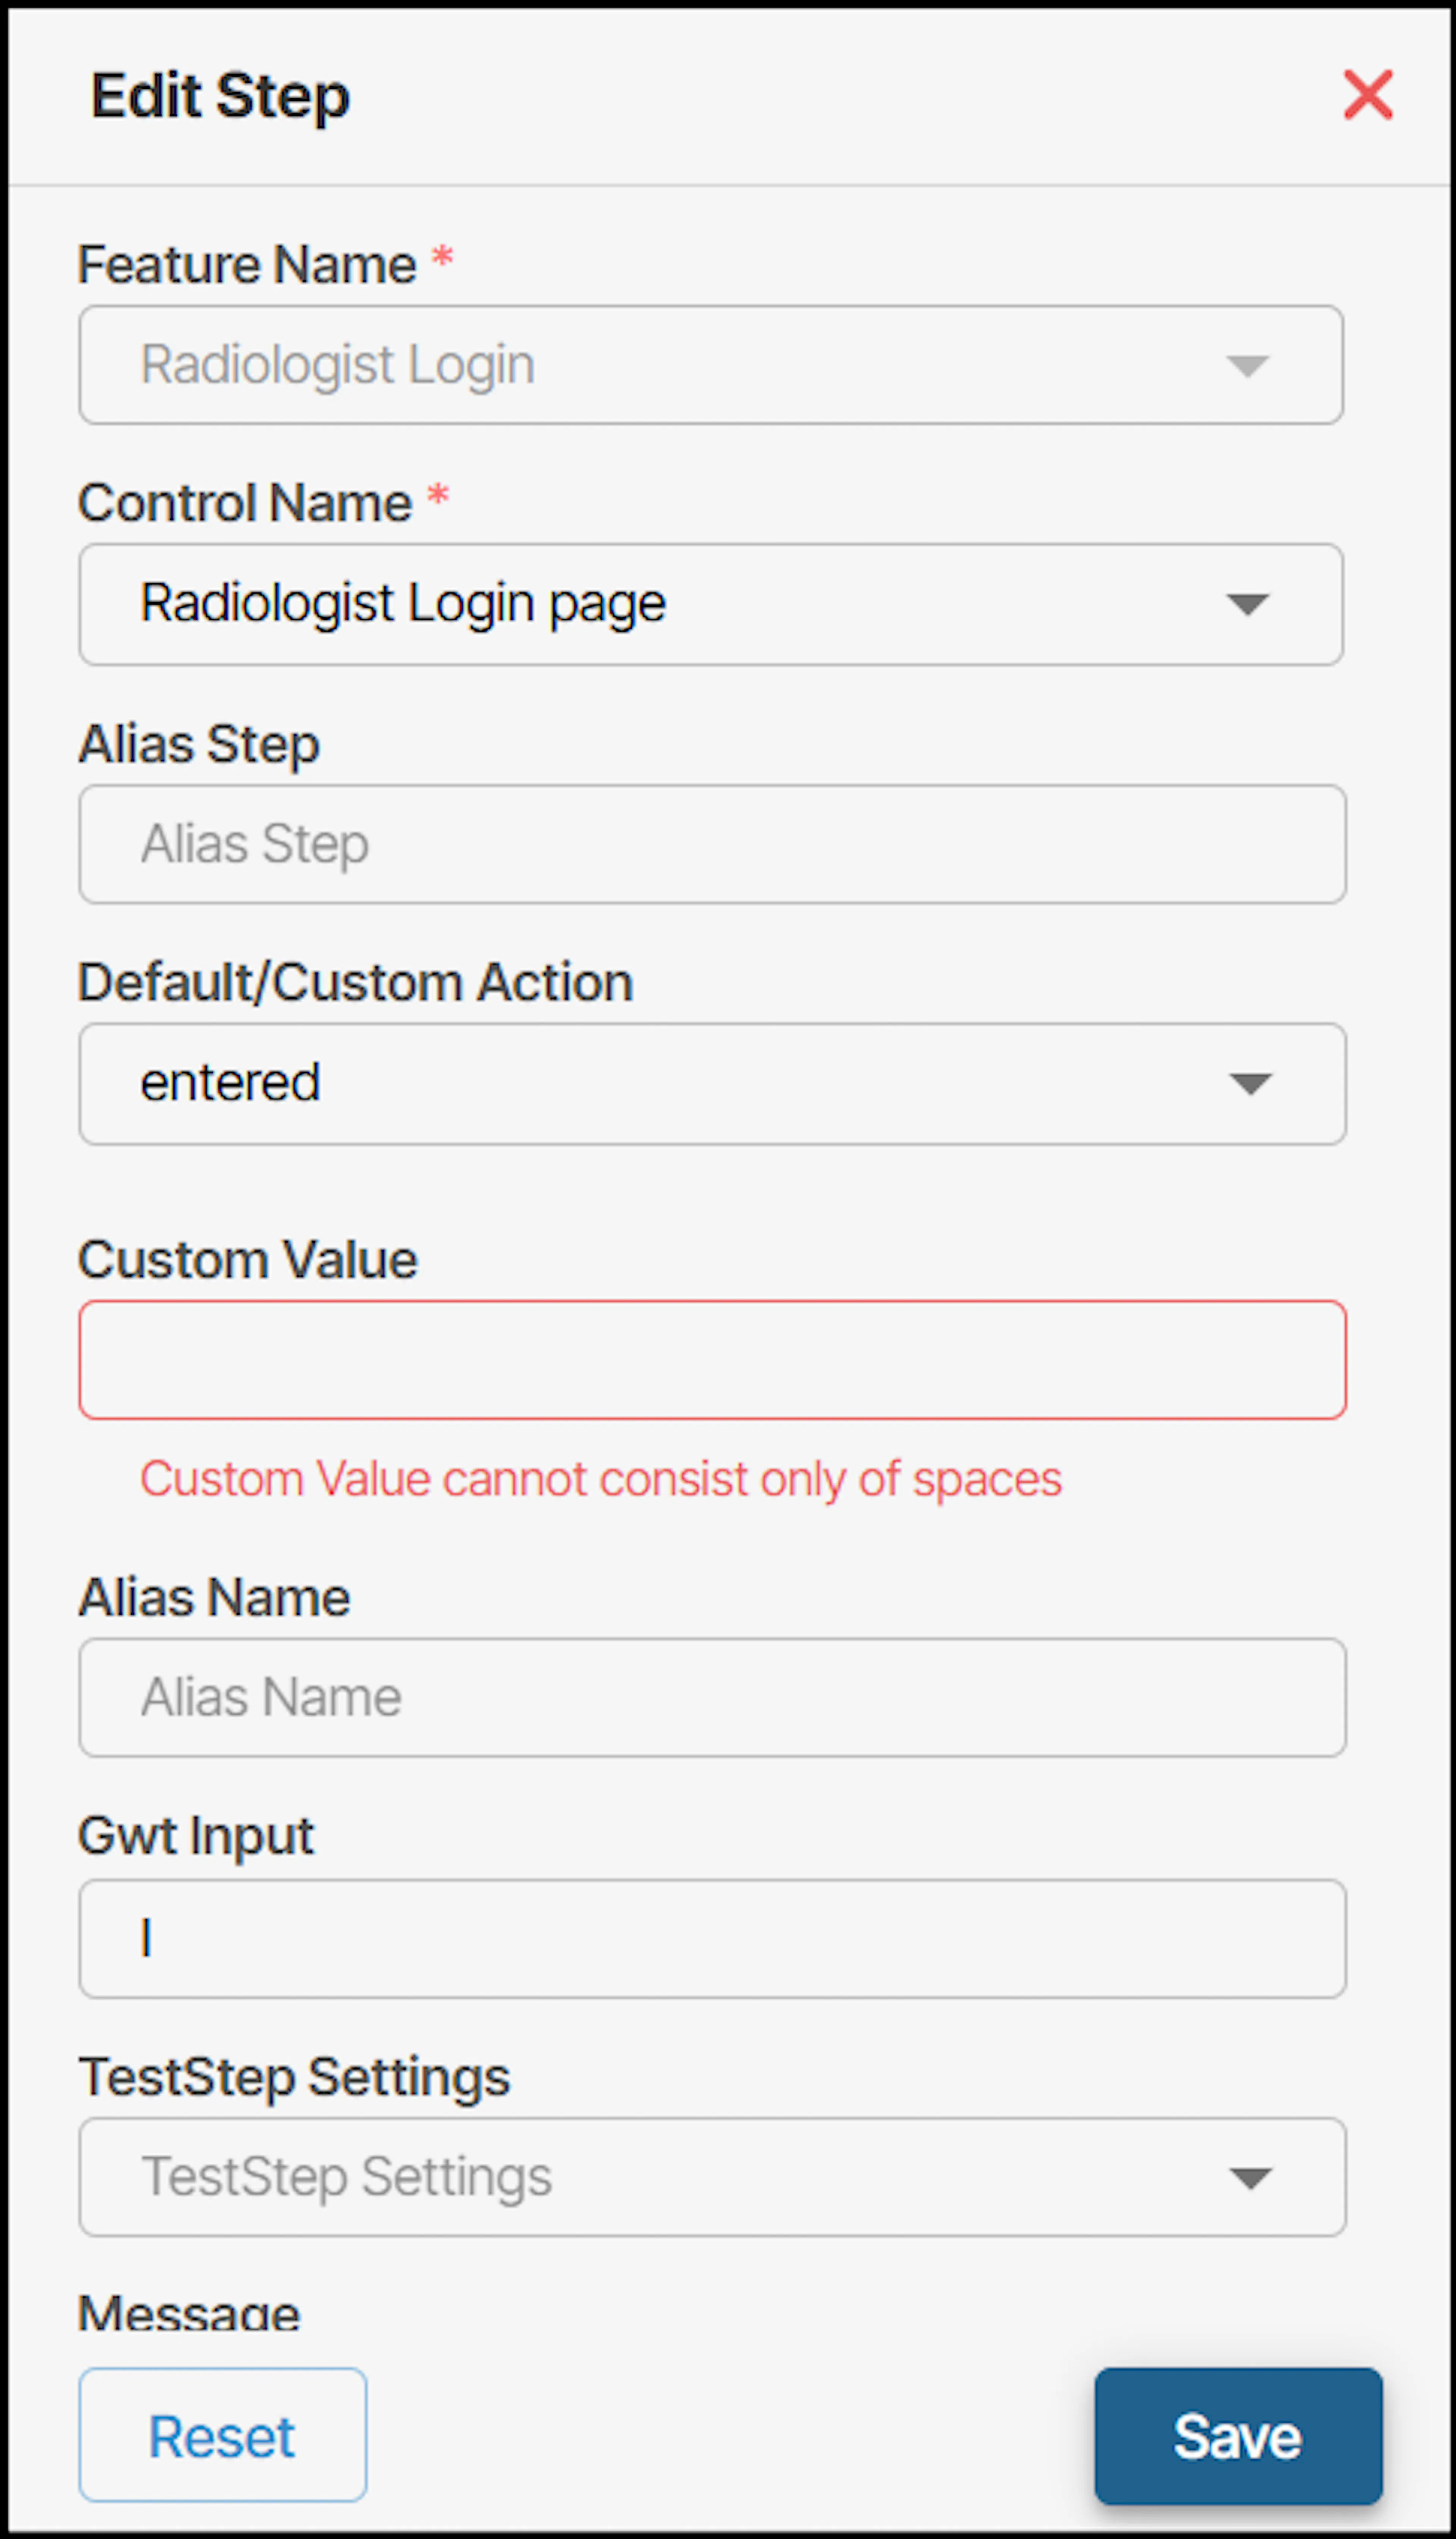 |
| Alias Name | If you choose to add a new name or modify an existing name for an UI element or a Control, then you can use this text box. You can add Alias name in the Record Scenario feature too. Note: A user must not assign the same alias name to multiple controls within the same feature. A user can reuse the same alias name for controls in different features without restriction. Users can merge scenarios without encountering alias-related errors. During test case generation, alias names should be validated to ensure: No duplicate aliases in the same feature. Compliance with alias naming rules across scenarios. Correct alias linkage to the intended control. Users can create new scenarios using "Save As", including existing alias names. Within the same scenario, a user can assign the same alias name to the same control, but cannot assign the same alias name to different controls across different features. Users cannot use Alias Names that match existing Control Names within the same feature, if users try to use it an error message will be displayed saying Can't add Alias Name similar to Control Name, try with some other name. Alias Names which are already used by other controls will be disabled with an error message saying: You can't use this alias name as it belongs to another control. After recording a scenario, you can view the Scenario Steps List, where you may add an alias name if needed. This alias name will automatically appear in the Object Repository. Once added, the control cannot be deleted from the Object Repository. If you attempt to delete it, a warning message will appear stating that the control cannot be removed because it is currently configured in a scenario. To delete the control, you must: Go back to the Scenario Steps List. Remove the alias name from the corresponding GWT step or Delete the configured scenario. After completing these steps, you will be able to delete the control from the Object Repository. |
| Test Step Settings | You can select specific condition or a parameter from the dropdown list. Allows you to customize your test steps by selecting or excluding specific conditions, ensuring that only relevant steps are included. For example, if you wish to avoid generating the default post-condition step, you can select the 'No Postcondition' option from the dropdown. This will prevent the default last step from appearing in the Feature File. You can also add multiple Test Step Settings, first one can be selected from the dropdown and from second you have to type separated by hyphen(-). |
| GWT Input | To add a prefix to a GWT step, then you can update the textbox. By default, the initial context in a Given step is shown as "I". For example, 'Given I have access to application' sets up the initial state for the test. |
| Message | You can provide a comment or text for a particular GWT step. When entering a value in the message field, adhere to the following: Message field cannot be just blank spaces. If you wish to include spaces, you can use the keyword _empty_. For more information, see Keywords used in algoQA. If you hit spacebar to enter only spaces, then an error message be displayed saying message can't be with only spaces: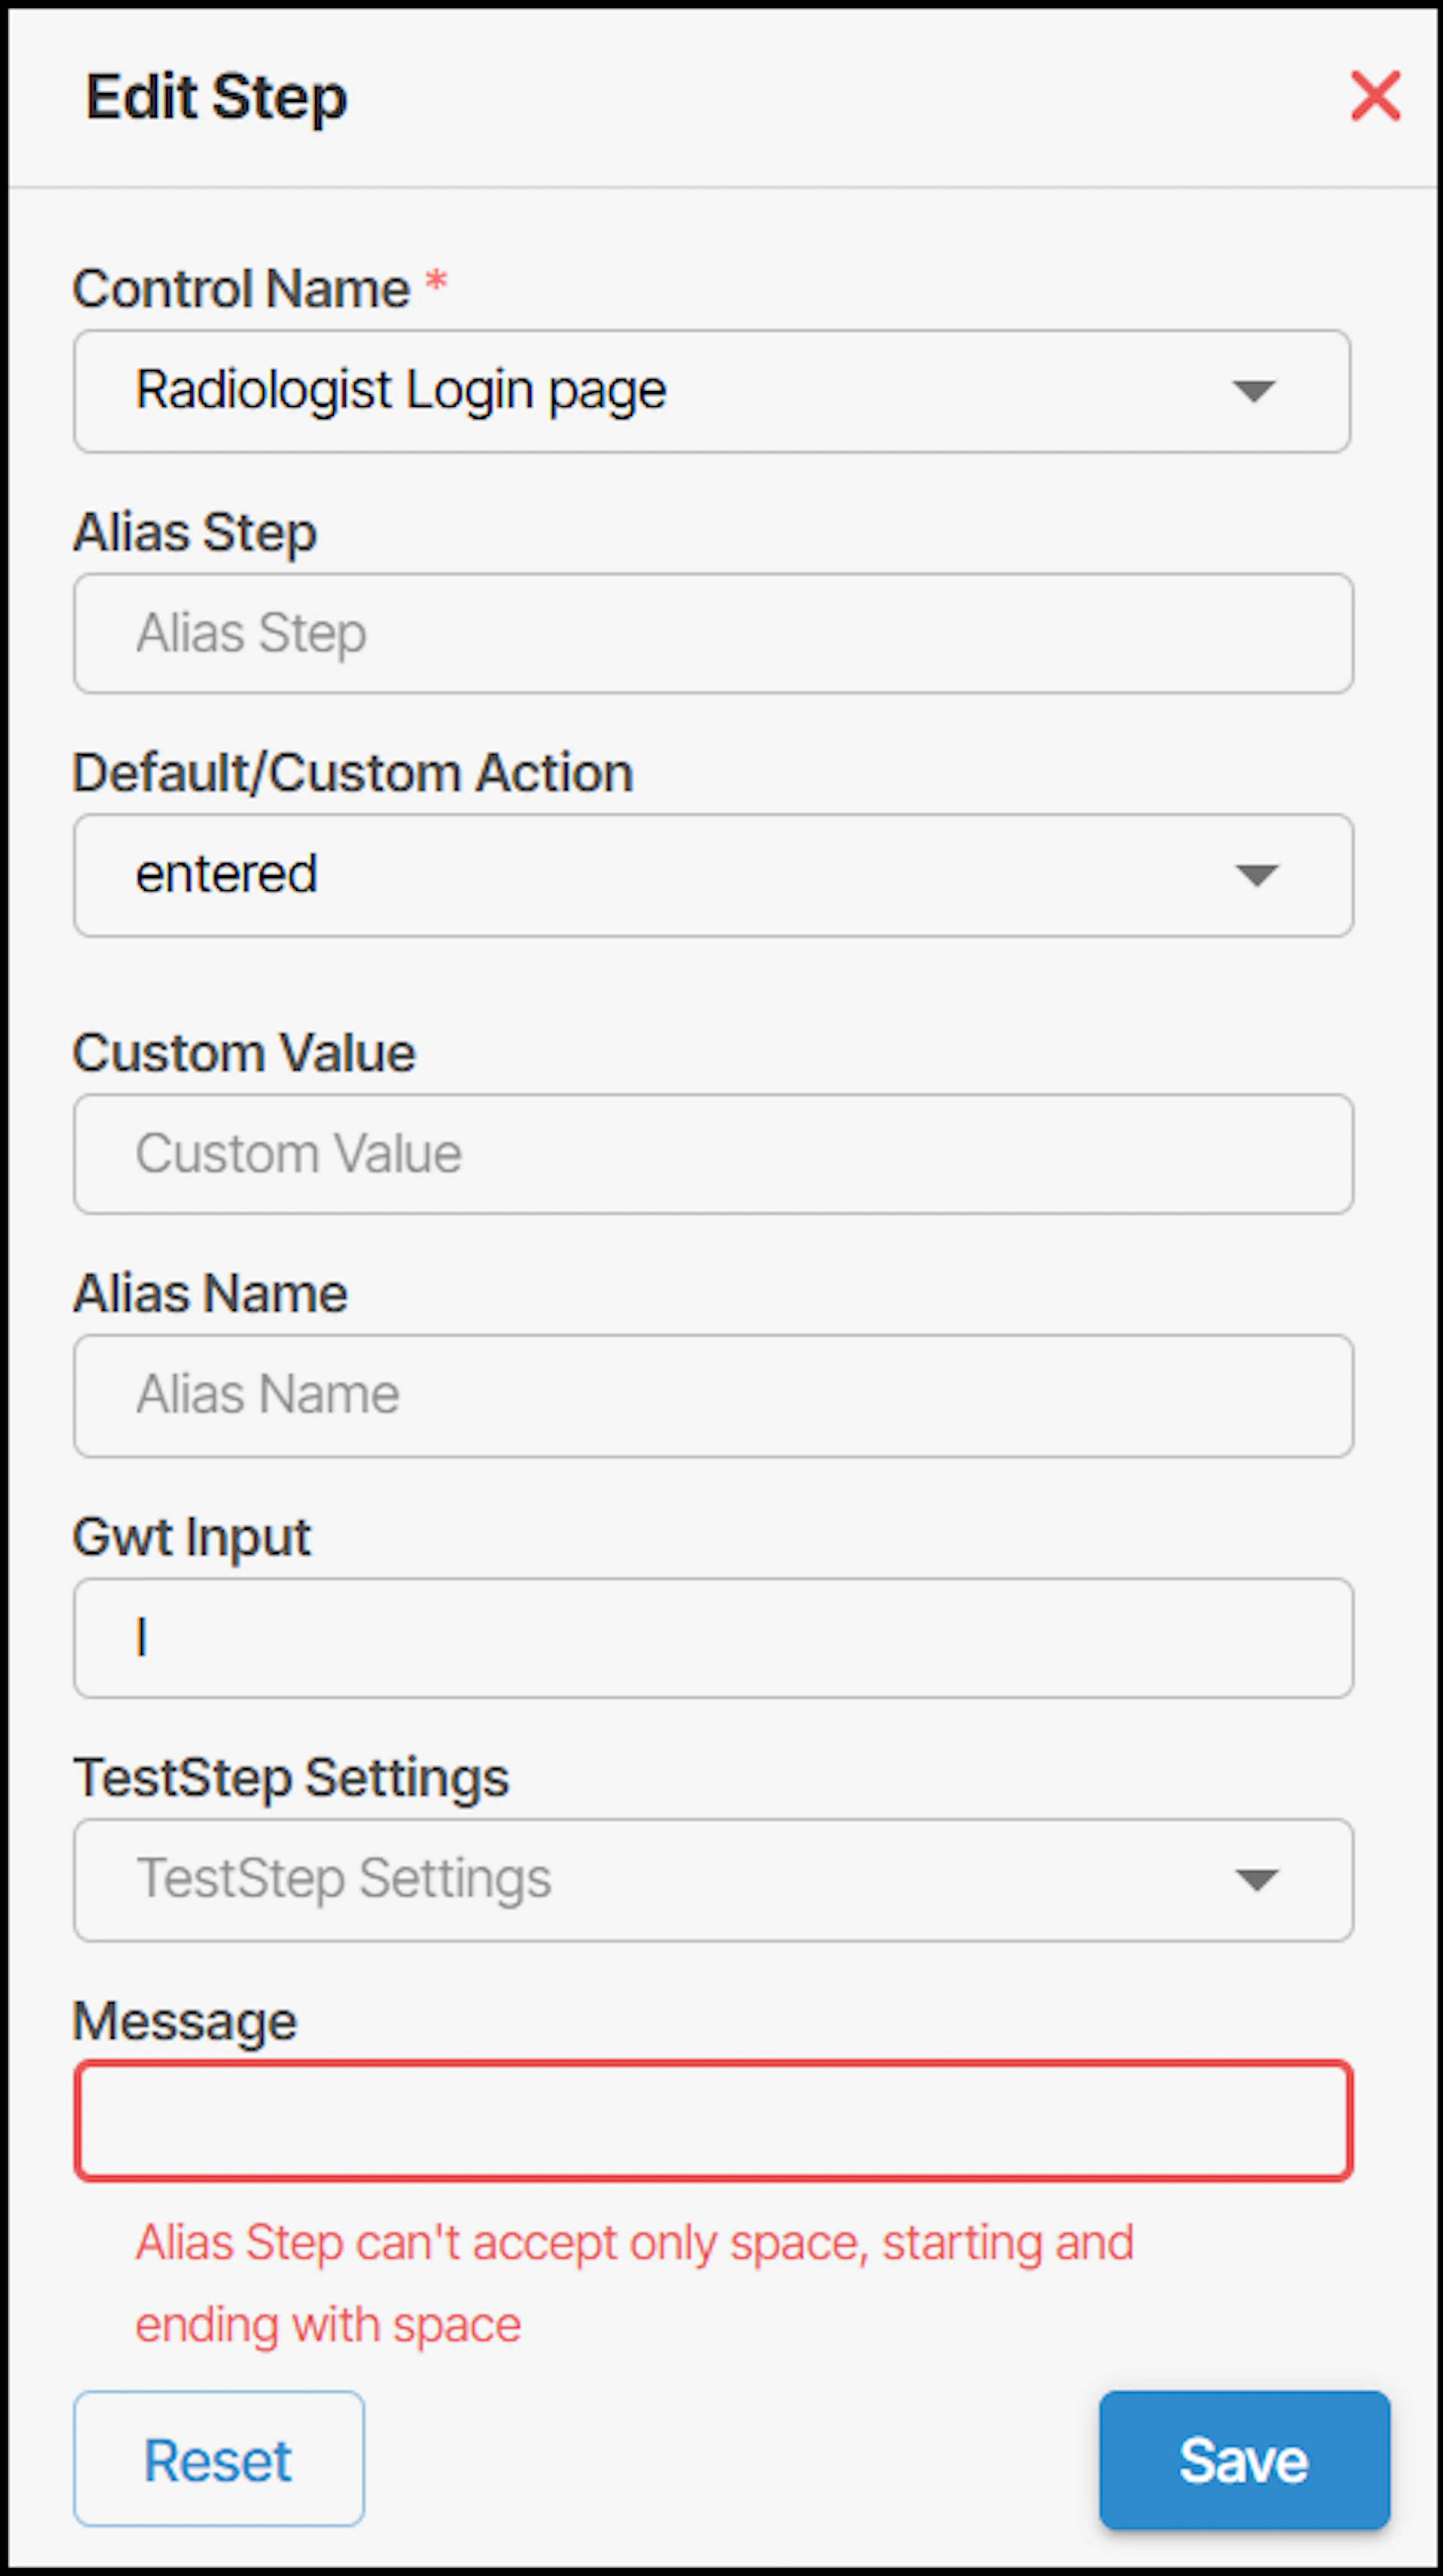 |
| Dataset | As a user, when you provide an Alias step, Dataset text box will be enabled for you to add the parameters manually. For example, if you add 'And I verified the results in the Dashboard' as an alias step and as parameters provide 'profile details' in the Dataset text box then, feature file is displayed, as follows: 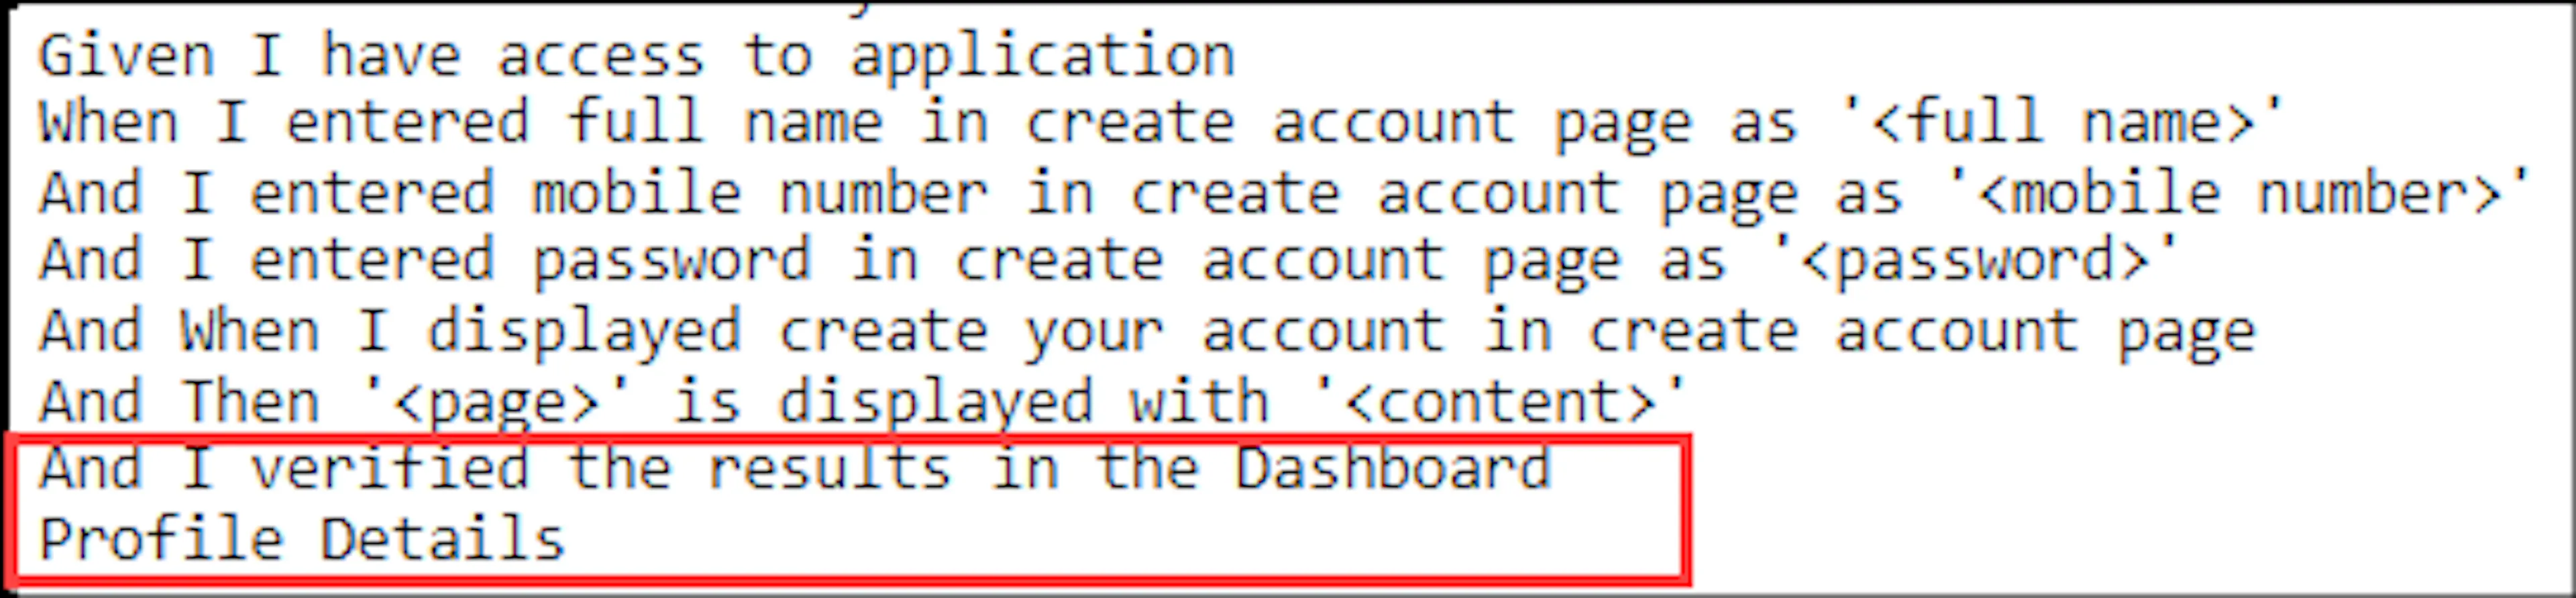 |
When you try to navigate through different pages, tabs, URLs, or try to log out, a warning pop-up will appear asking you to save changes, or you'll lose the changes made.