Using Screenshot Functionality to Scrape UI Elements
If you are unable to scrape the XPaths (locators) of the UI elements using conventional methods, you can use the screenshot functionality in algoScraper to capture the UI element's screenshot.
Scraping the Application
Perform the following:
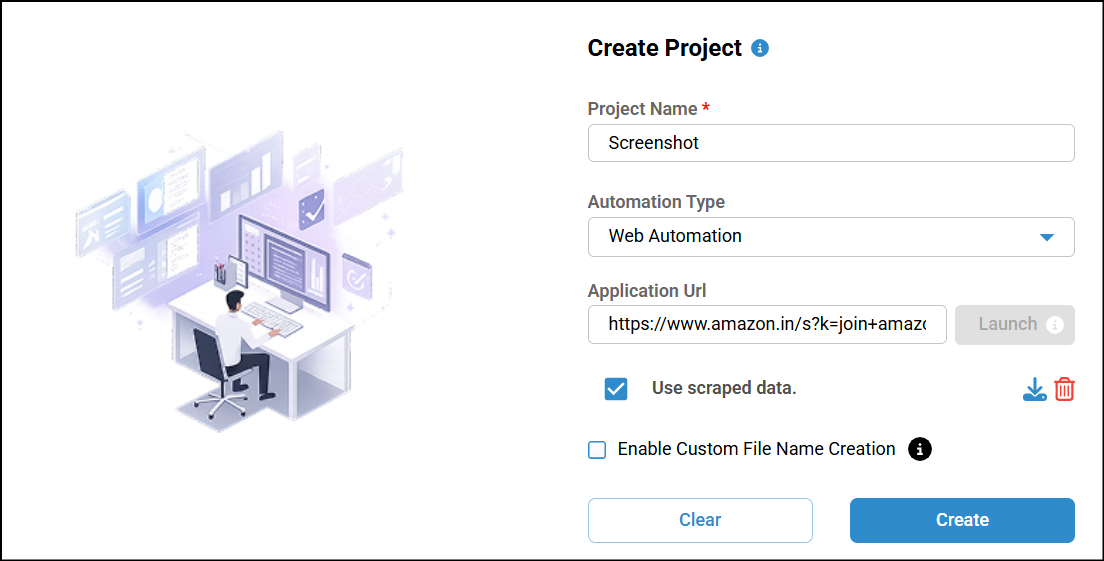
Start by creating a project.
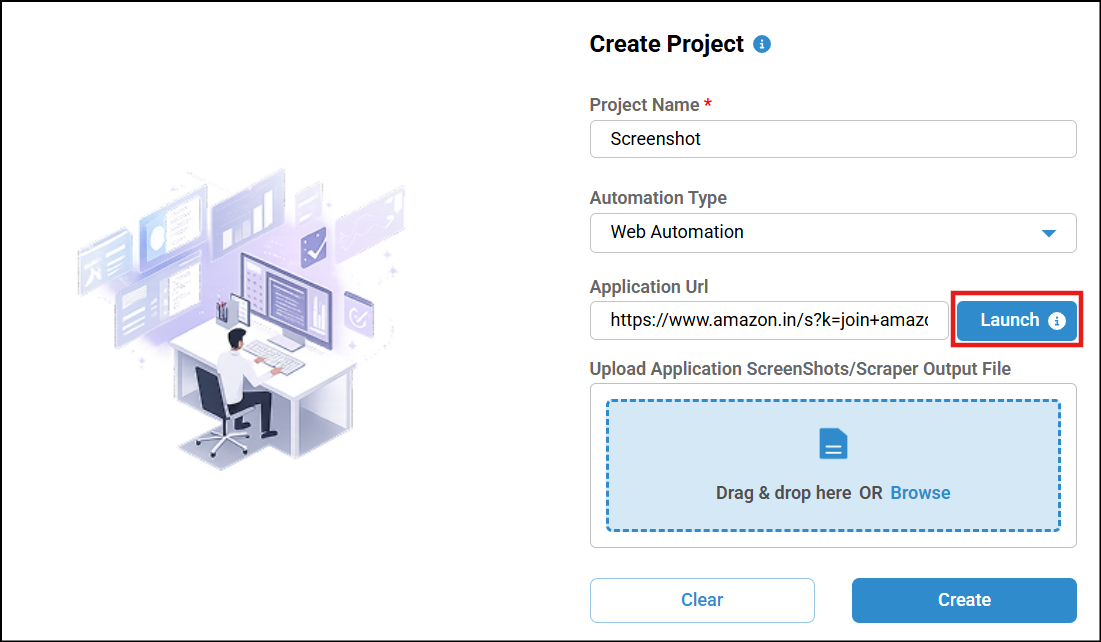
Enter the project name, select the automation type, provide the required URL in the Application URL field, and then click Launch for the scraper to be launched in the webpage you wanted to scrape.
The web page will be launched along with the scraper.
In the scraper, click Record Scenario, enter the scenario name and scenario outline, then click Start Recording.
Next, select the Capture Image icon.
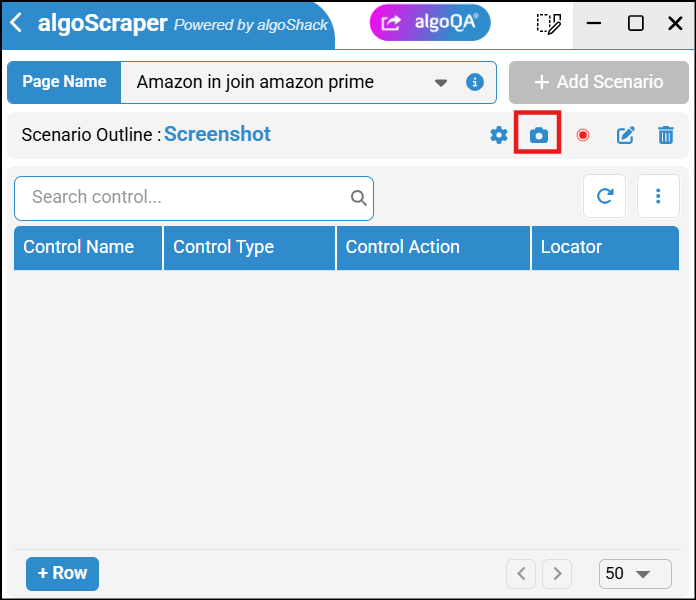
Drag and select the required UI element to capture its screenshot. A pop-up will appear — enter a name for the cropped image in the pop-up window.
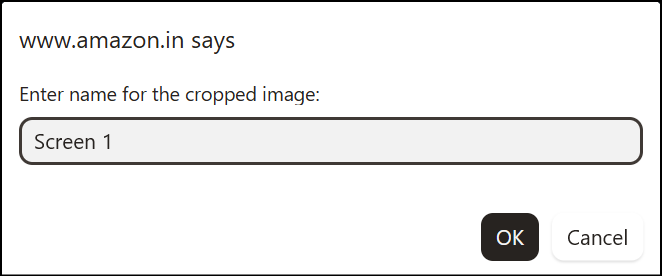
Repeat the above steps to capture additional screenshots, if required.
After capturing the screenshots, click algoQA to navigate back to the project.
The scraped file containing the captured screenshots will be attached automatically.
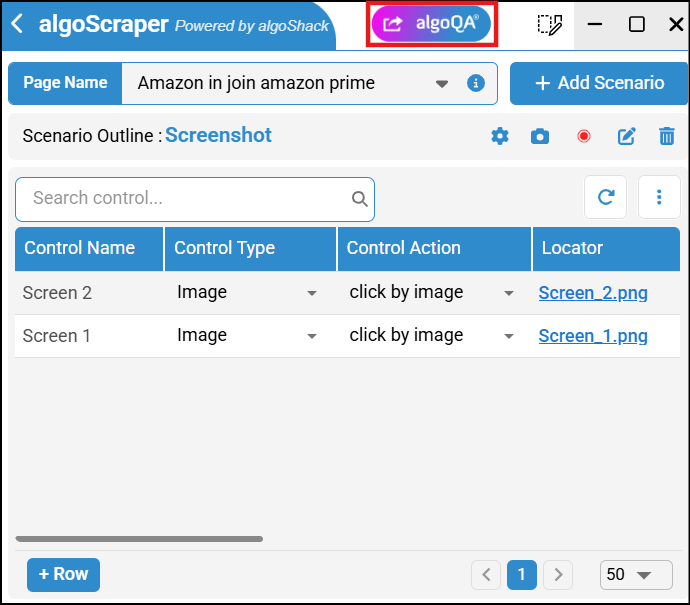
Click Create to create the project.
A configuration will be created.
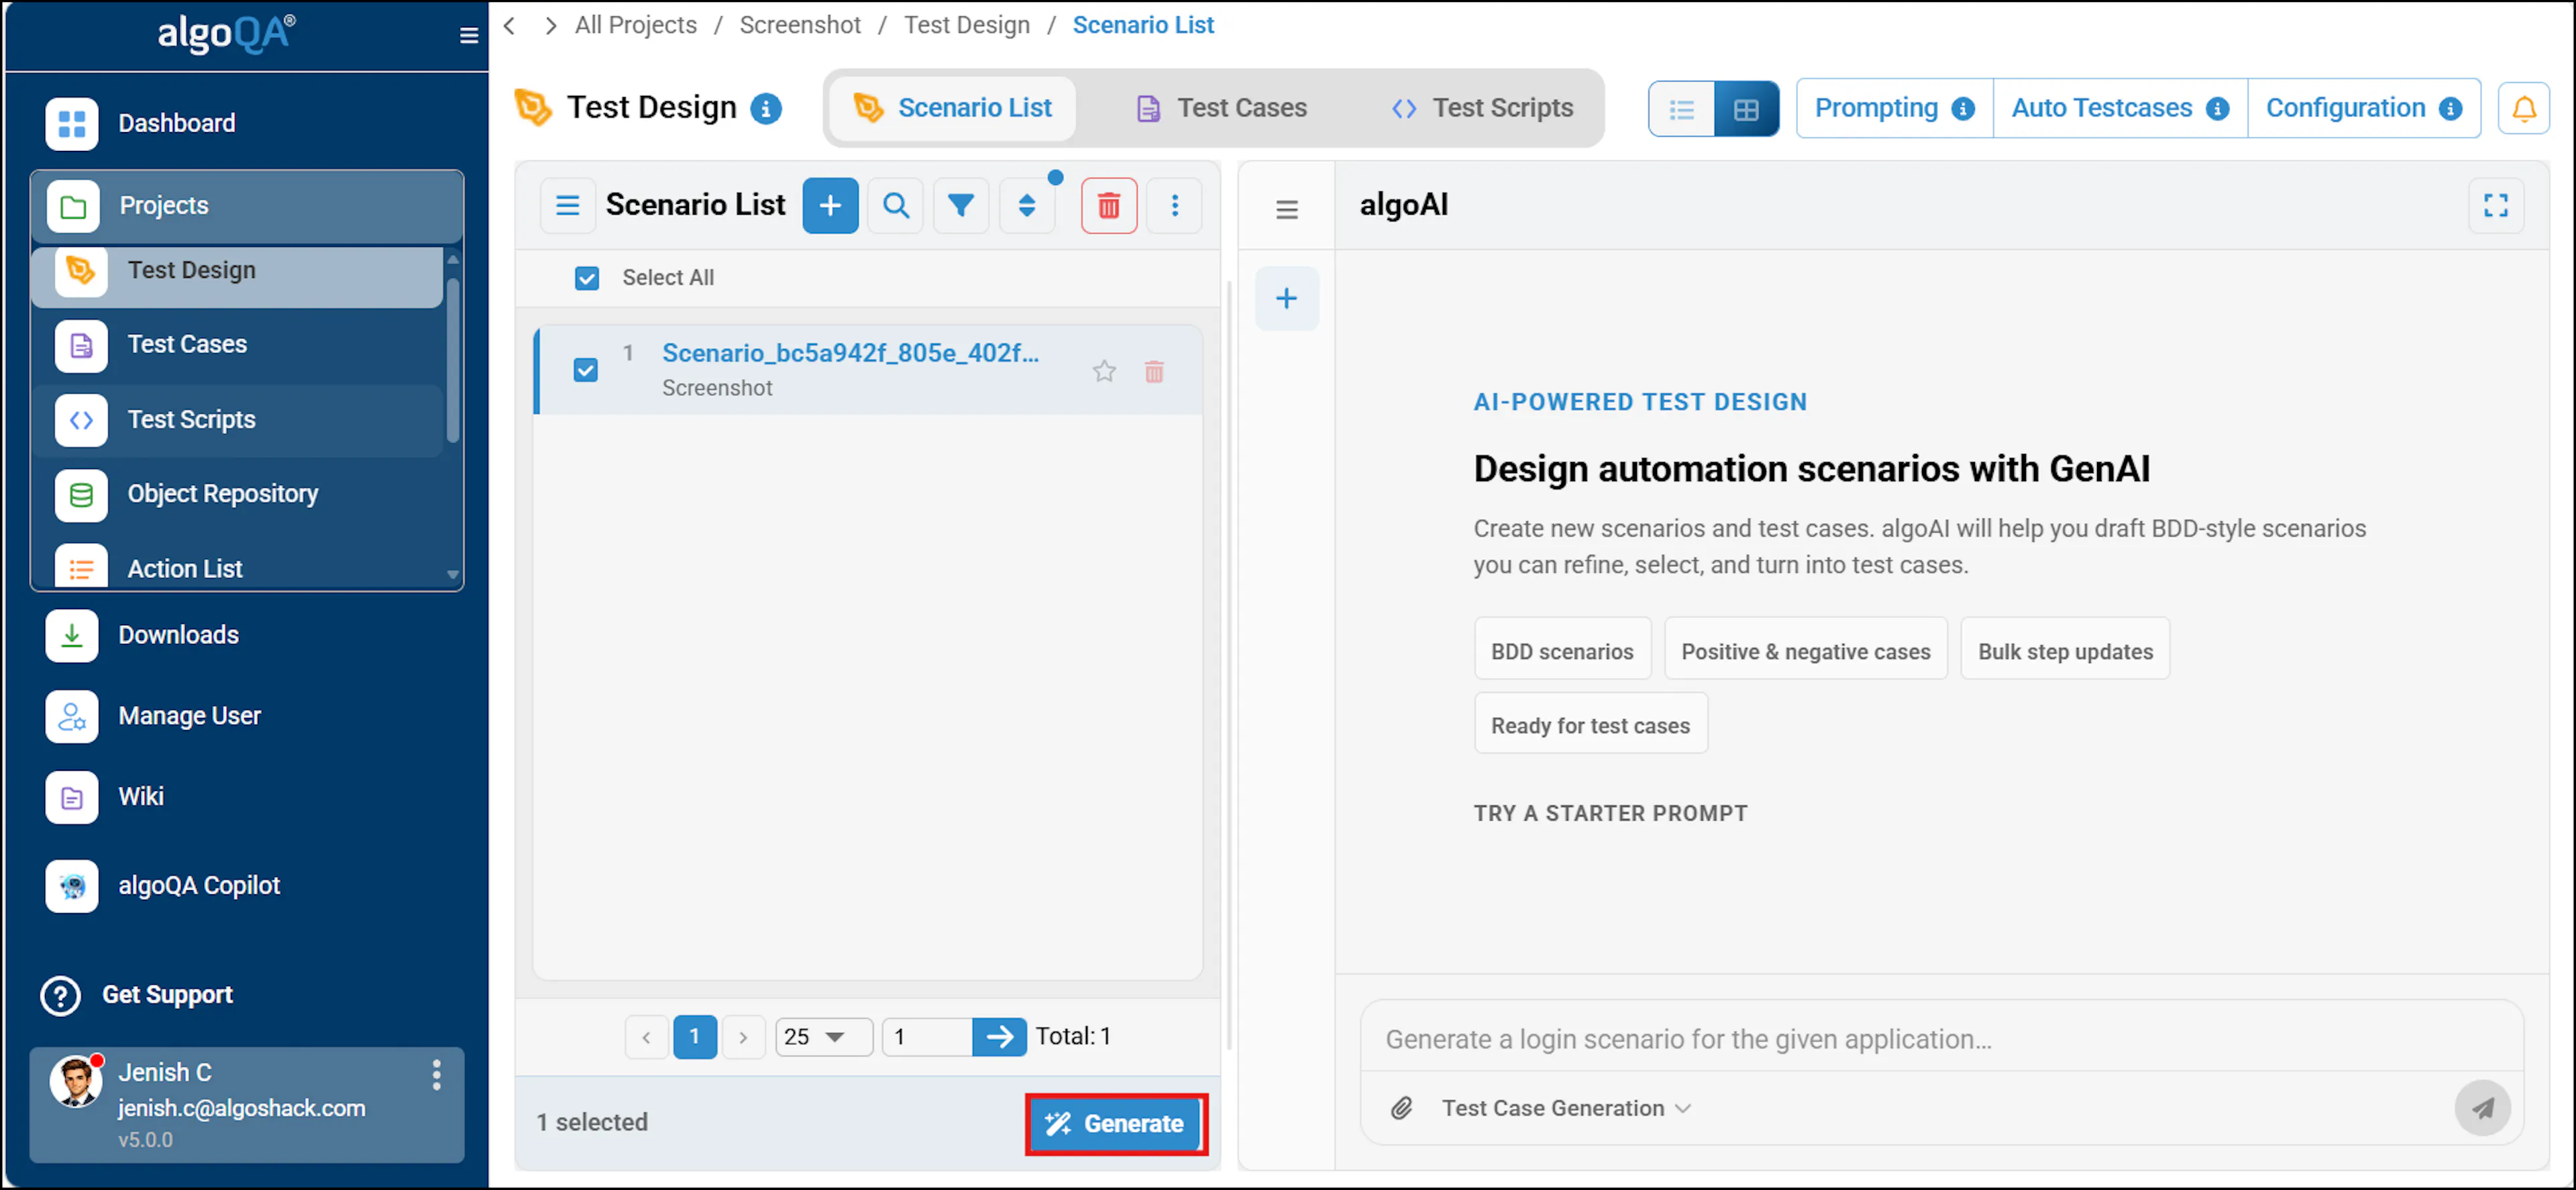
Click Generate to proceed. To learn more about generating test cases and test scripts, refer Generate Test Cases and Test Scripts.